 |
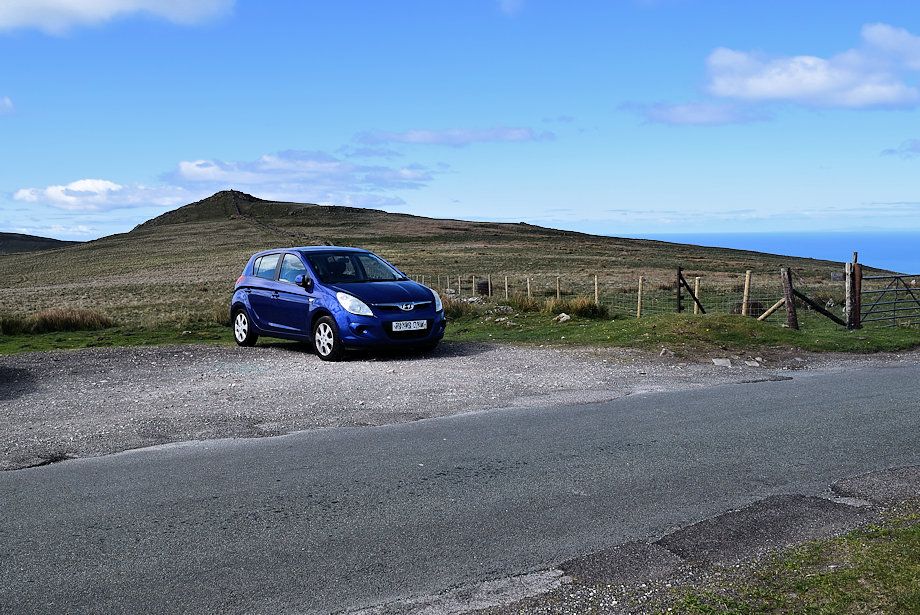
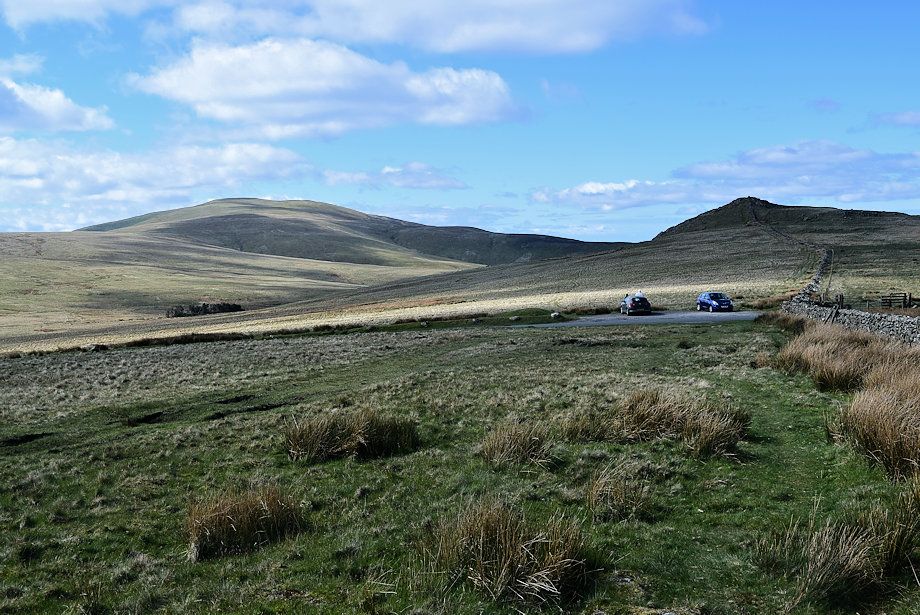
| The walk starts from the summt of the Corney Fell Road where there is room to park for half a dozen cars on the wide verge |
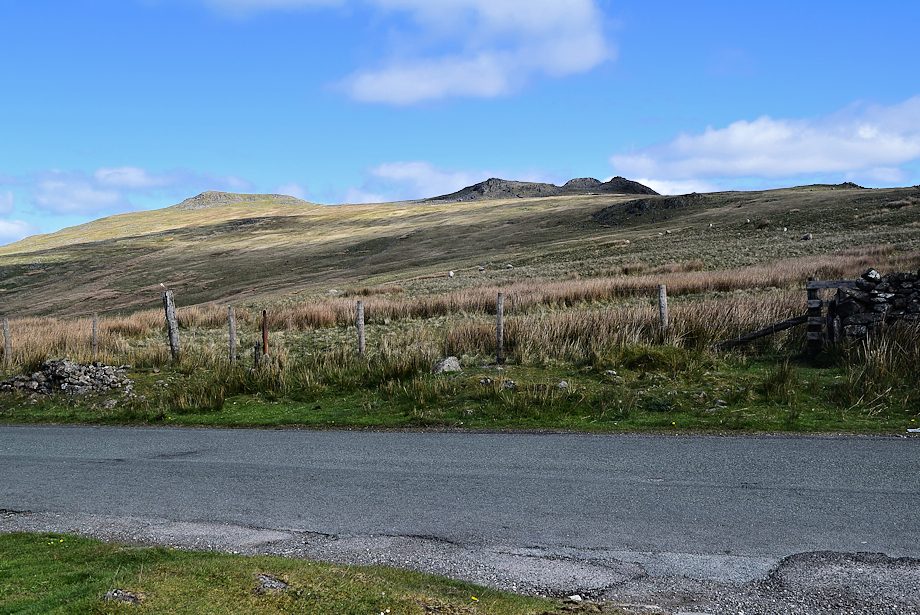 |
| Kinmont Buck Barrow, Great Paddy Crag and Buck Barrow from the parking area |
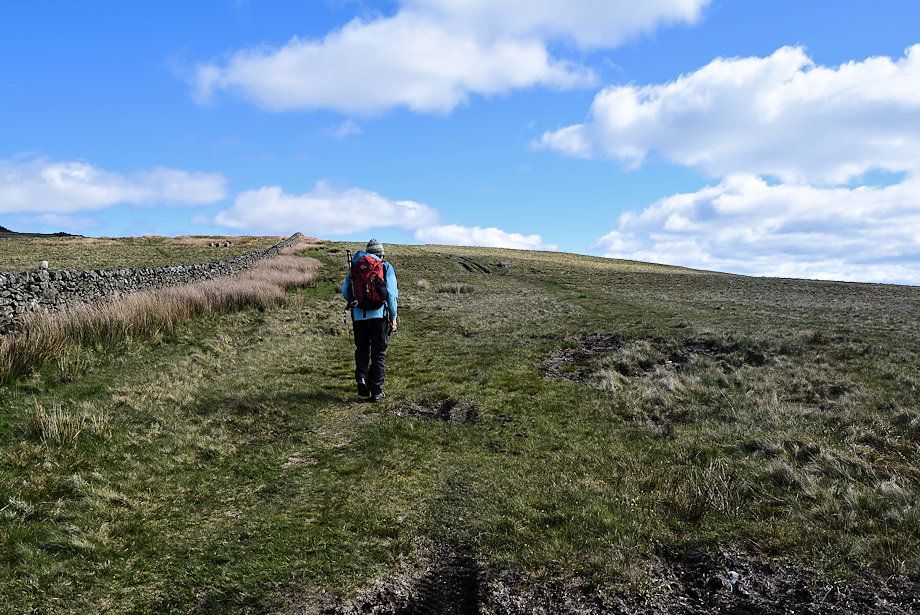 |
| Setting out on the path which initially follows the course of a drystone wall |
 |
| Looking back towards Black Combe and Stoneside Hill |
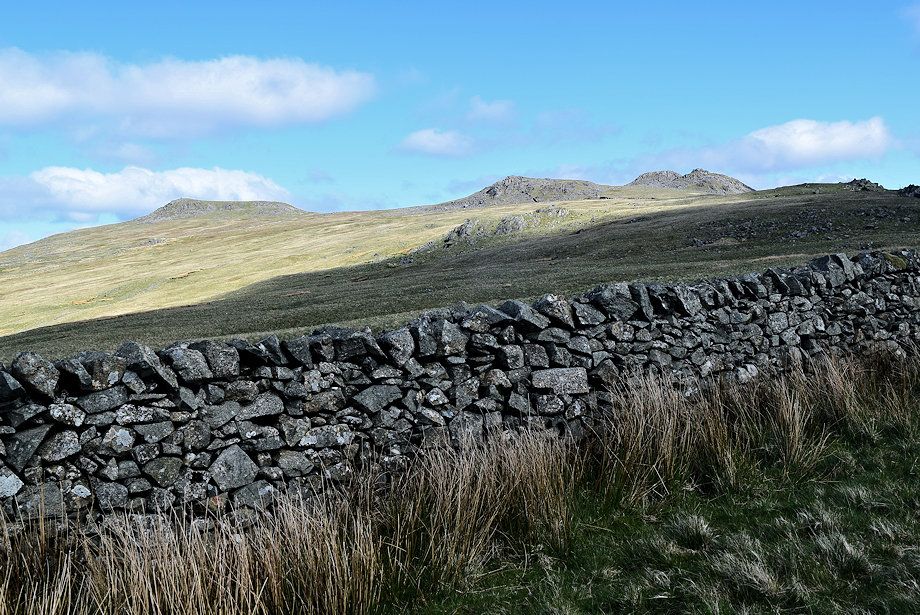 |
| Kinmont Buck Barrow, Great Paddy Crag and Buck Barrow from the path alongside the wall |
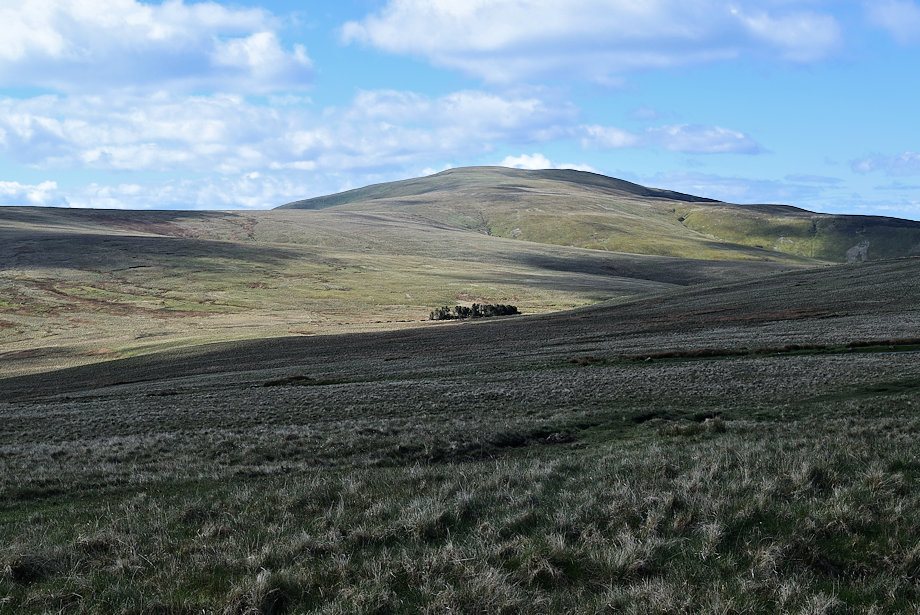 |
| Black Combe |
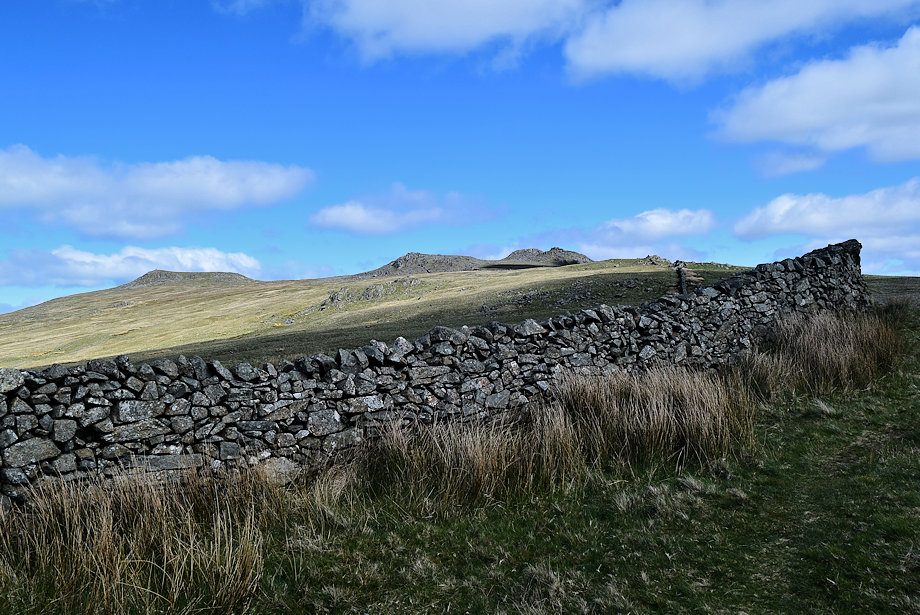 |
| The wall turns to the north on reaching a sharp corner |
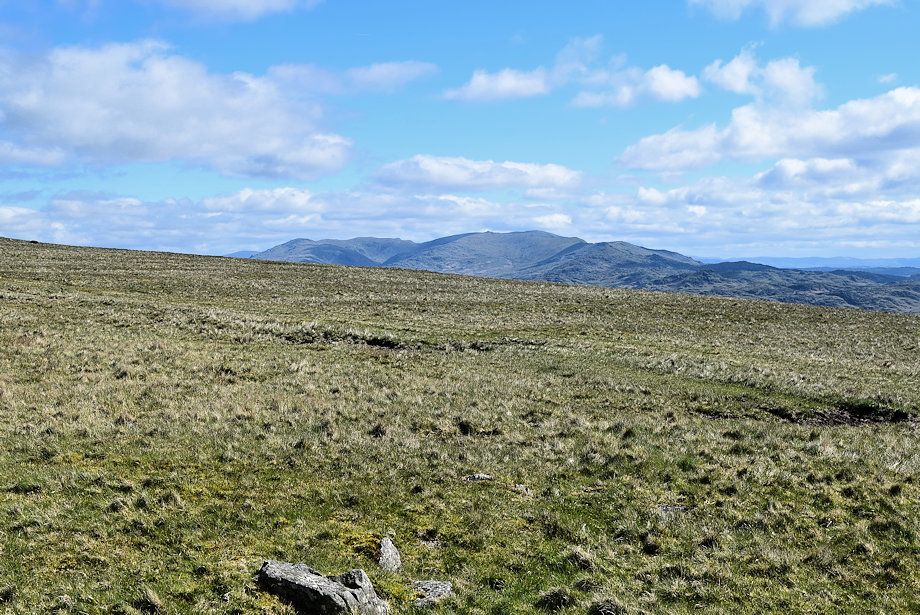 |
| Looking over to The Coniston Fells |
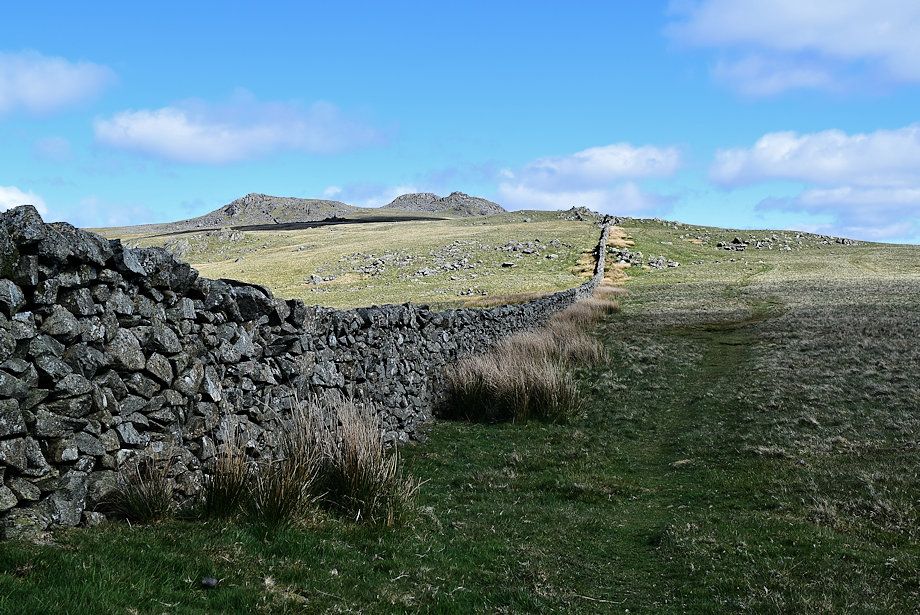 |
| Great Paddy Crag and Buck Barrow from the wall corner |
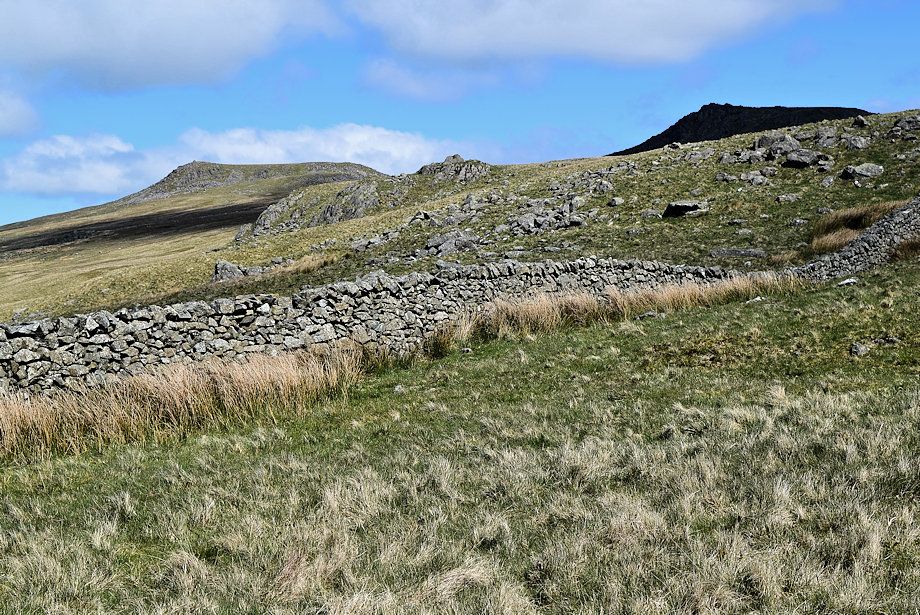 |
| Passing below Peg Crag |
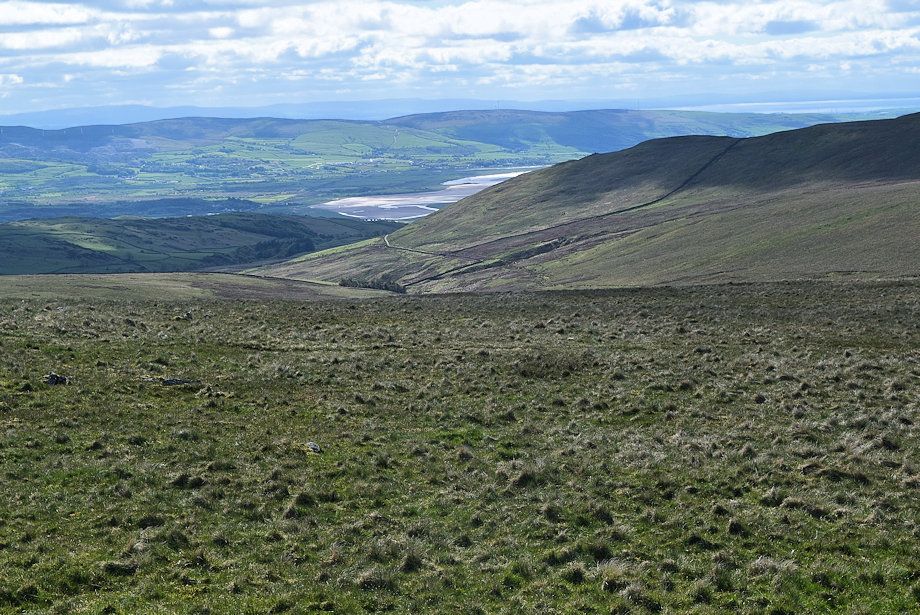 |
| Looking back over Swinside Fell to the Furness Peninsula |
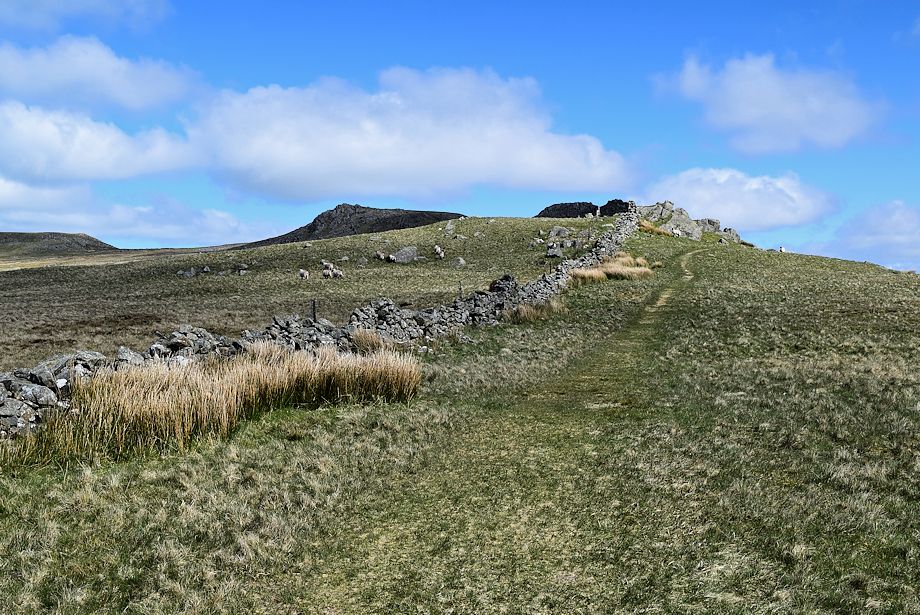 |
| The steepest part of this otherwise gentle ascent rises towards a rock outcop |
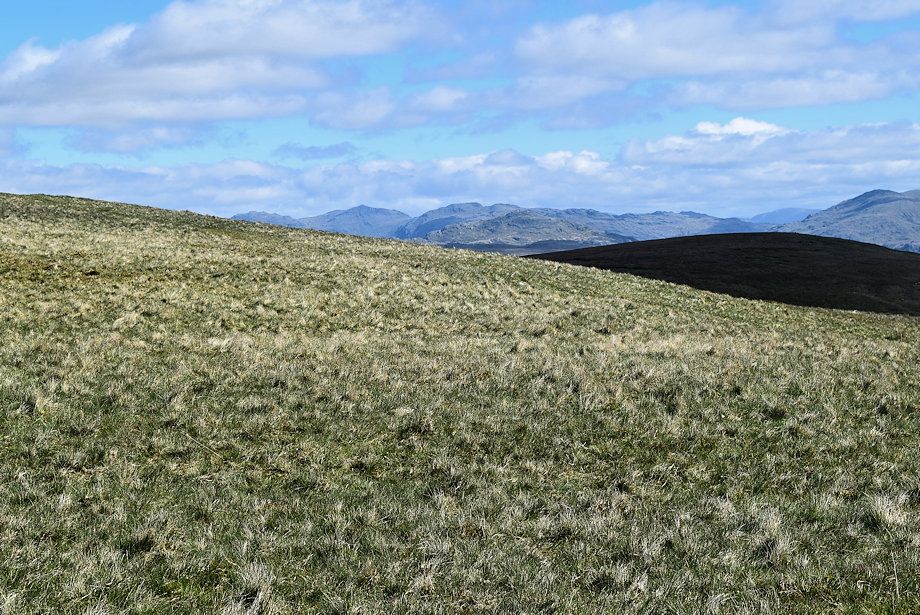 |
| Esk Pike, Bowfell and Crinkle Crags make an appearance |
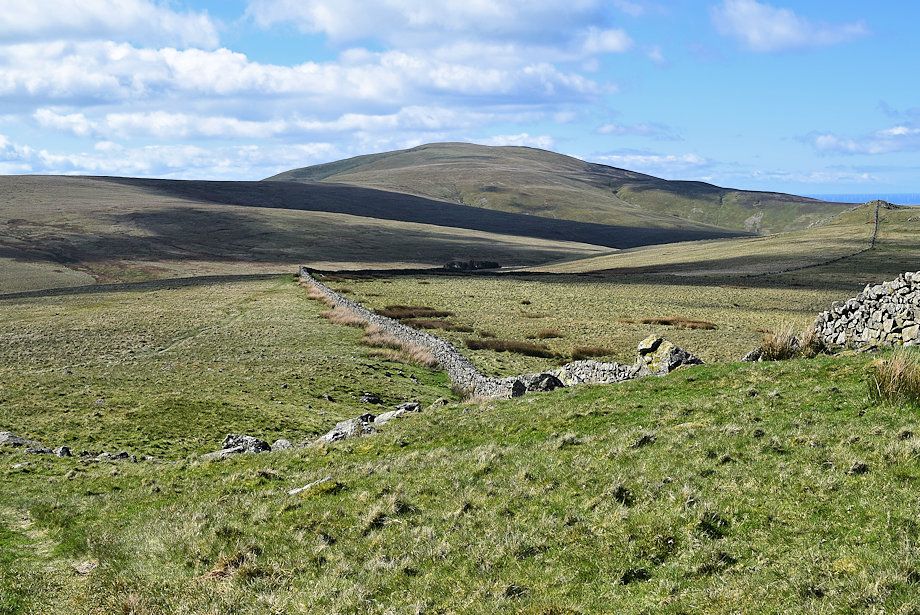 |
| Black Combe from the rock outcrop |
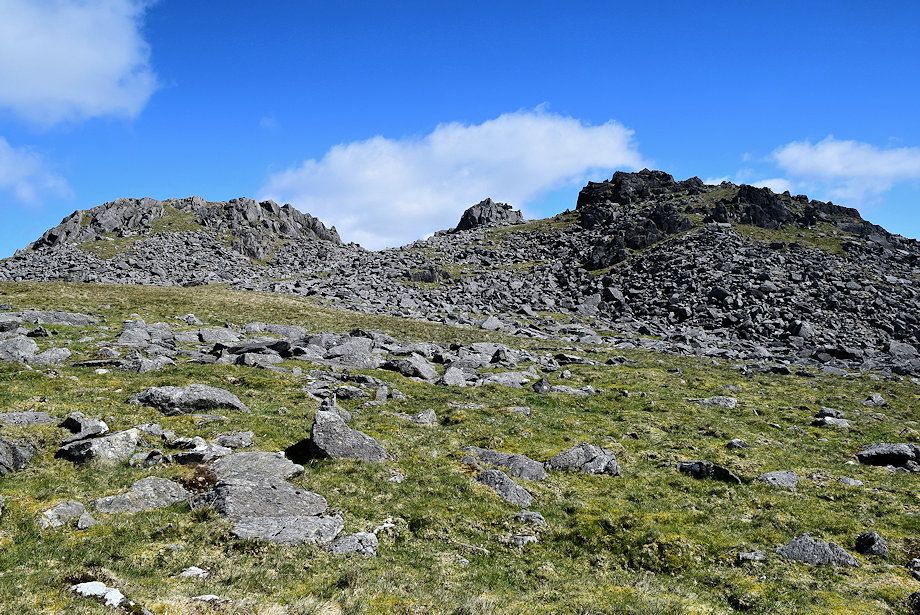 |
| Beyond the rock outcrop the path turns away from the wall to cross the col between Great Paddy Crag and Buck Barrow |
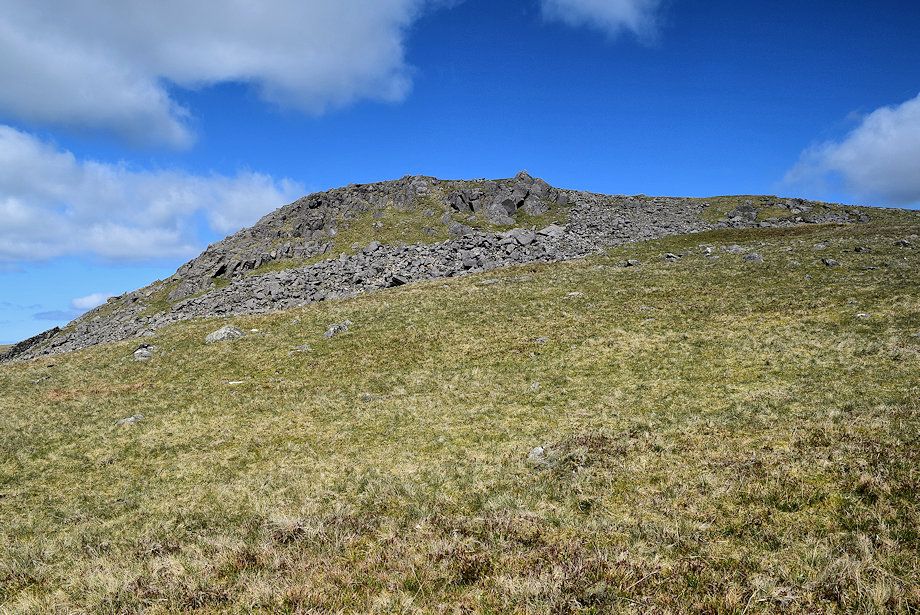 |
| Great Paddy Crag from the climb to the col |
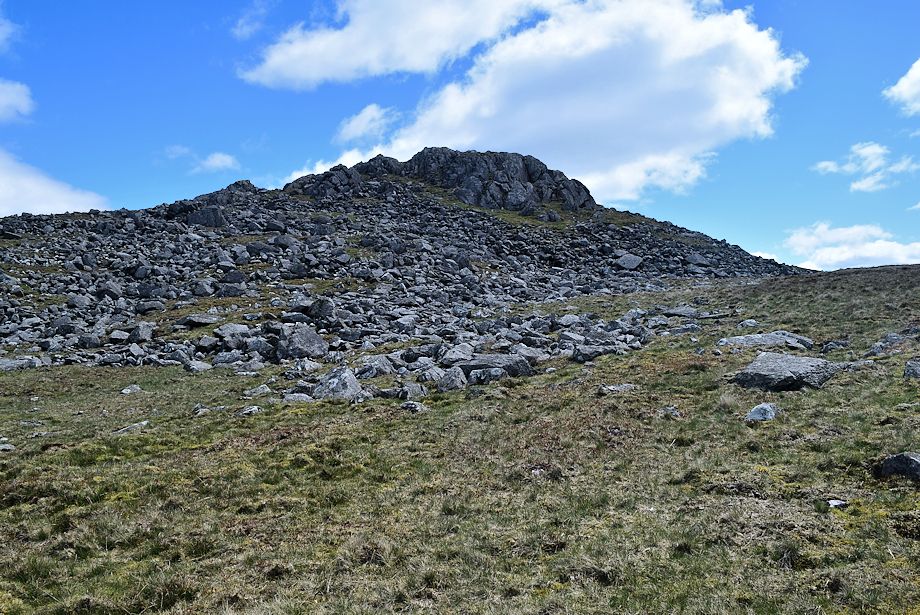 |
| Buck Barrow from the col |
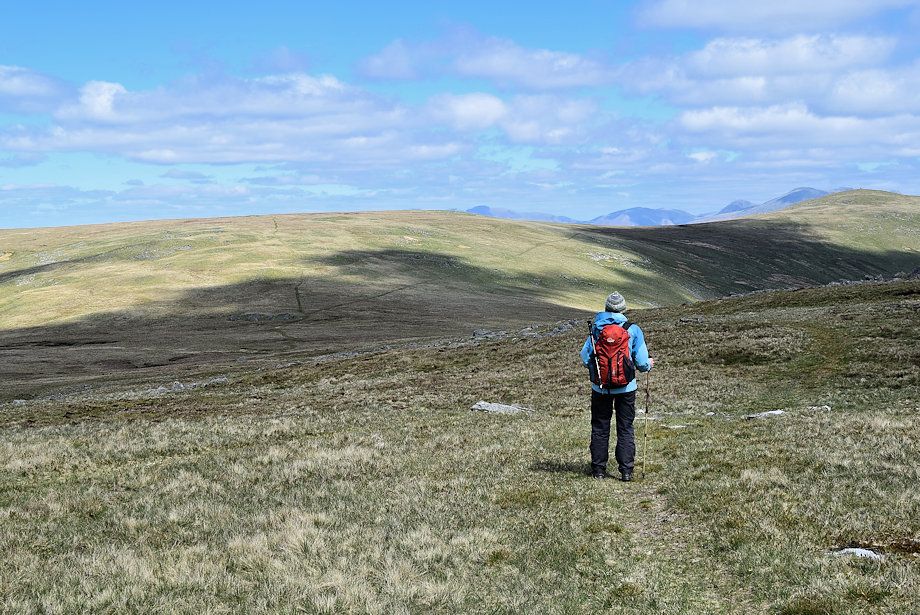 |
| Burn Moor from the col between Great Paddy Crag and Buck Barrow |
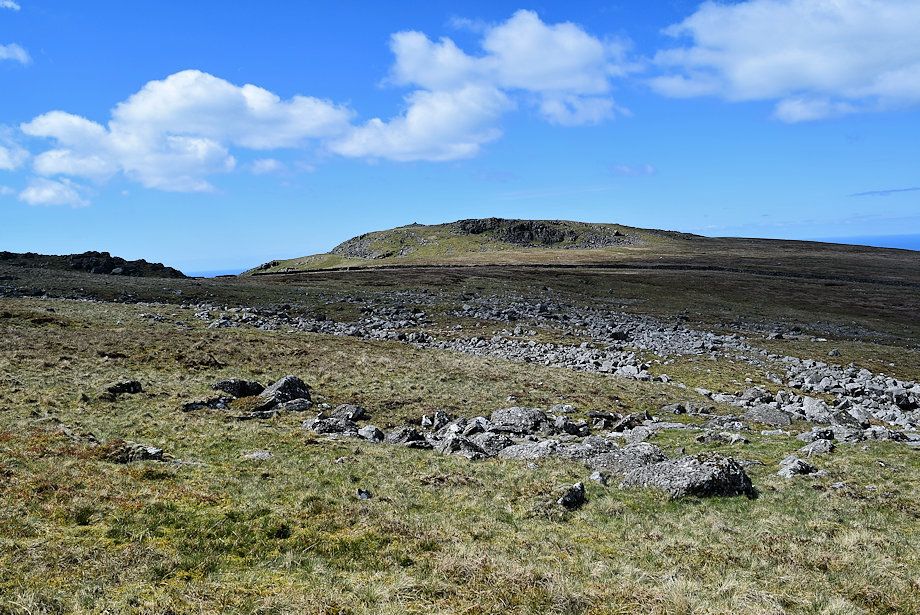 |
| Kinmont Buck Barrow fro the descent from the col |
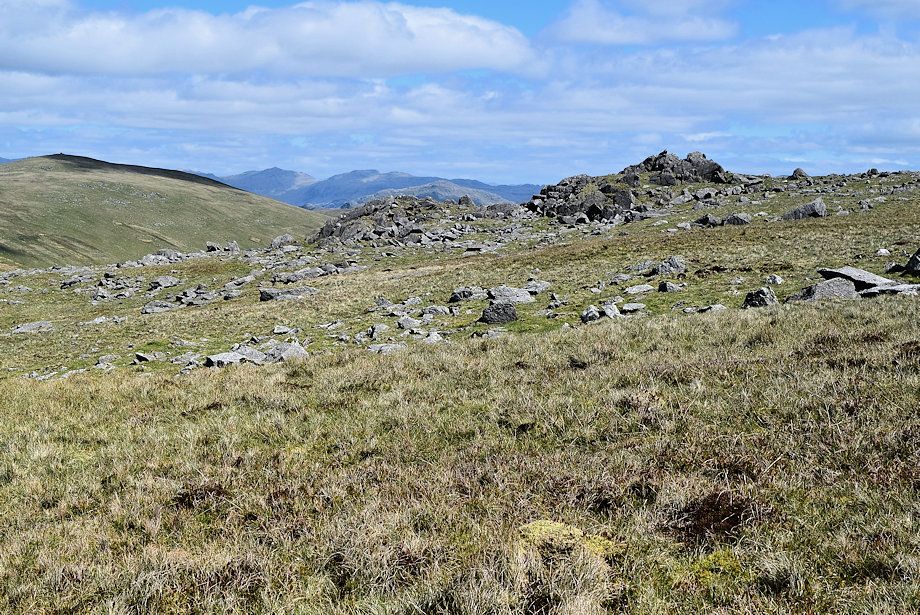 |
| Whit Fell, Bowfell, and Crinkle Crags across the foot of Buckbarrow Crags |
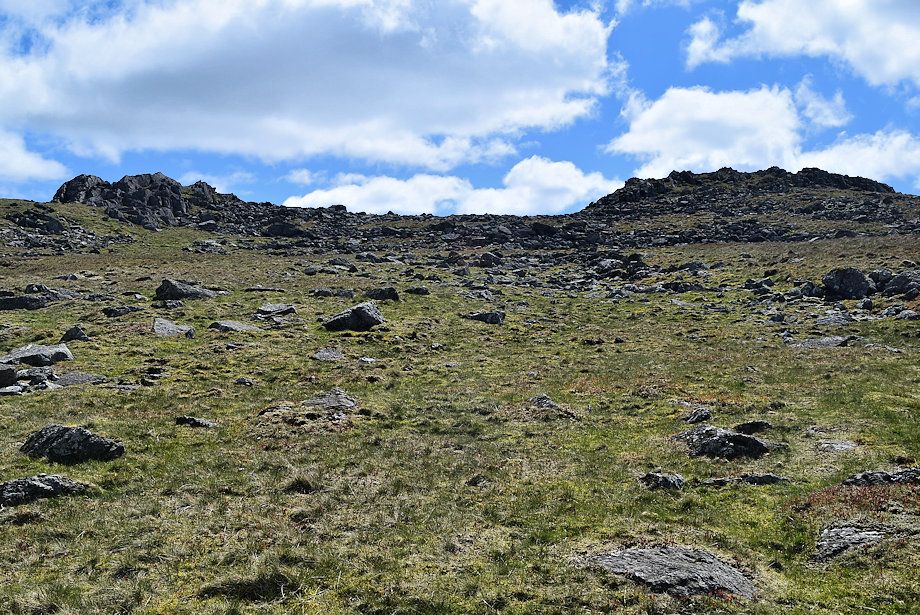 |
| Looking back to Buck Barrow and Great Paddy Crag |
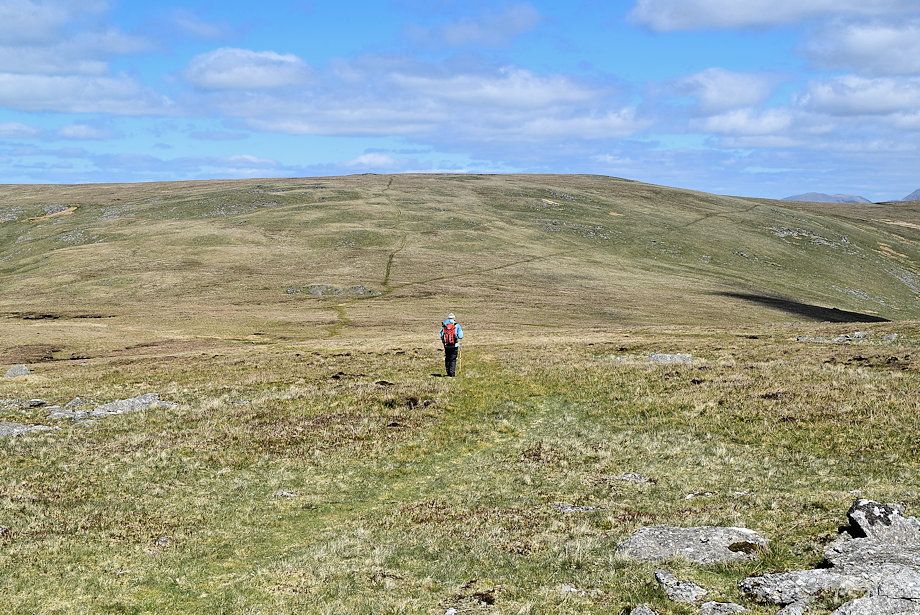 |
| Burn Moor from the descent to the wide col between Littlecell Bottom and Sele Bottom |
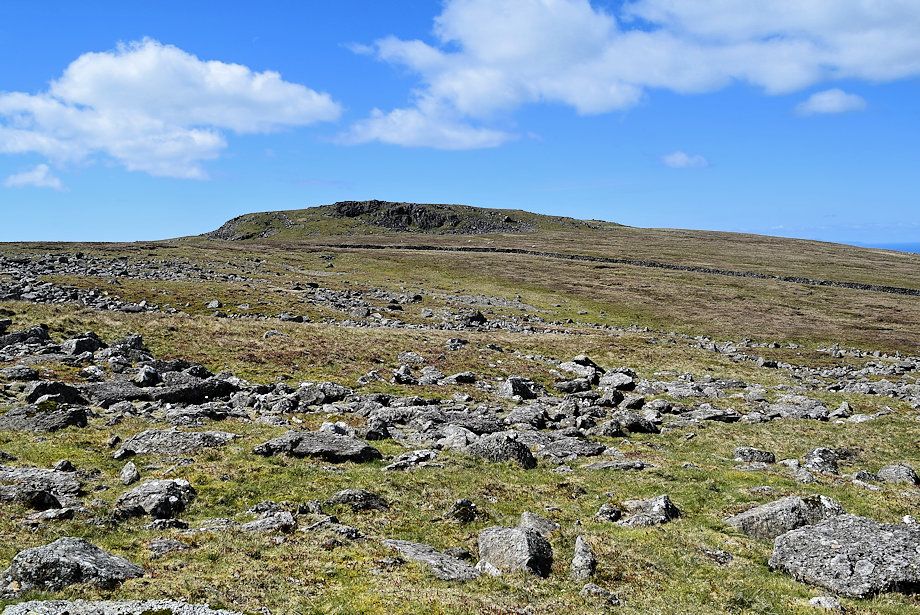 |
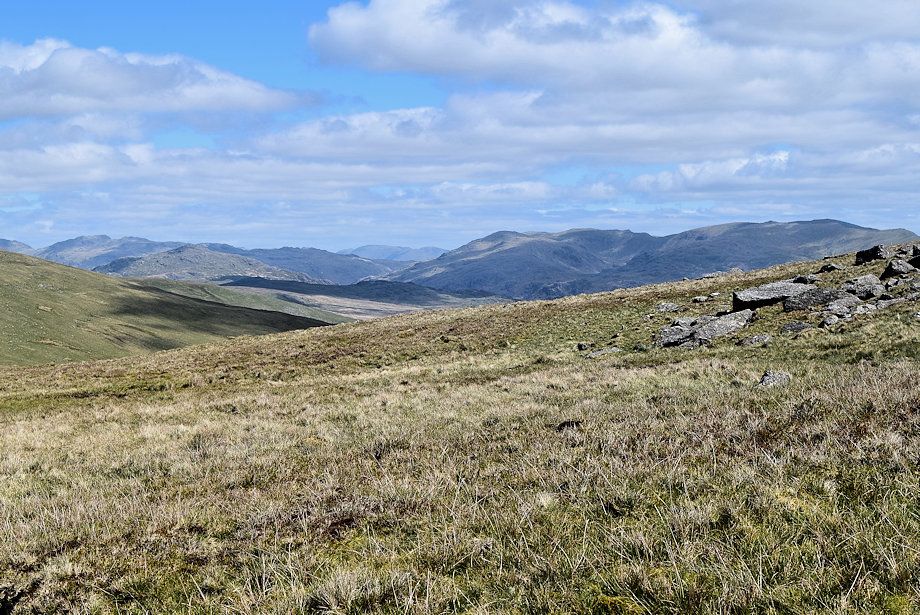
| Looking over towards Kinmont Buck Barrow |
 |
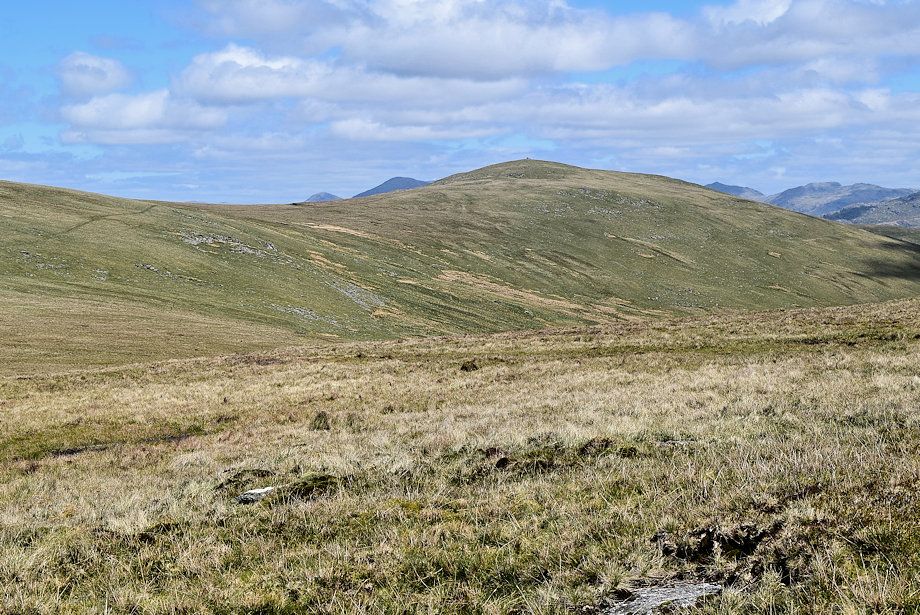
| Looking over towards Crinkle Crags, Helvellyn and the Coniston Fells |
 |
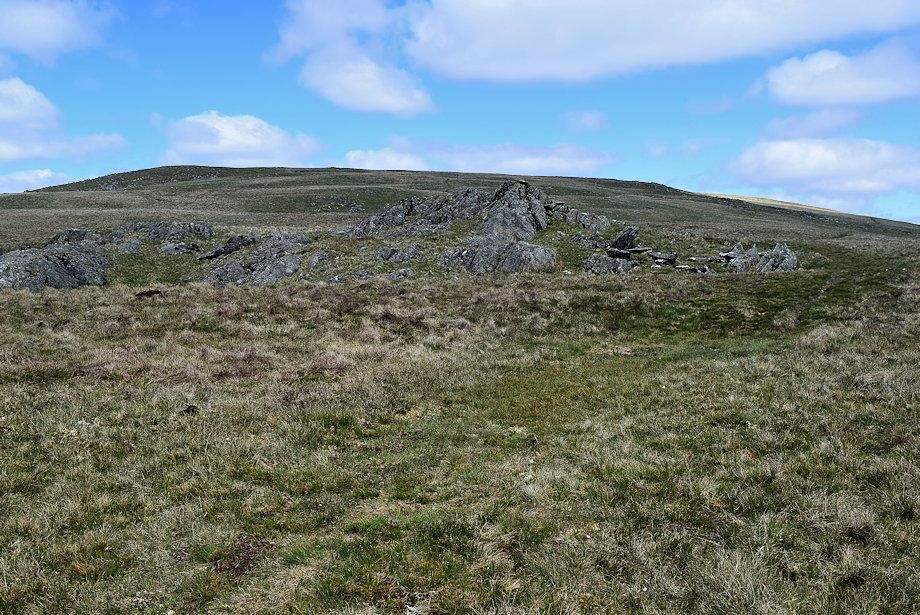
| Great Gable and Scafell appear over the col between Burn Moor and Whit Fell |
 |
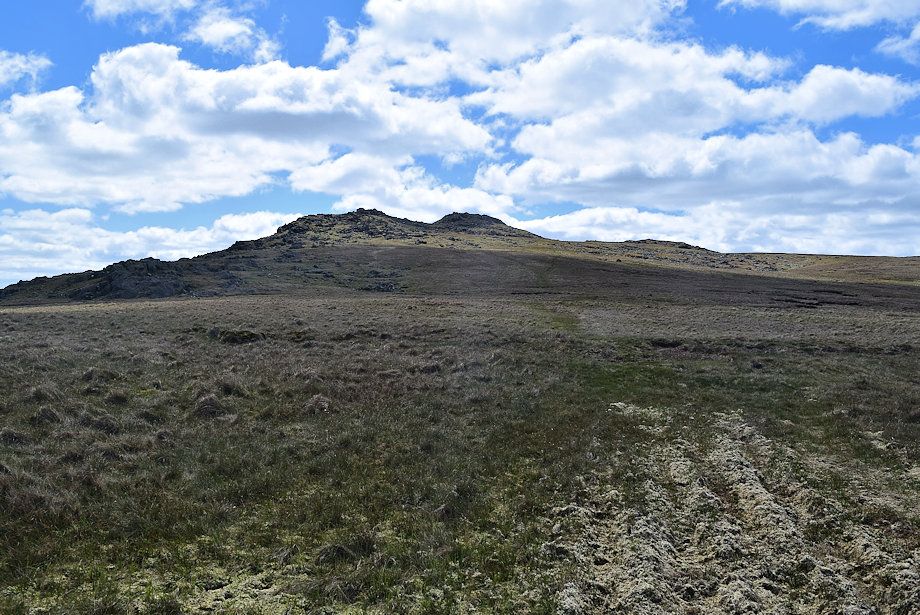
| An isolated rock outcrop occupies the otherwise grassy col under Burn Moor |
 |
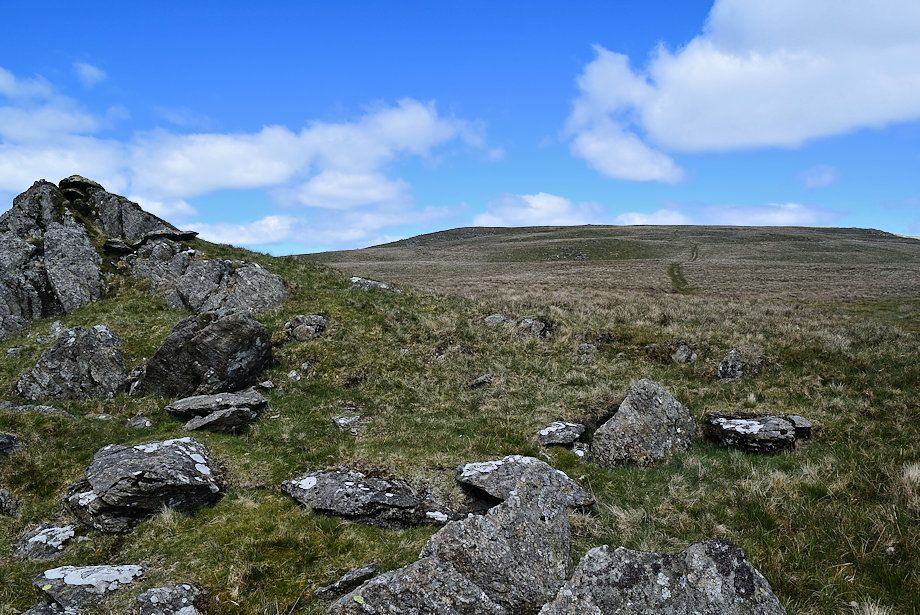
| Looking back to Buck Barrow from the rock outcrop |
 |
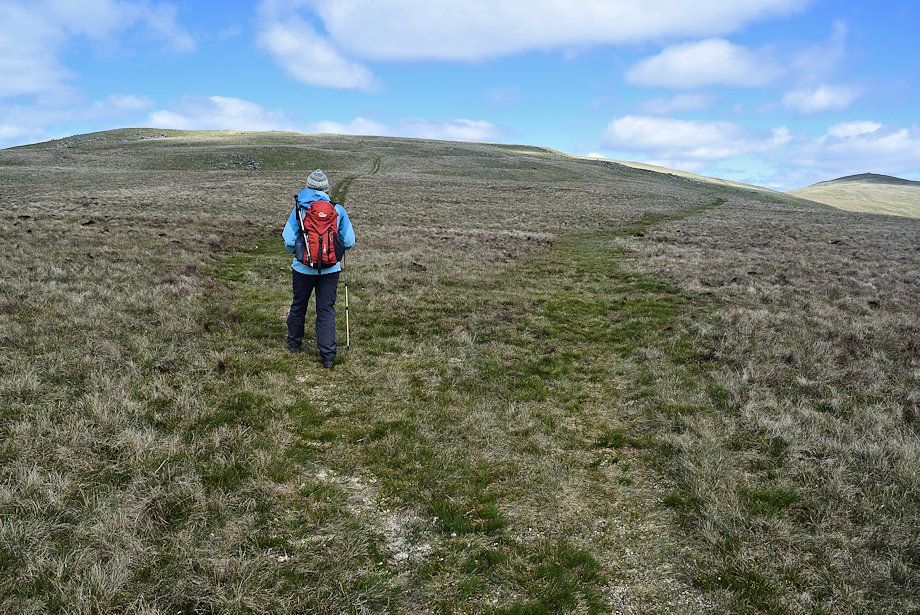
| Burn Moor from the rock outcrop |
 |
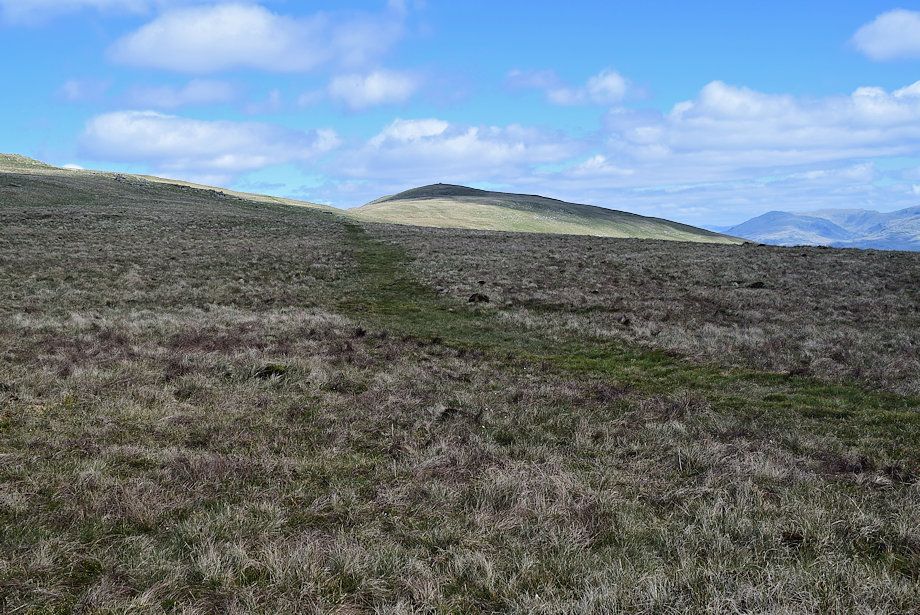
| Shortly after passing the rock outcrop the path splits, keep left to begin the direct ascent to the summit |
 |
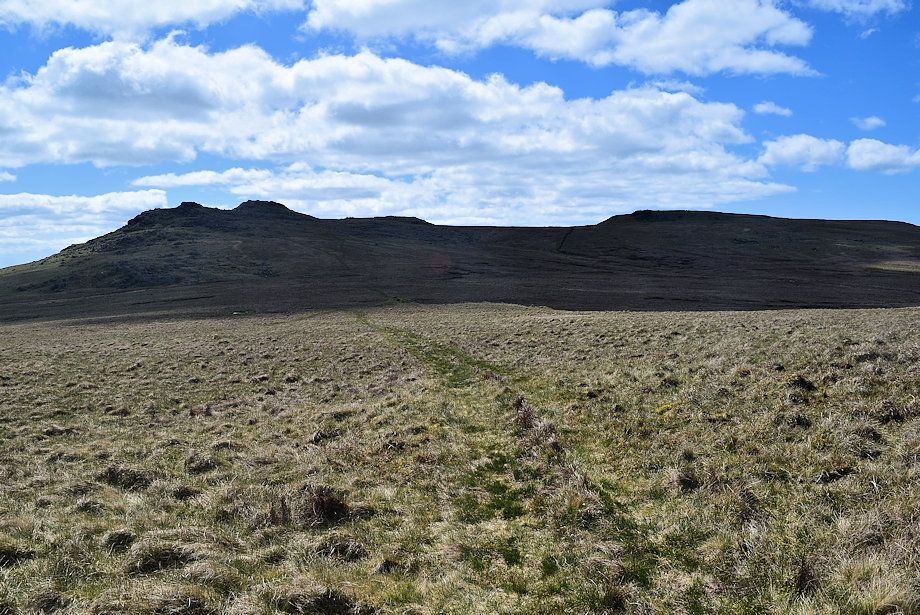
| The right branch contours the eastern slope towards the col between Burn Moor and Whit Fell |
 |
| Looking back to Buck Barrow, Great Paddy Crag and Kinmont Buck Barrow from the path to the summit |
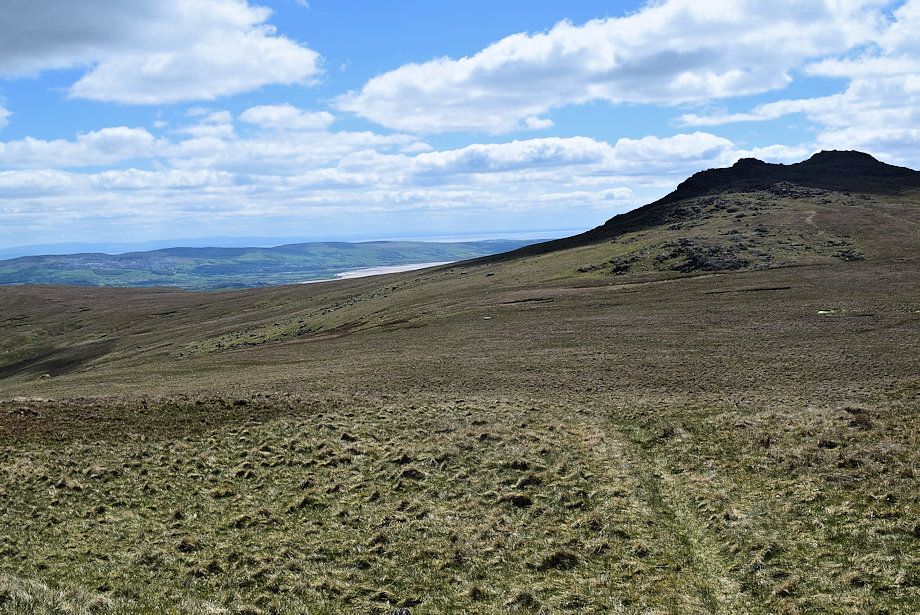 |
| The Furness Peninsula from the path to the summit |
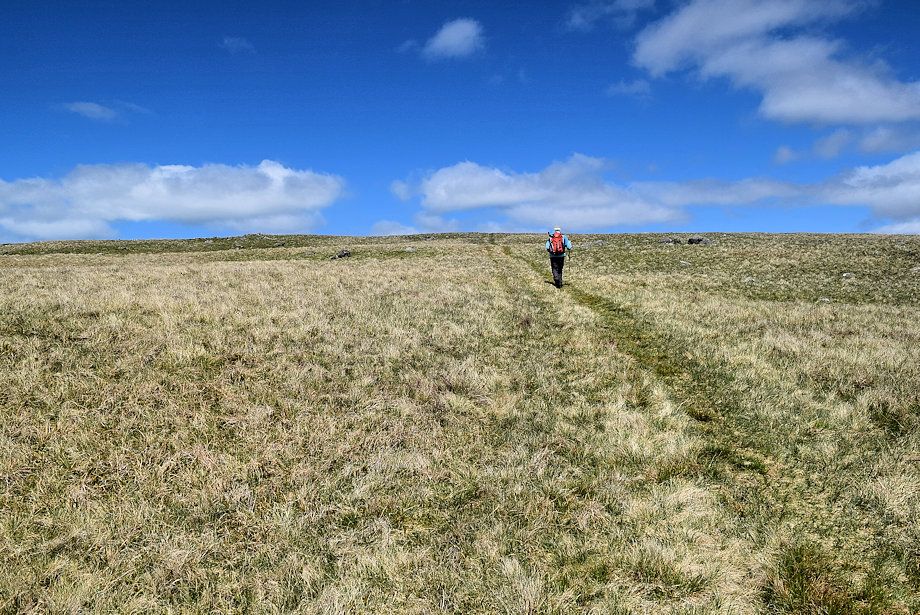 |
| The gently rising path to the summit of Burn Moor |
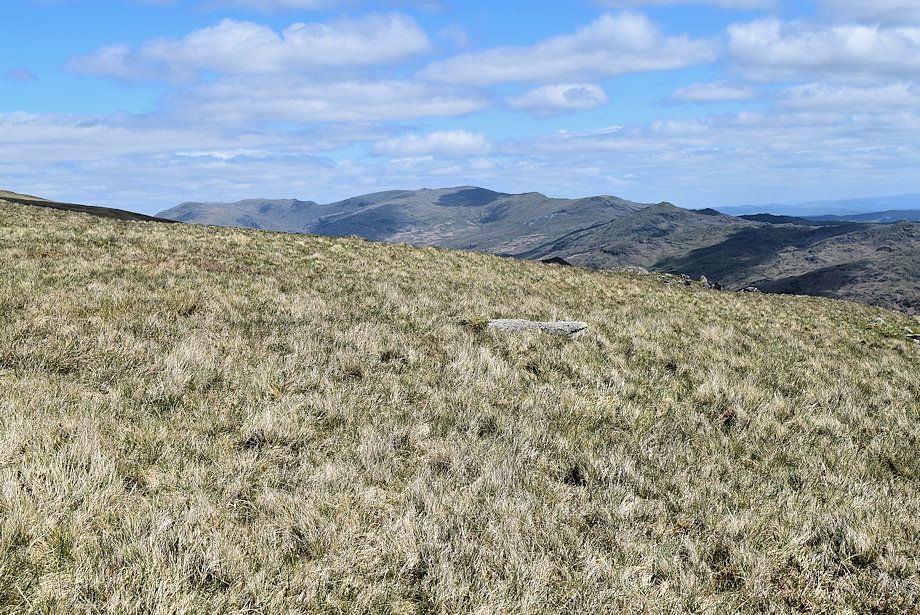 |
| Looking over towards the Coniston Fells |
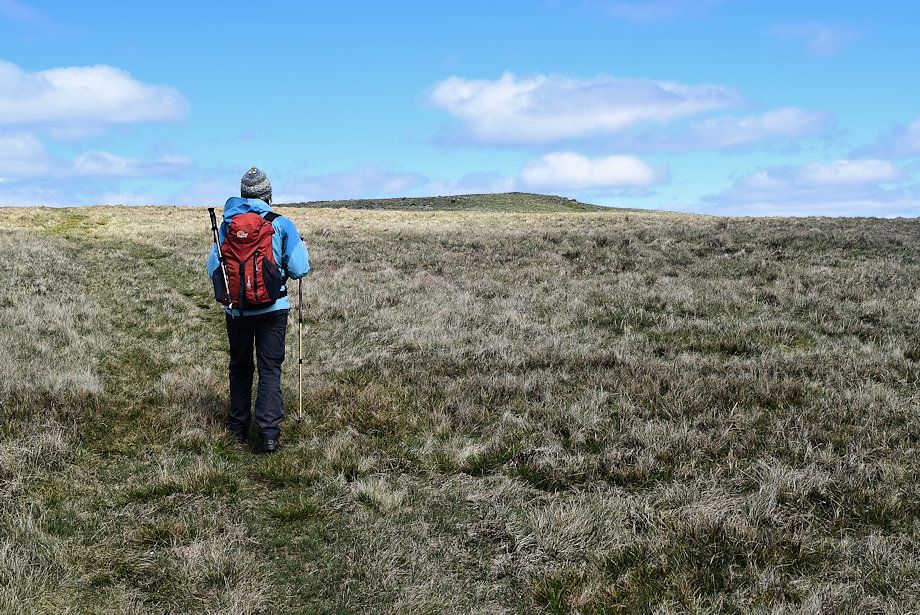 |
| The summit of Burn Moor comes into view |
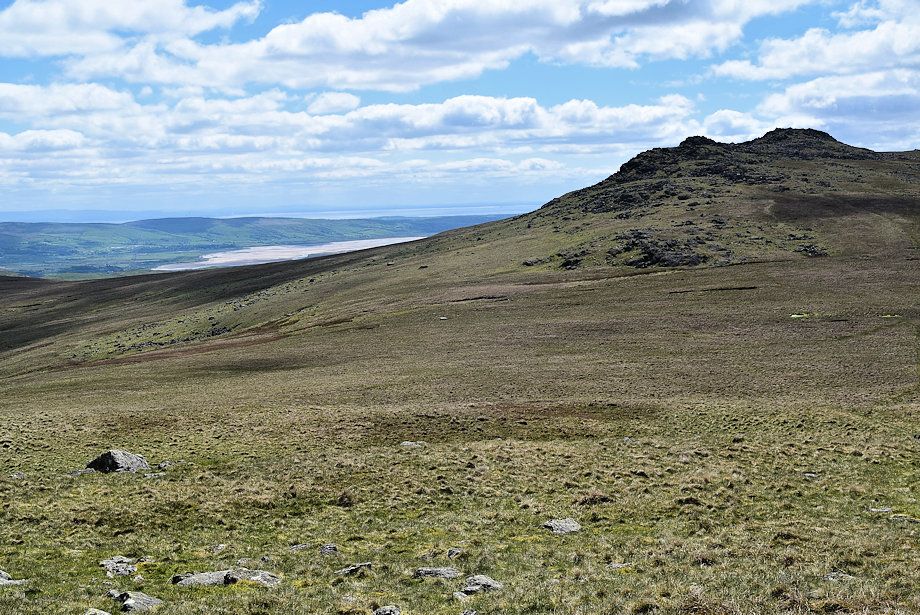 |
| The Duddon Estuary and Buck Barrow |
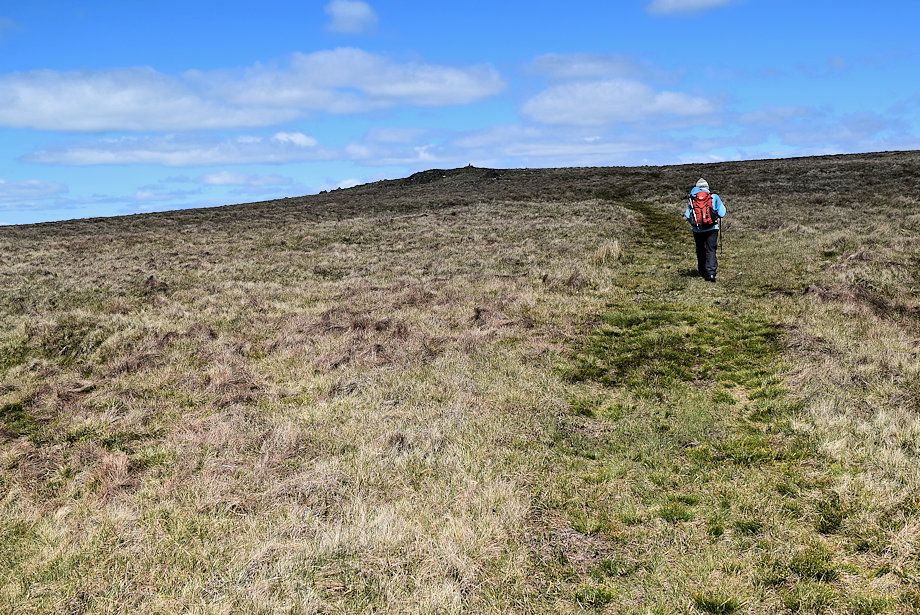 |
| The path diverts slightly to the left towards a rock outcrop which is surmounted by a cairn |
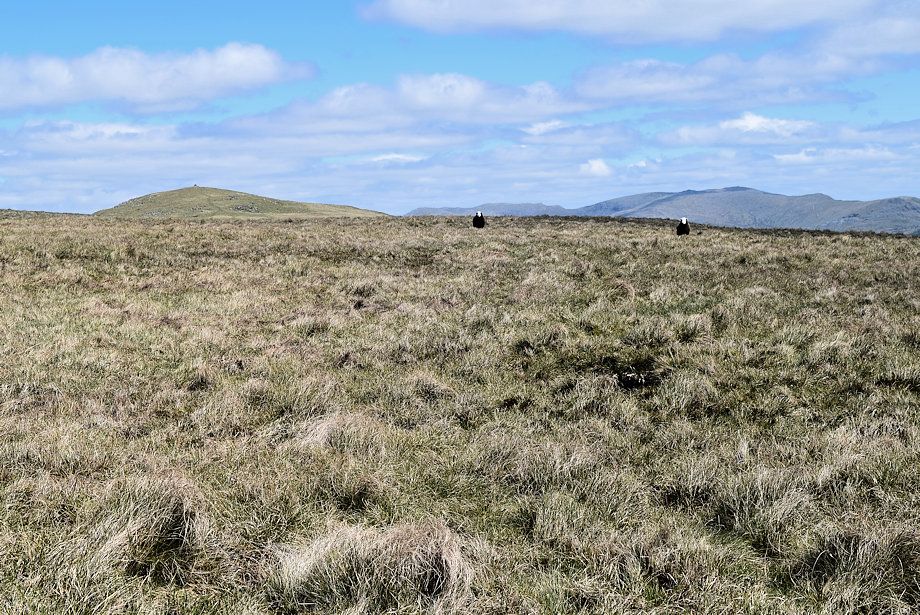 |
| Whit Fell and the Coniston Fells over the summit plateau |
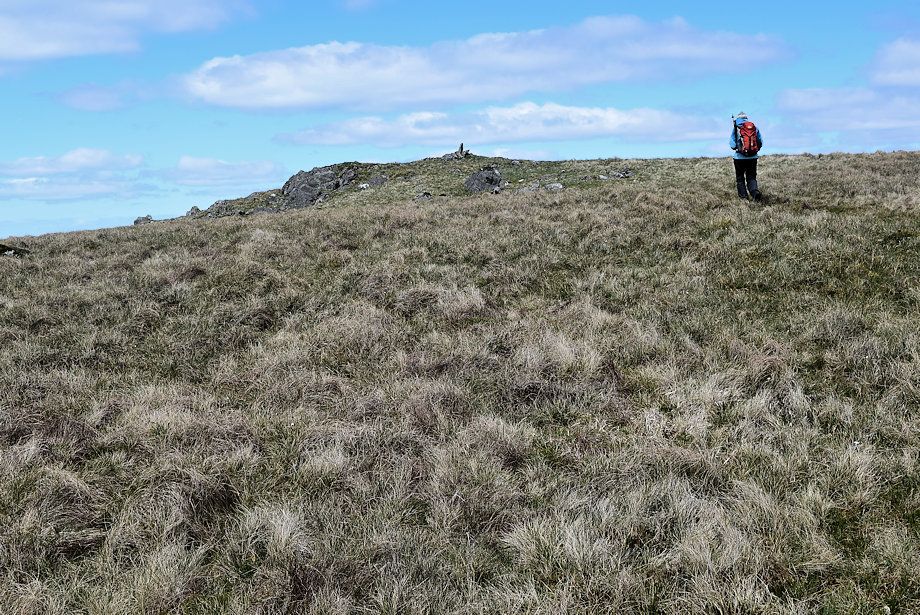 |
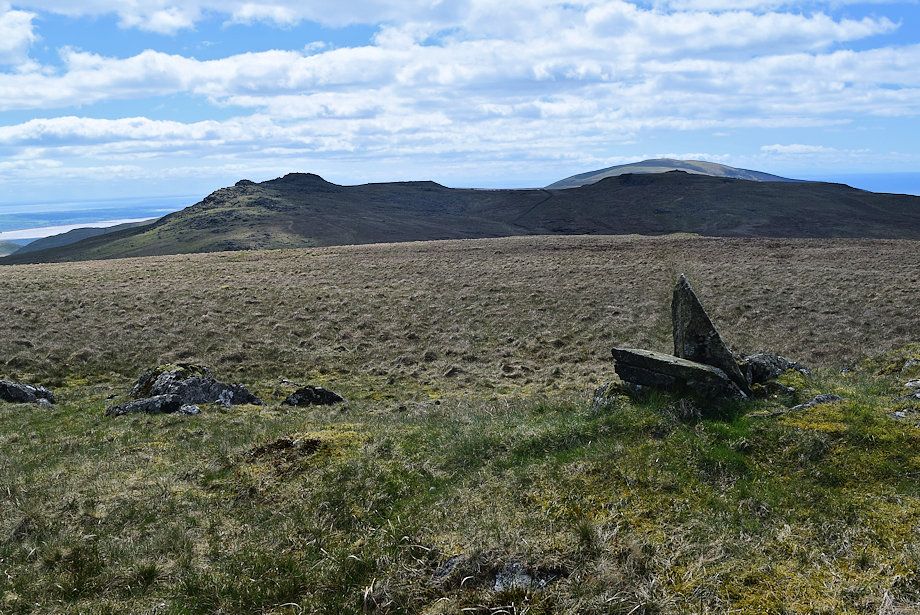
| Approaching the rock outcrop |
 |
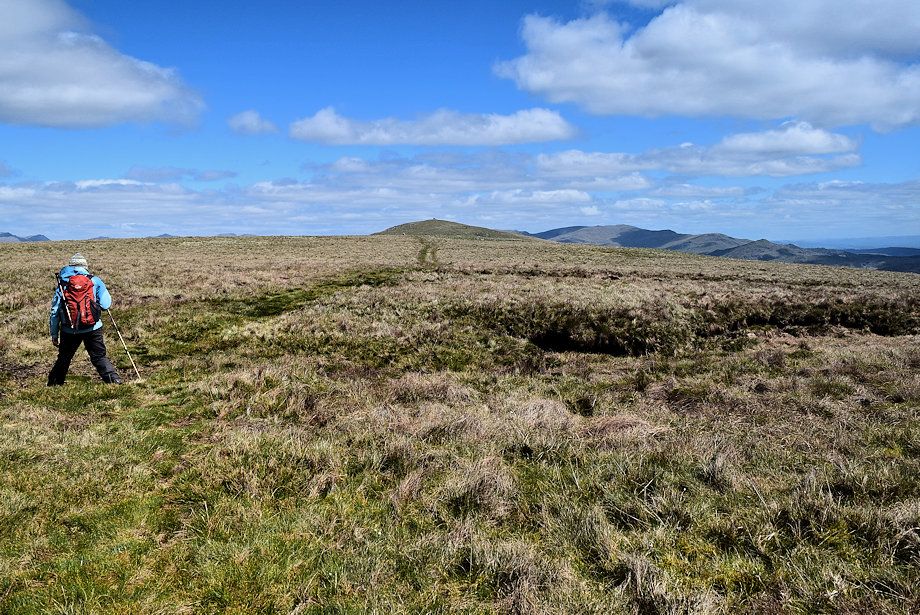
| The simple cairn on top of the rock outcrop |
 |
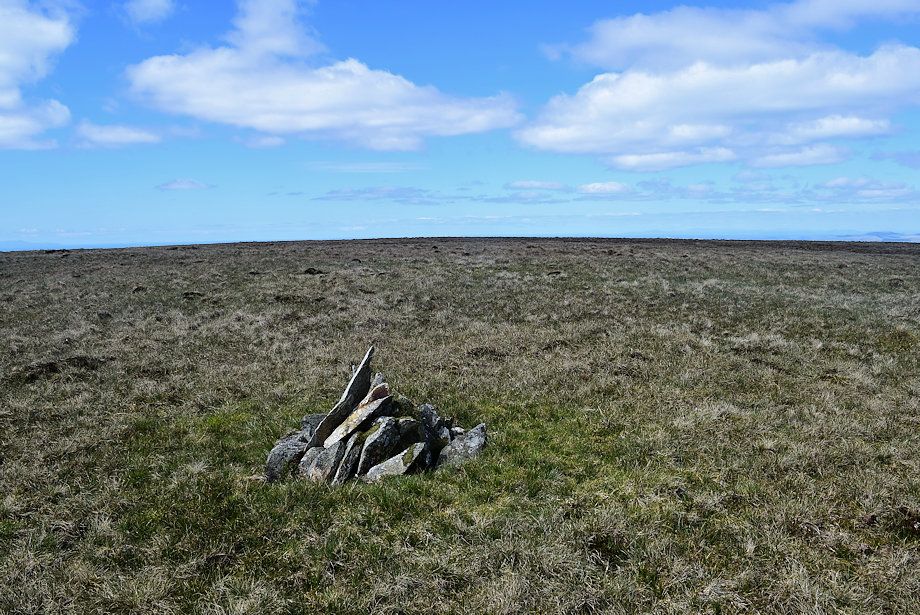
| The path turns back towards the main cairn on the summit |
 |
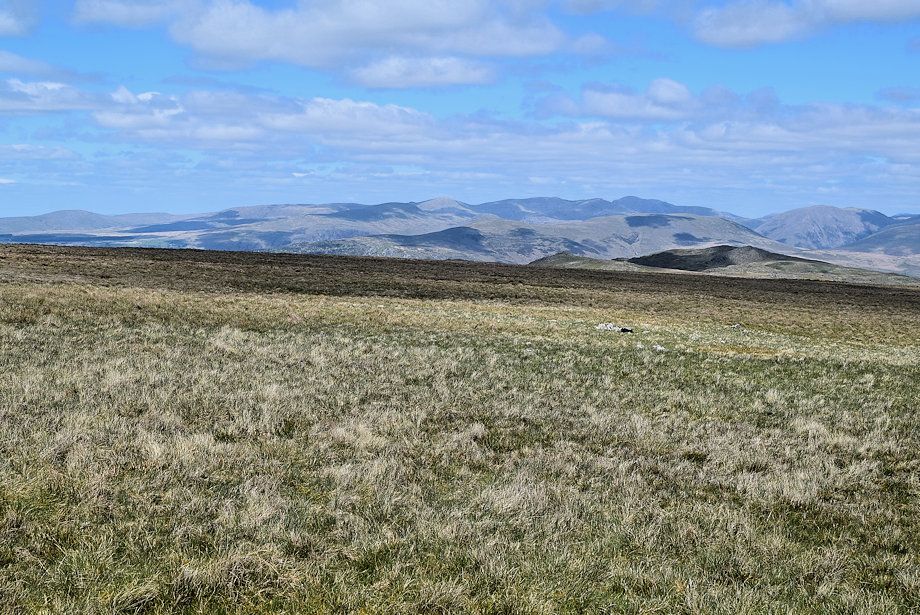
| The summit cairn on Burn Fell |
 |
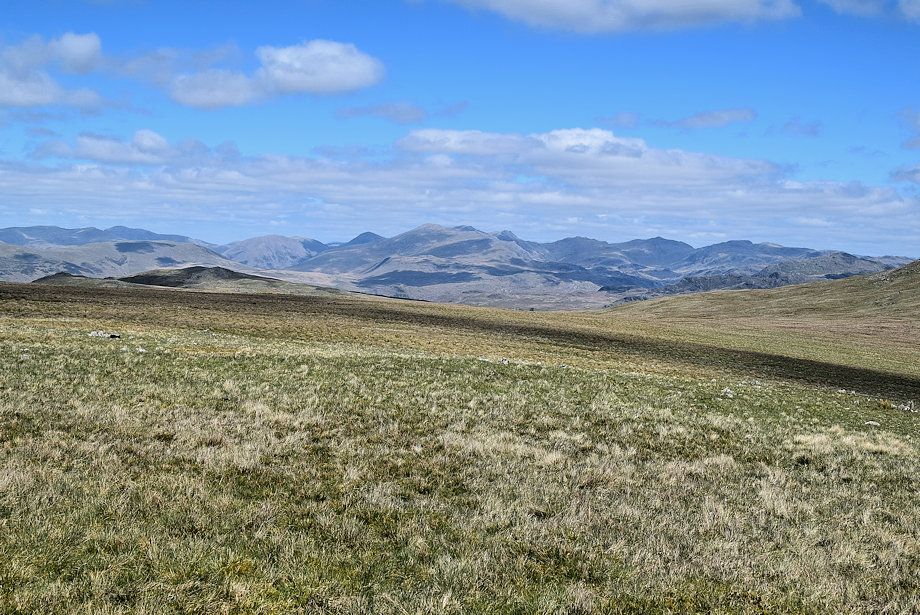
| The Western Fells from the summit of Burn Moor |
 |
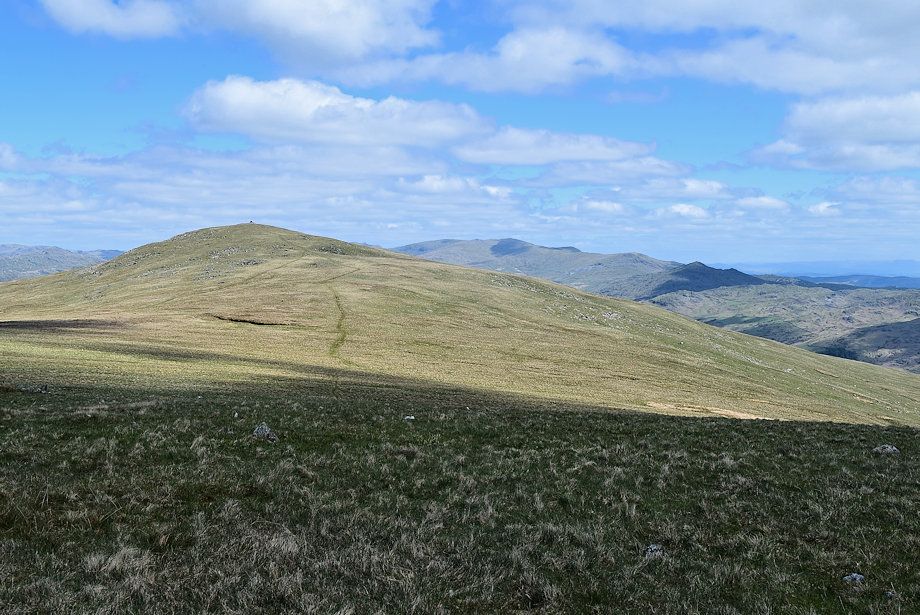
| The Scafell group on the centre horizon from the summit of Burn Moor |
 |
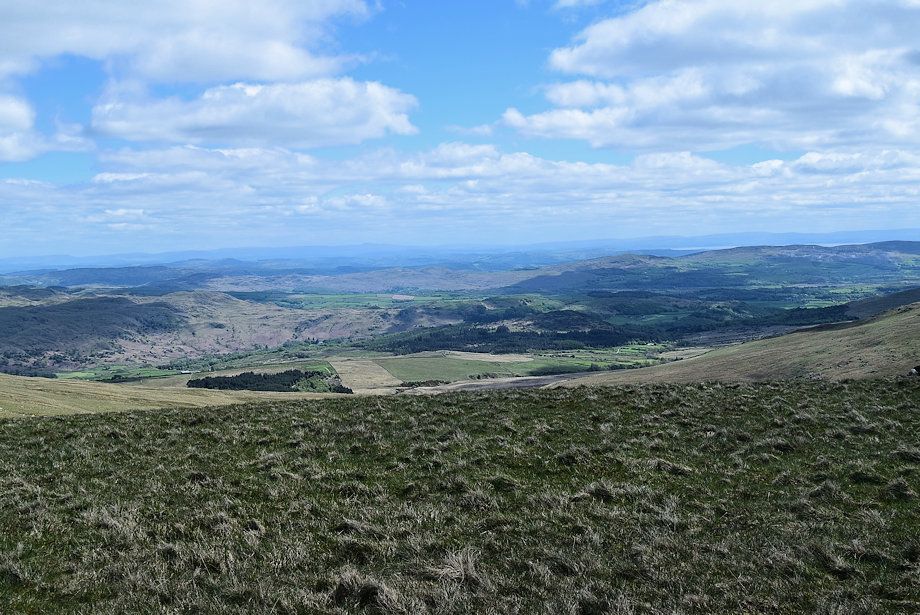
| Whit Fell and the Coniston Fells from the summit of Burn Moor |
 |
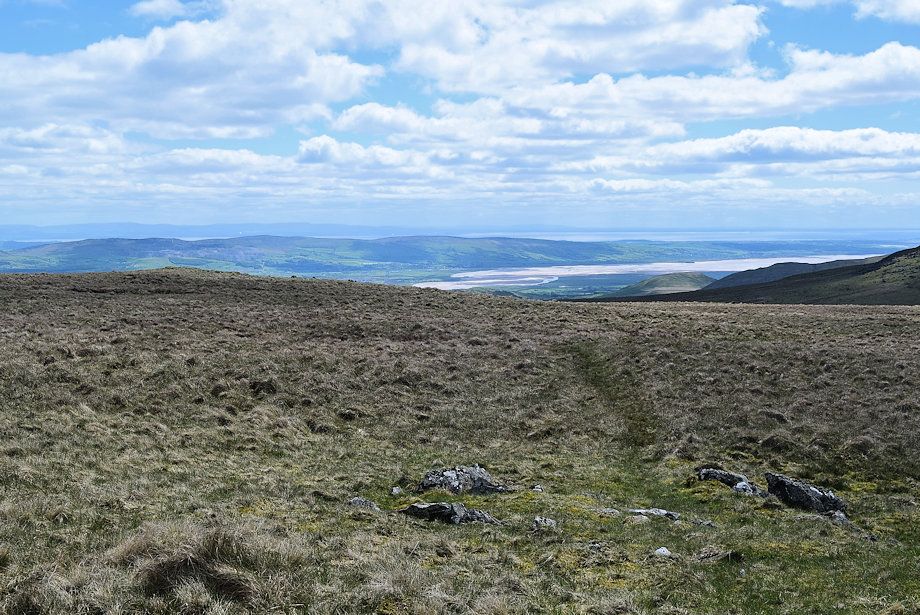
| The lower part of the Duddon valley from the summit of Burn Moor |
 |
| The Duddon Estuary from the summit of Burn Moor |
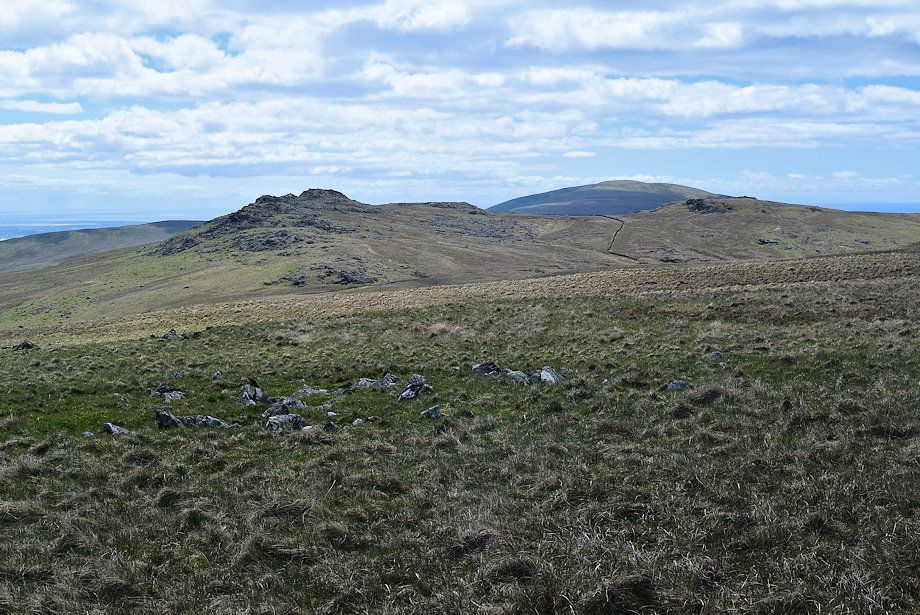 |
| Buck Barrow, Great Paddy Crag, Black Combe and Kinmont Buck Barrow from the summit of Burn Moor |
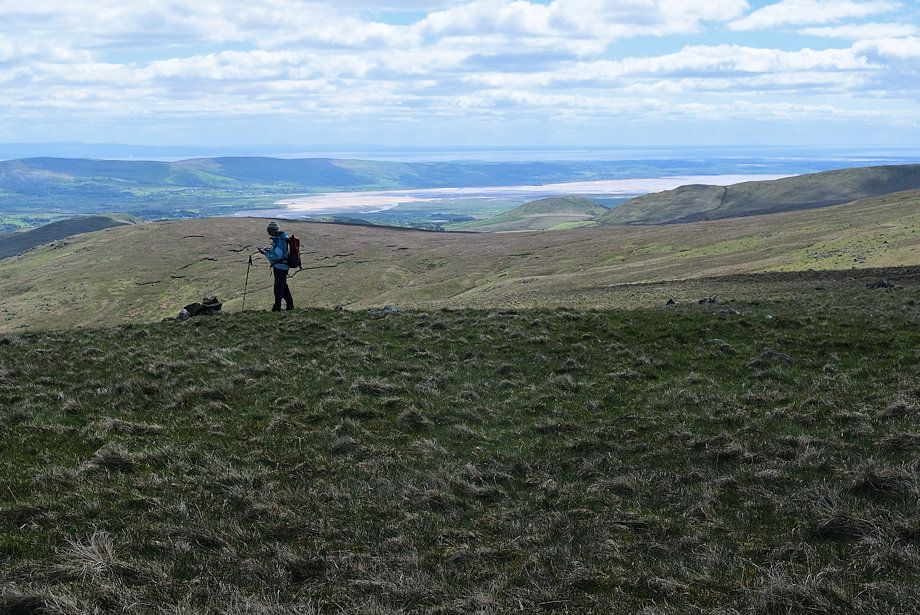 |
| A few yards to the west is another, larger, cairn which overlooks Sele Bottom |
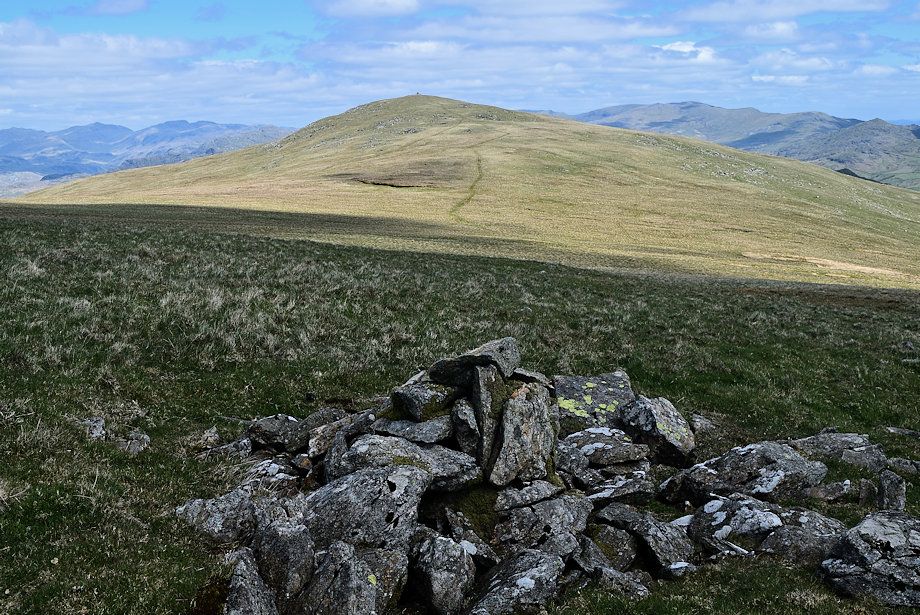 |
| Whit Fell from the larger cairn |