| Dow Crag - Route Two |
| Start - Torver SD 285 945 | Distance - 3 miles | Ascent - 2,240 feet | Time - 2 hours : 20 minutes |
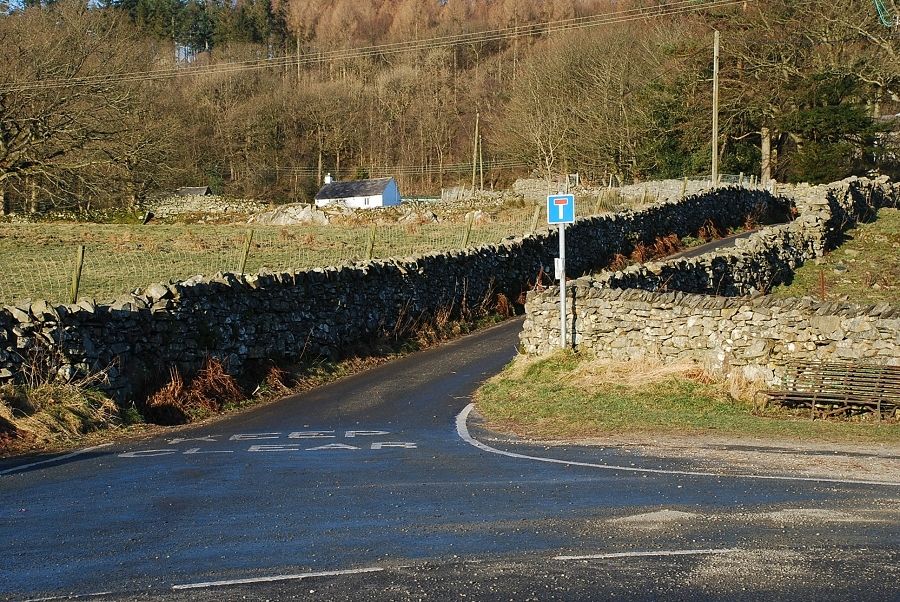 |
| The entrance to Scarr Head lane, the start of the walk. There is limited space for parking each side of the road junction but more is available nearby at the church hall (a small fee towards its upkeep is requested) |
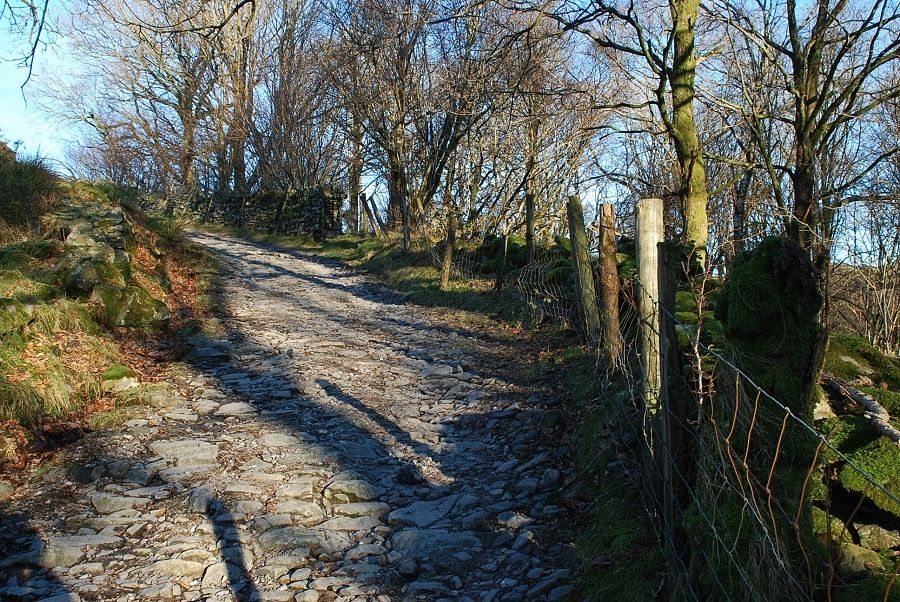 |
| The lane threads through the hamlet to the start of a gated track which rises steadily above Torver Beck |
 |
|
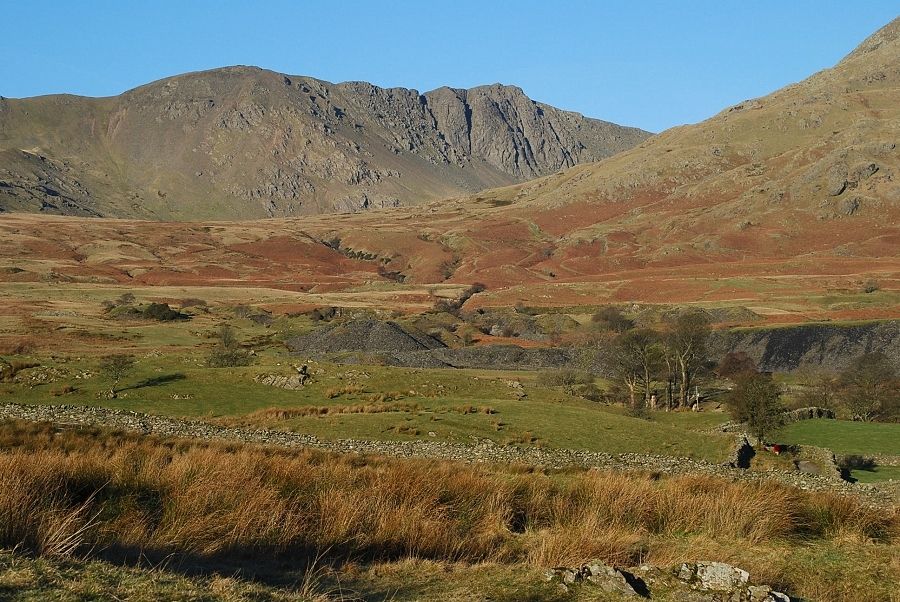
Dow Crag comes into view when the track reaches its highest point before it descends towards Torver Beck and the disused Banishead Quarry
|
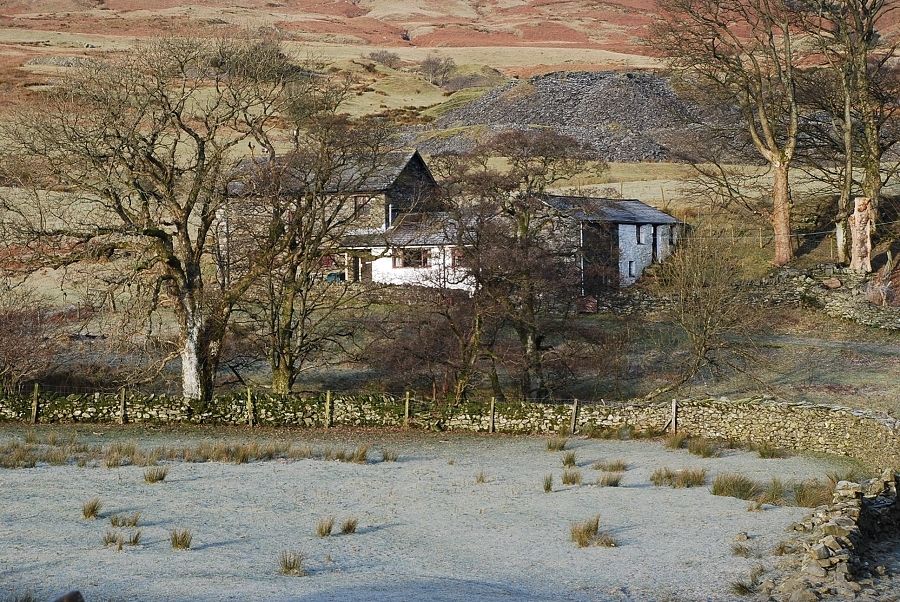 |
| Tranearth climbing hut which is passed on the way to the quarry |
 |
| Buck Pike framed by the spoil heaps of Banishead Quarry |
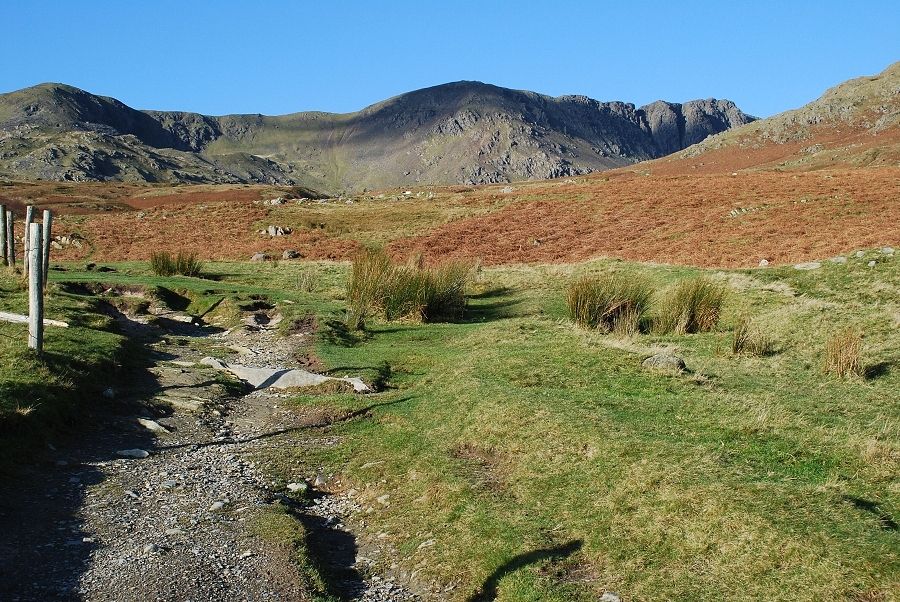 |
| The view from the side of the large excavation of Banishead Quarry. Brown Pike, Buck Pike and the buttresses of Dow Crag with the south ridge of Coniston Old Man rising on the right. Various paths lead on across the moorland to join the Walna Scar Road |
 |
| Shortly after joining the |
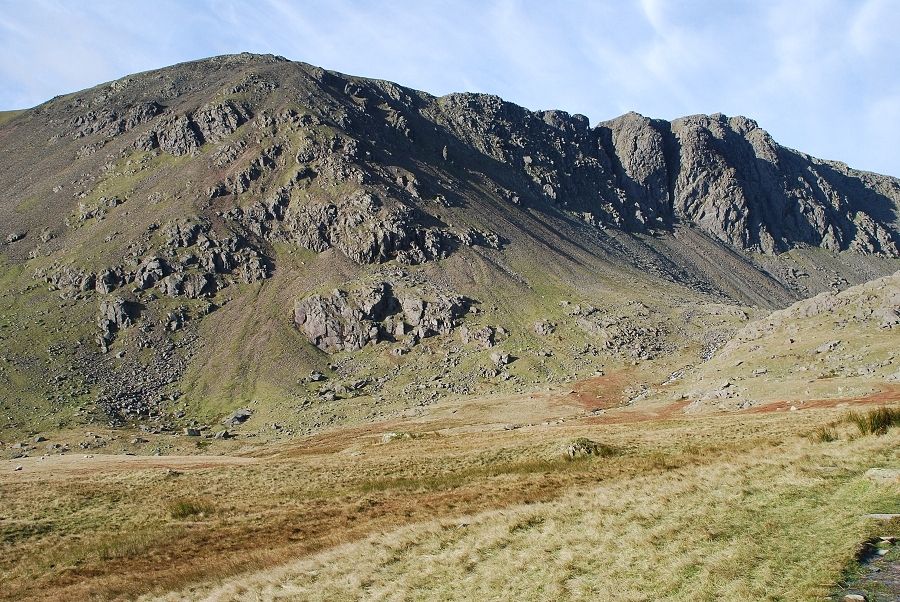 |
| Dow Crag from the edge of The Cove |
 |
| Dow Crag from the white cairn which AW indicated on page seven of the Dow Crag chapter. Inexplicably it is not shown in the current second edition Dow Crag - page 1 |
 |
| Dow Crag from Goat's Water Dow Crag - page 12 |
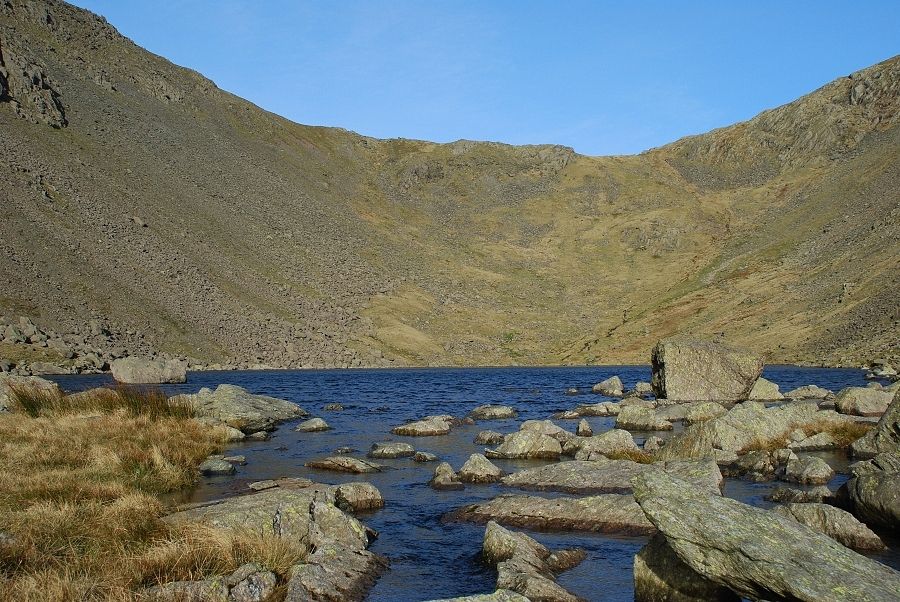 |
| Goat's Hause from the tarn's outlet stream |
 |
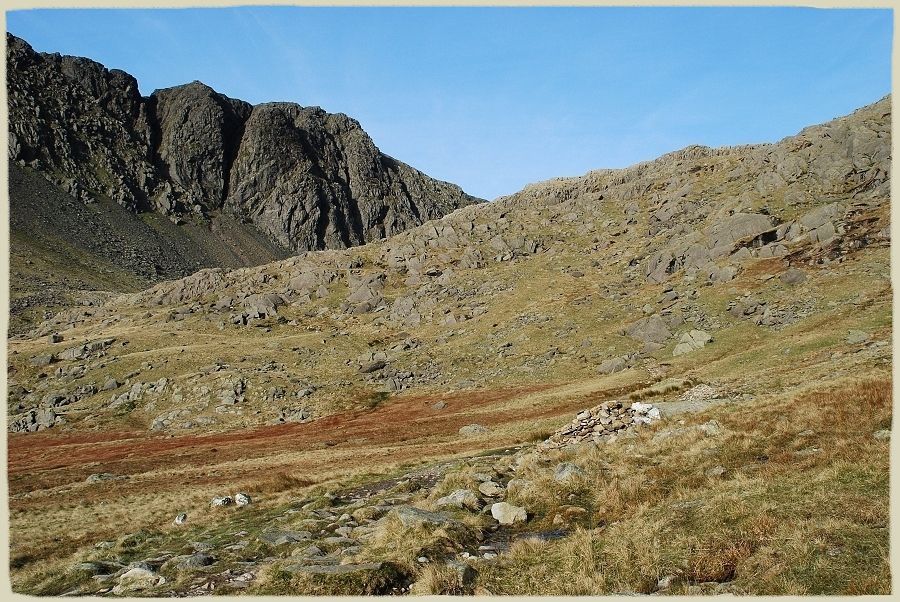
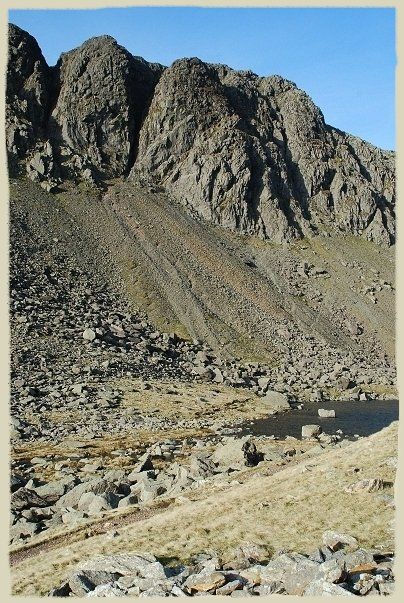
| Looking up the steep scree slopes from just above the tarn. The dark cleft of Great Gully separates the 'A' and 'B' buttresses with Easy Gully and its pinnacle to the left of 'A' buttress. The South Rake lies behind the broken crag in front of Easy Gully |
 |
| An overview of Dow Crag from the slopes of Coniston Old Man. The main buttresses are traditionally named alphabetically from the left. The main rock climbs are on A, B, C and D buttresses with scrambling routes on the B, E and F buttresses. The line of approach of this walk to the foot of Great Gully between A and B buttresses is indicated and the continuation on from that point by the South Rake |
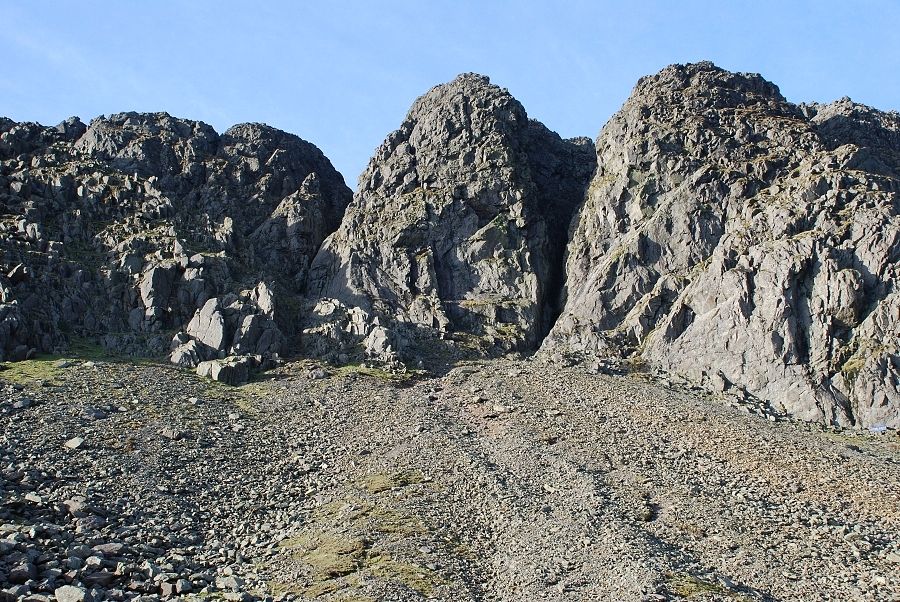 |
| A view from half way up the scree slope. The clean rock faces on the lower half of 'B' buttress above the blue stretcher box contain the most popular rock climbs. The scree slope is very steep and it is always a relief to reach a fairly level stance at the foot of Great Gully from where the following three photographs were taken. |
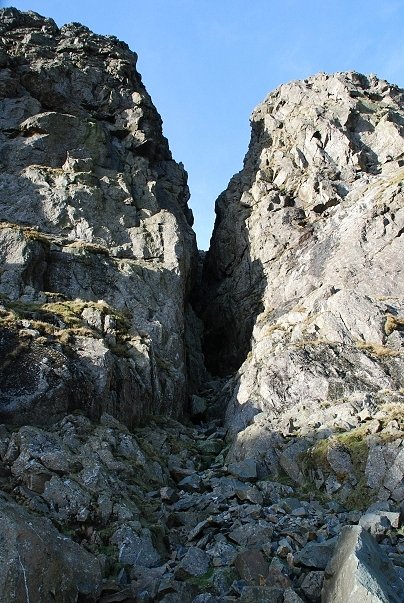 |
| The view up Great Gully from the stance |
 |
| To the right of Great Gully is the start of Easy Terrace, a stairway to heaven up a shallow gully ramp. It outflanks the severe rock climbs on the lower section of 'B' buttress and leads to a scramble up the centre of the upper face. It is a magnificent way to reach the summit but be warned, this section, about a 100ft in length, is the easy bit, the upper buttress is quite serious and exposed. All scrambling routes on Dow Crag are best left to those who have a wide experience on less demanding crags. This one is NOT recommended for those with a nervous disposition or who suffer from vertigo |
 |
| Looking out from the same position down to Goat's Water, the lower face of 'B' buttress is on the left |
 |
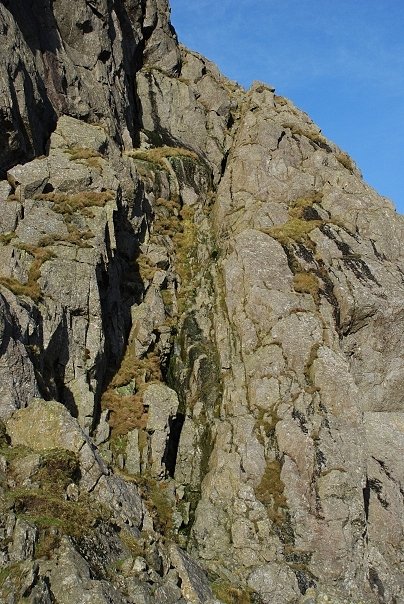
| The start of the South Rake which rises from the base of 'A' buttress the upper section curves behind the prominent rocks in the centre. The rake is a steep but straightforward climb, it becomes narrower and steeper towards its end. Much of the rock on either flank is loose and must be treated with caution if used for handholds to aid progress |
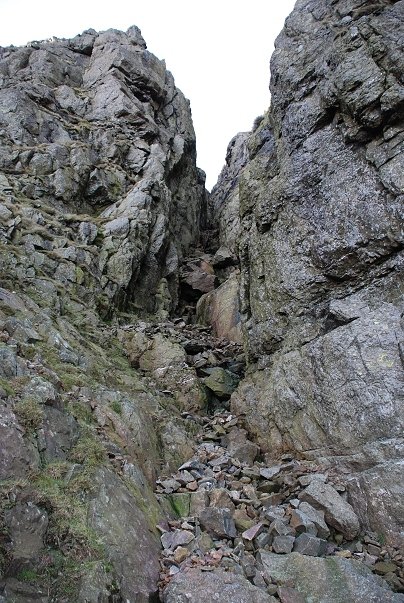 |
| The entrance to Easy Gully is soon passed on the way up the South Rake |
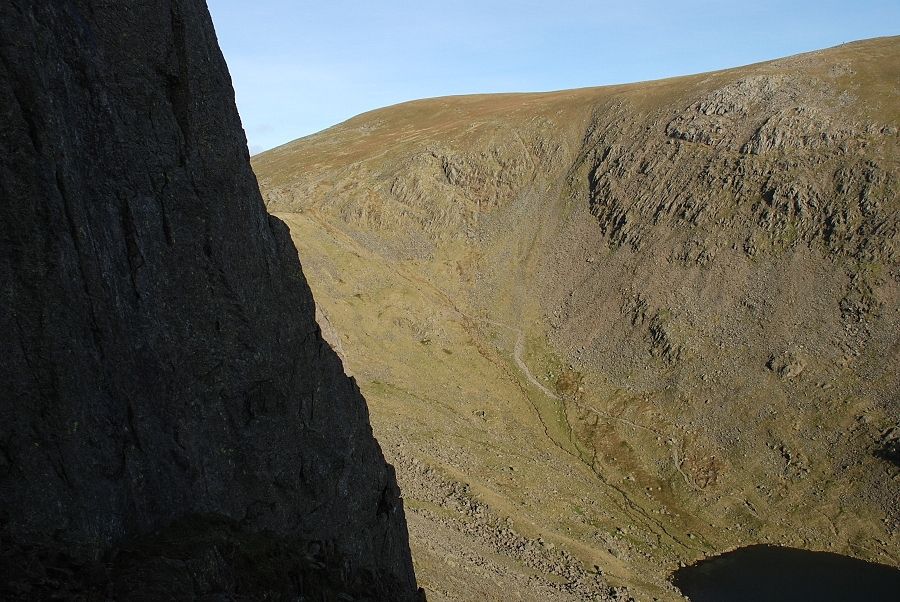 |
| Looking across the steep face of 'A' buttress to Coniston Old Man from the South Rake |
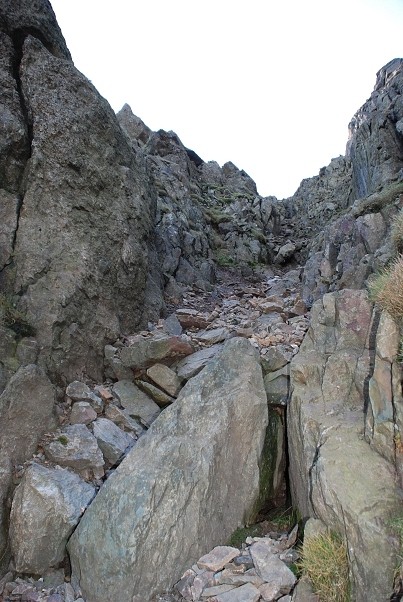 |
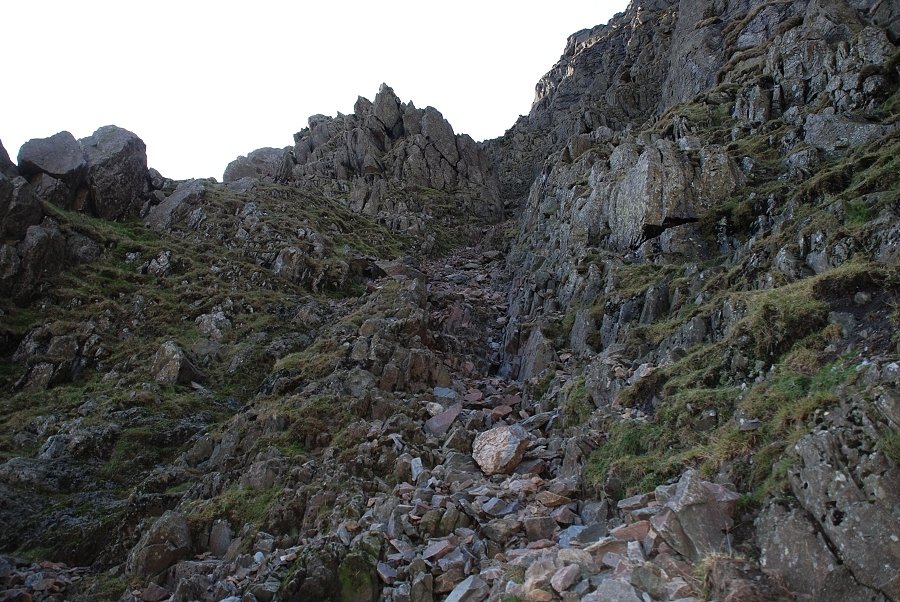
| The upper section of the South Rake from the halfway point. The climb is probably best left for a nice summer’s day and not like this early winter morning when it was deep in shadow and bitterly cold |
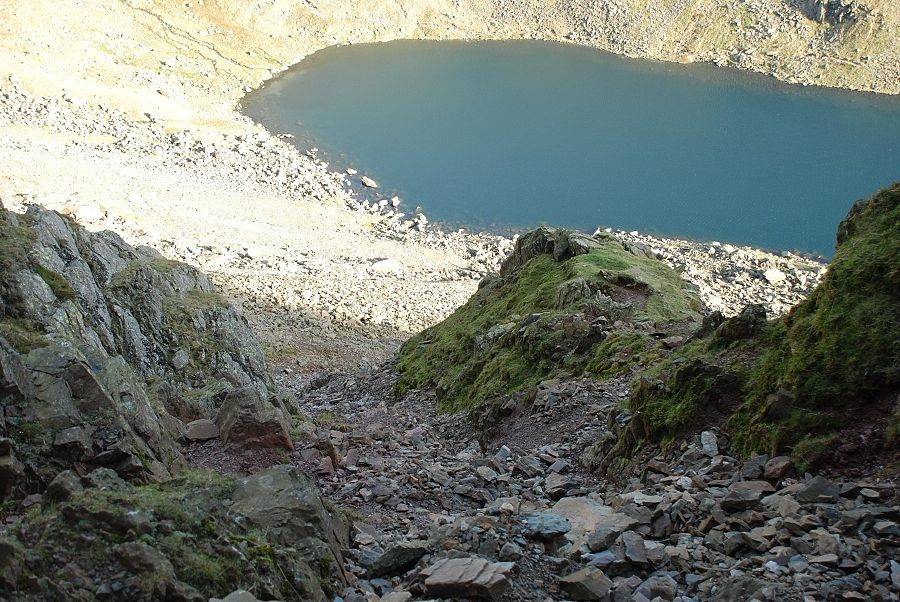 |
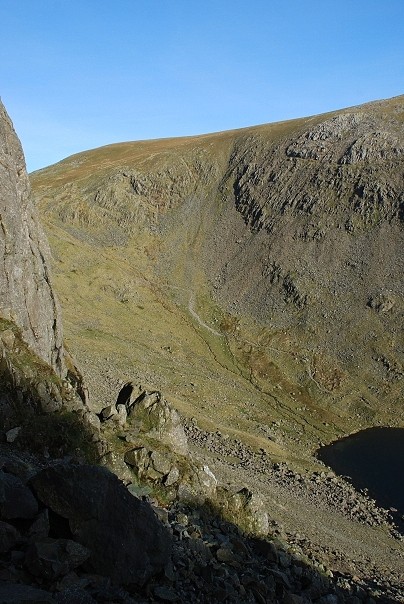
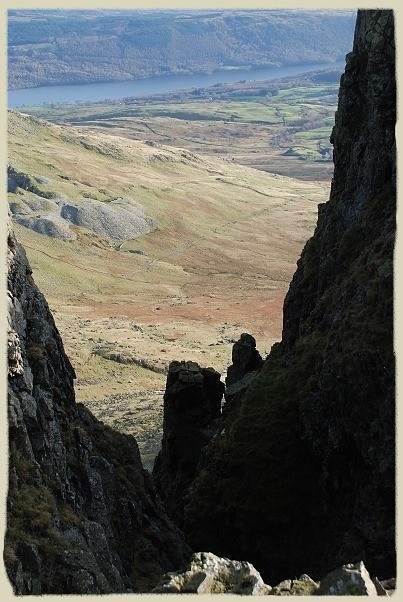
| Looking down the lower section of the South Rake to Goat's Water |
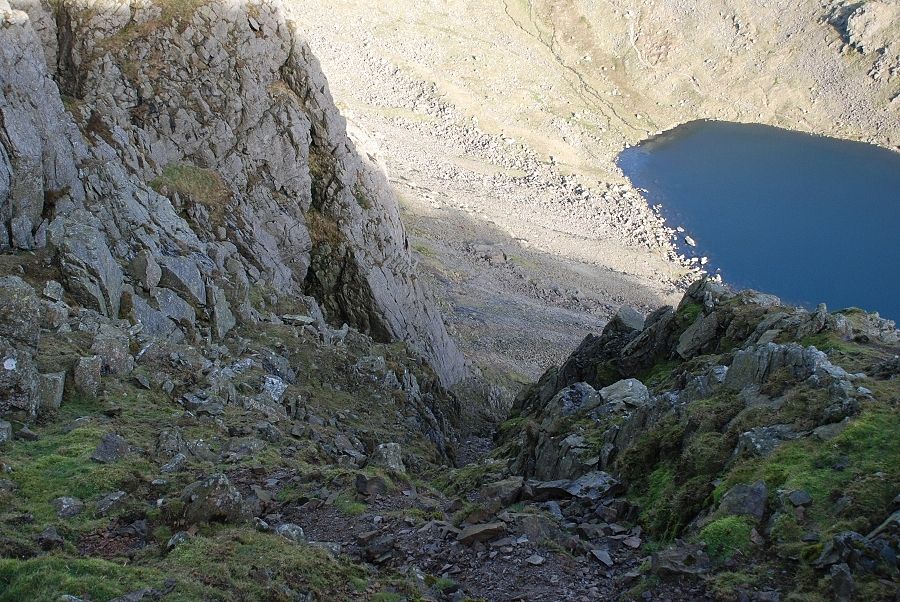 |
| Almost at the top of the South Rake now and looking down the upper section |
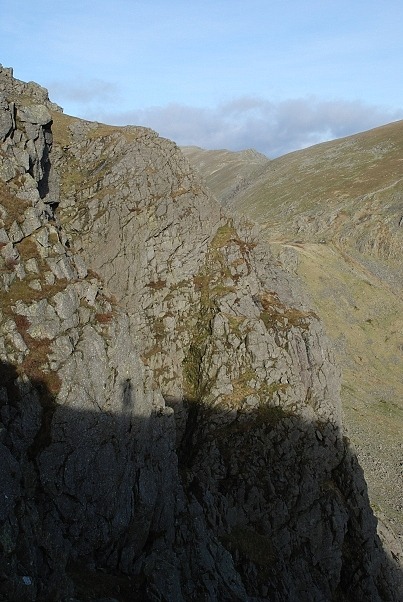 |
| Looking across the 'A' and 'B' buttresses from the top of the South Rake, my shadow can be seen on the flank of 'A' buttress |
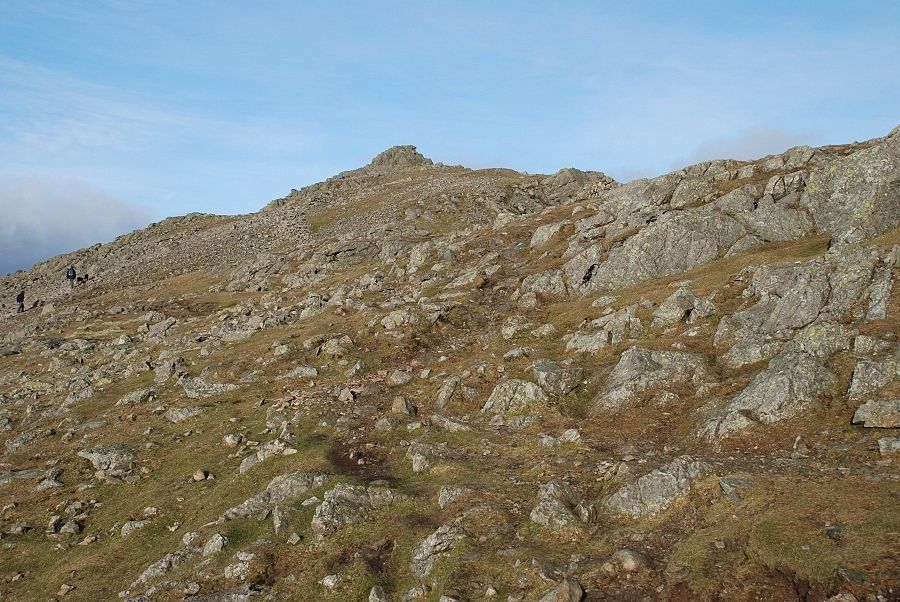 |
| The summit of Dow Crag from near the top of the South Rake |
 |
| The top of Easy Gully passed on the way to the summit Dow Crag - page 10 |
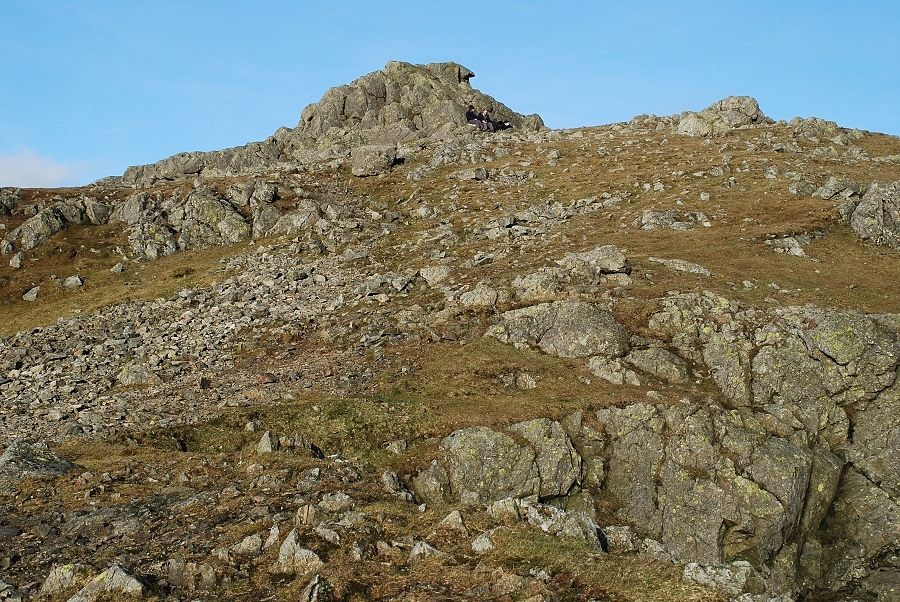 |
| Almost there, the summit rocks from near the head of Great Gully |
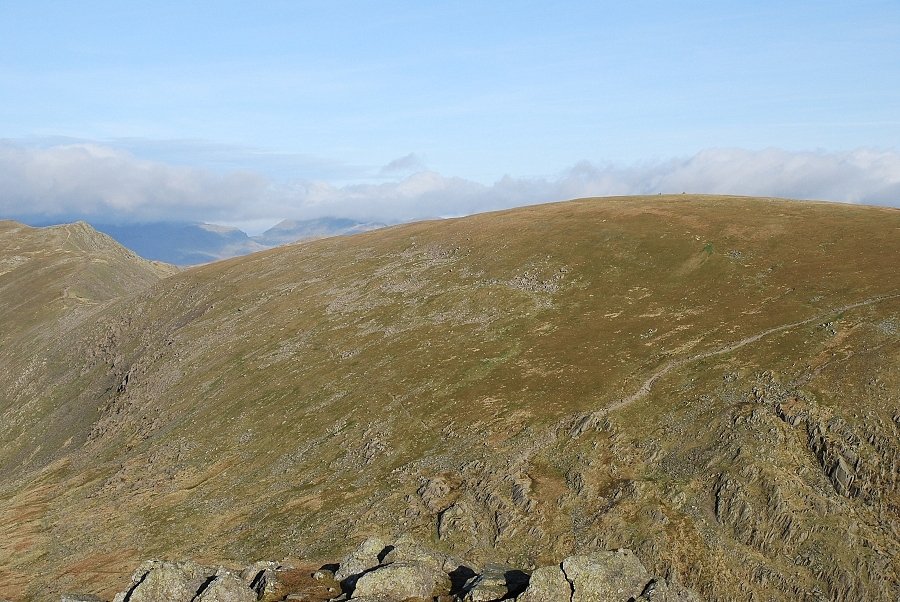 |
| From the summit of Dow Crag, Brim Fell leading to Great How along the main ridge of the Coniston Fells. In the distance Dollywaggon Pike and |
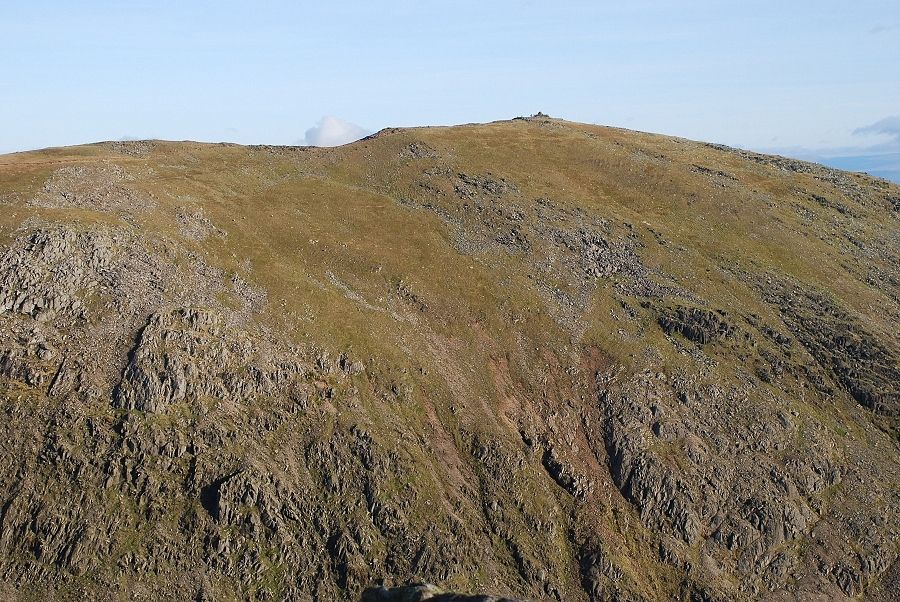 |
| Looking across to Coniston Old Man from the summit |
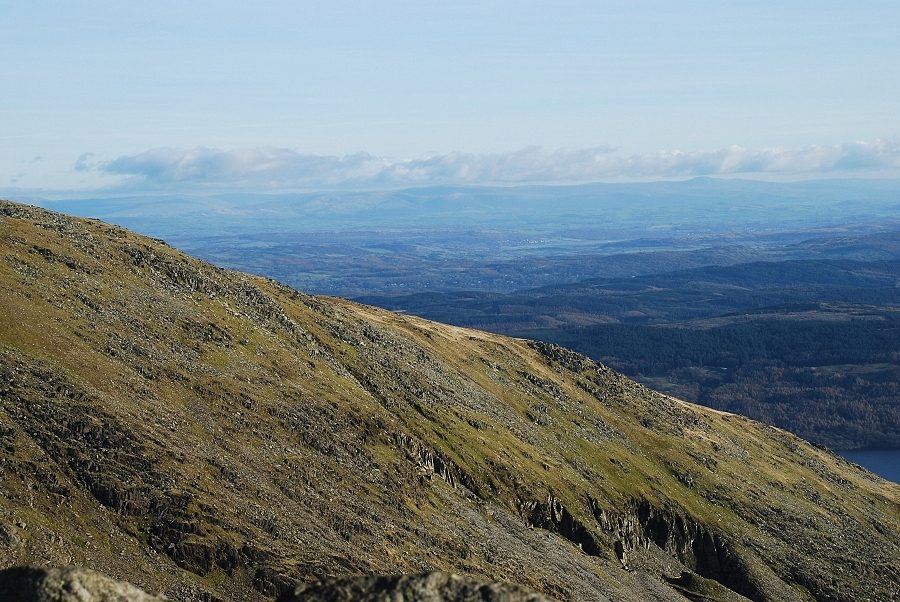 |
| The distant Pennines across the south ridge of Coniston Old Man |
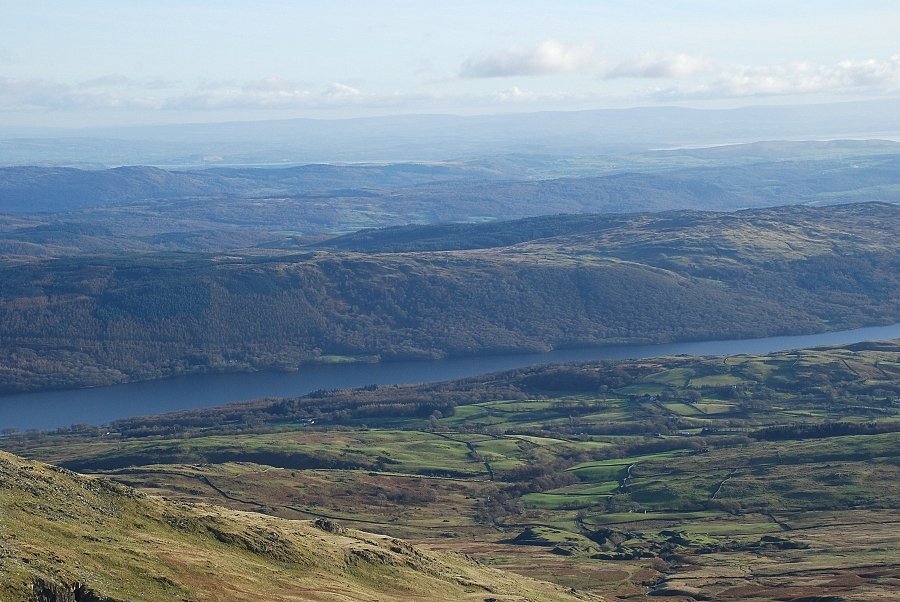 |
| Coniston Water |
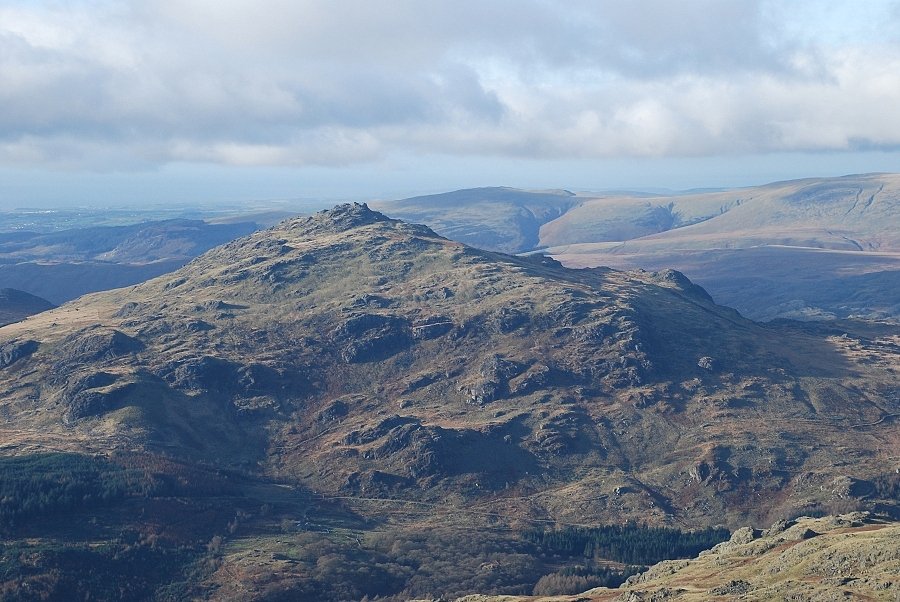 |
| Harter Fell across the Duddon Valley |
 |
| The edge of the western fells beyond the valleys of the Duddon, upper Eskdale and Wasdale |
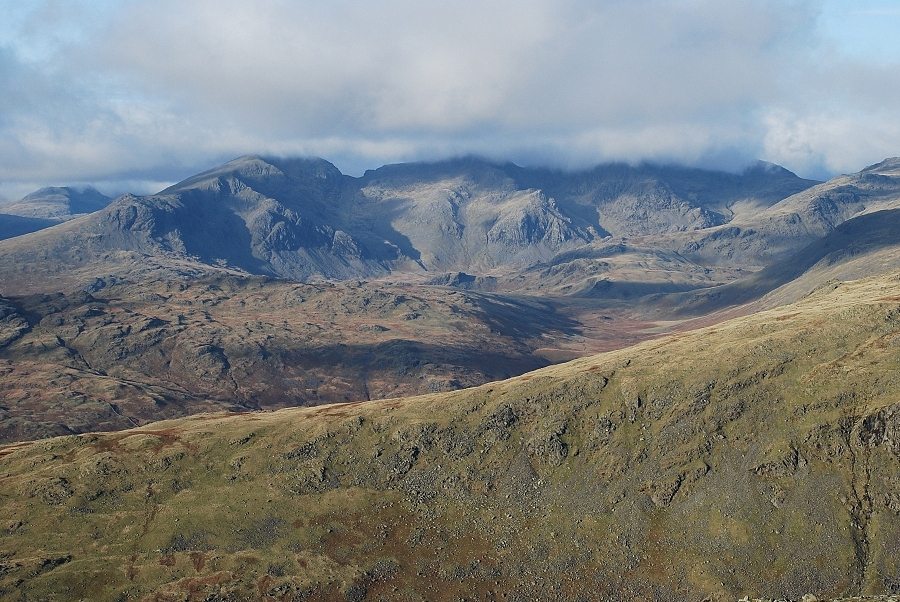 |
| The Scafell range at the head of Eskdale |
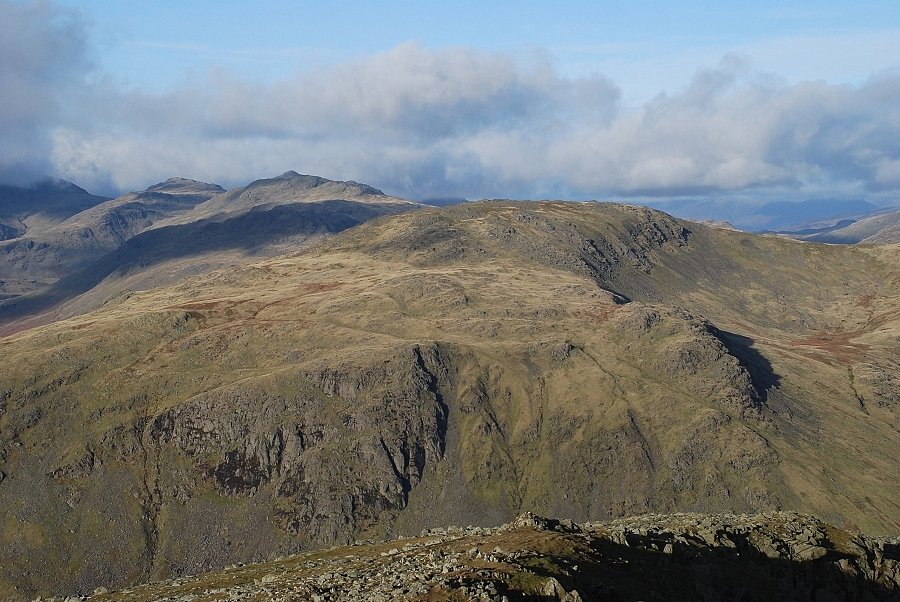 |
| Grey Friar, Crinkle Crags, Bowfell and Esk Pike to the north |
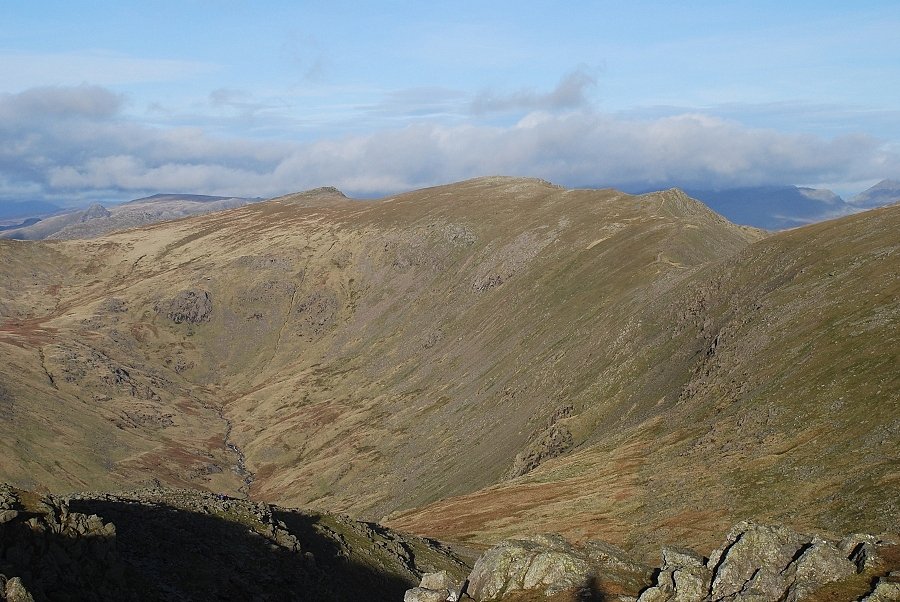 |
| Great Carrs, Swirl How and Great How Crags on the main ridge |
|