|
Eel Crag - Route One |
| Start - Braithwaite NY 227 238 | Distance - 4 miles | Ascent - 2,590 feet | Time - 2 hours : 50 minutes |
 |
| The small parking area on the Whinlatter Pass road above the village of Braithwaite is the starting point for this walk |
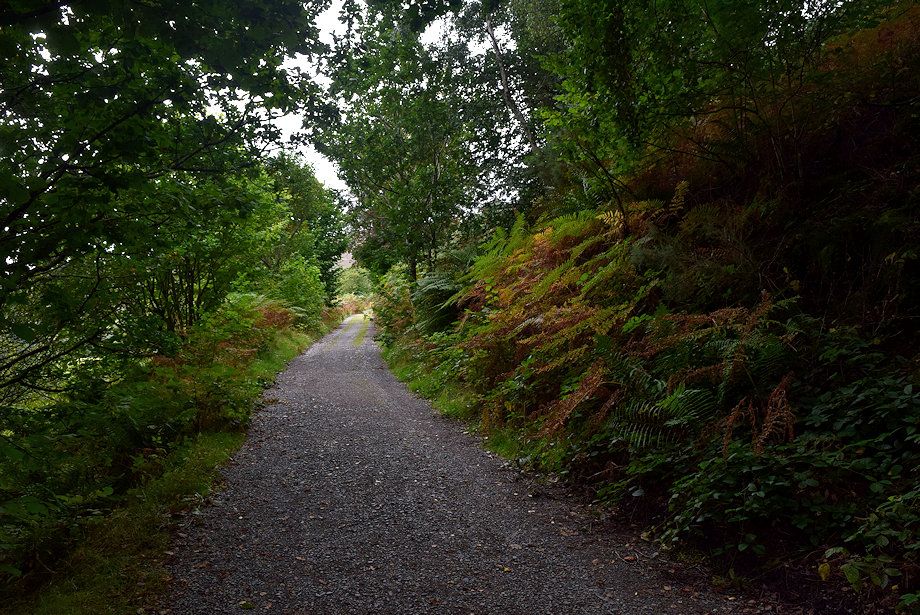 |
| The old mine road starts from the back of the parking area |
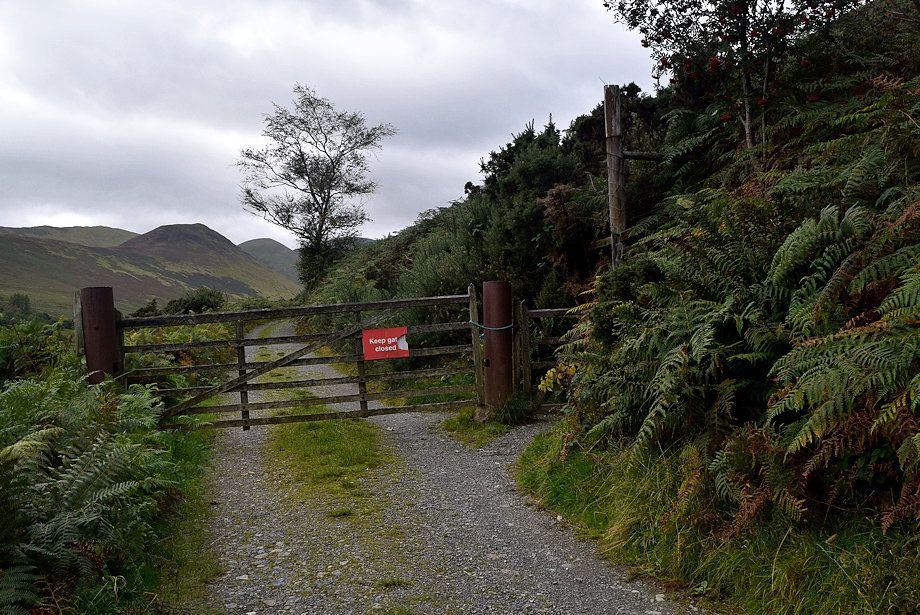 |
| The old mine road is closed to unauthorised motor traffic by a locked barrier above the parking area and another gate a little further along it |
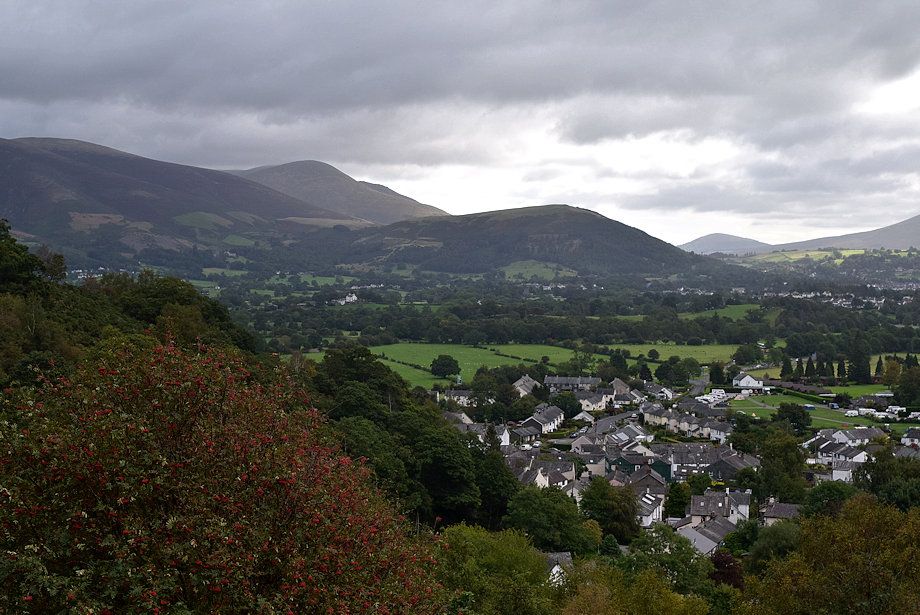 |
| Looking over Braithwaite from the old mine road |
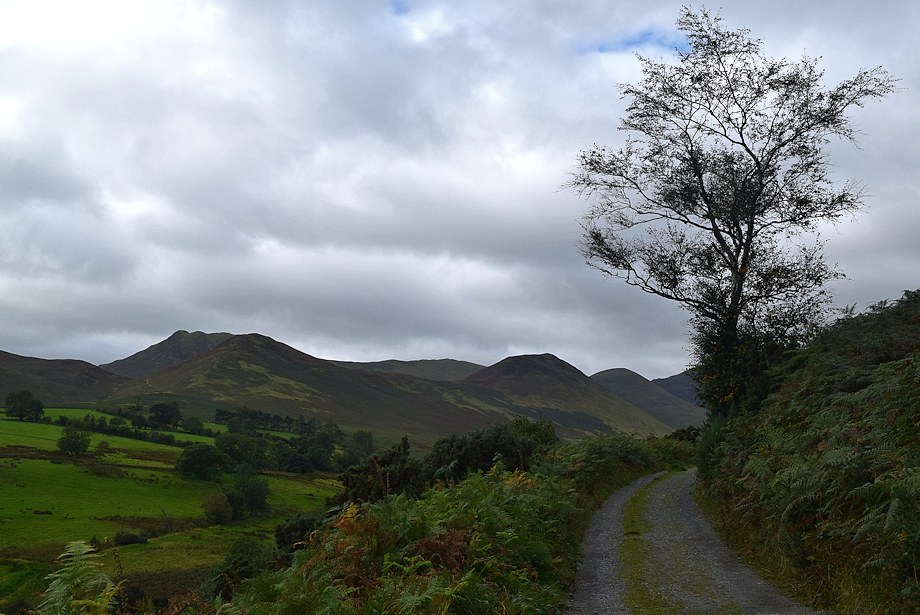 |
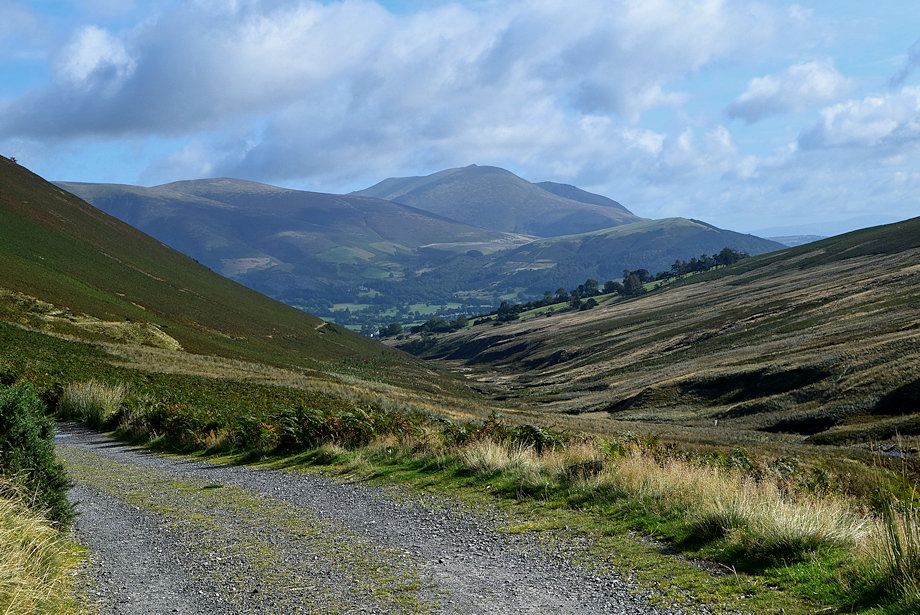
| Causey Pike, Stile End, Scar Crags, Outerside and Sail from the old mine road |
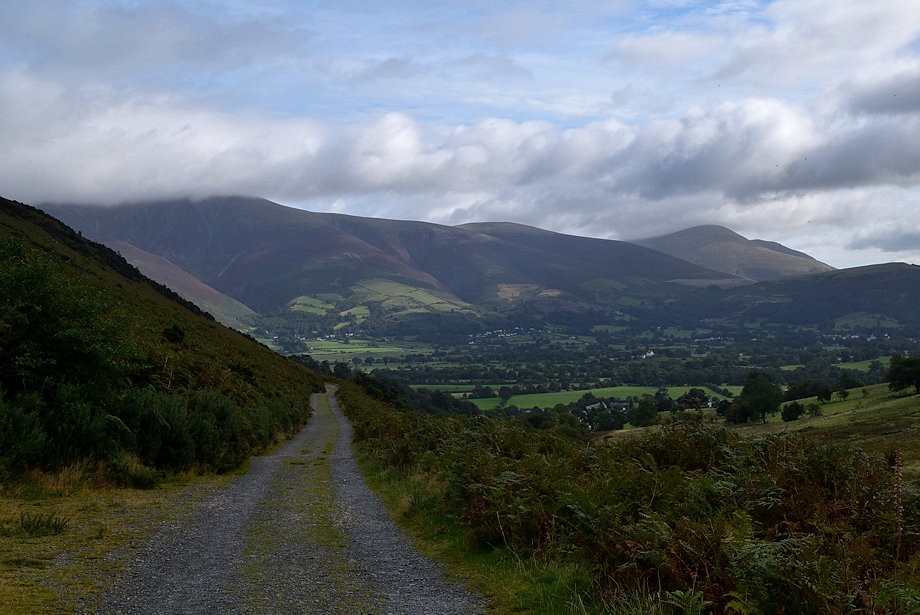 |
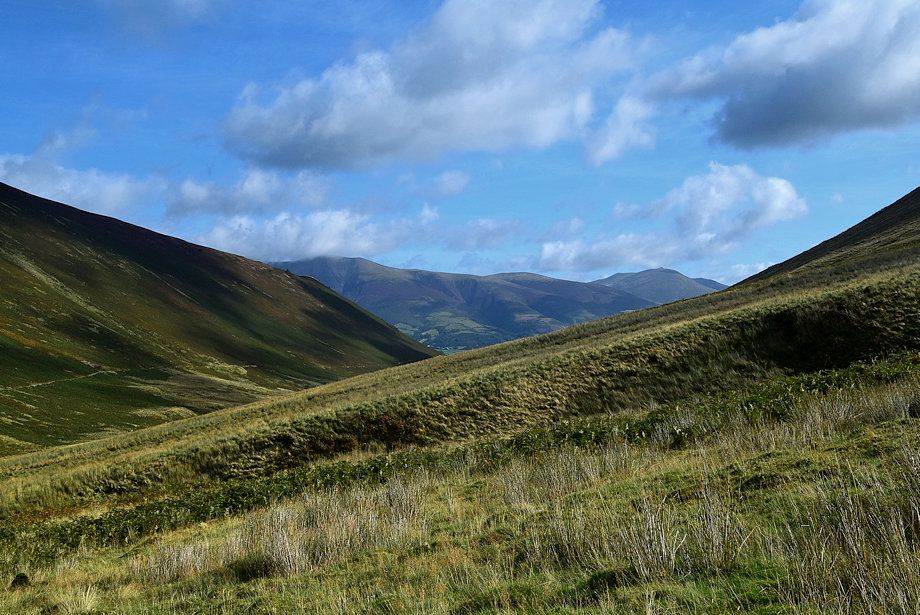
| Looking back to cloud covered Skiddaw Little Man with Lonscale Fell and Blencathra to the right |
 |
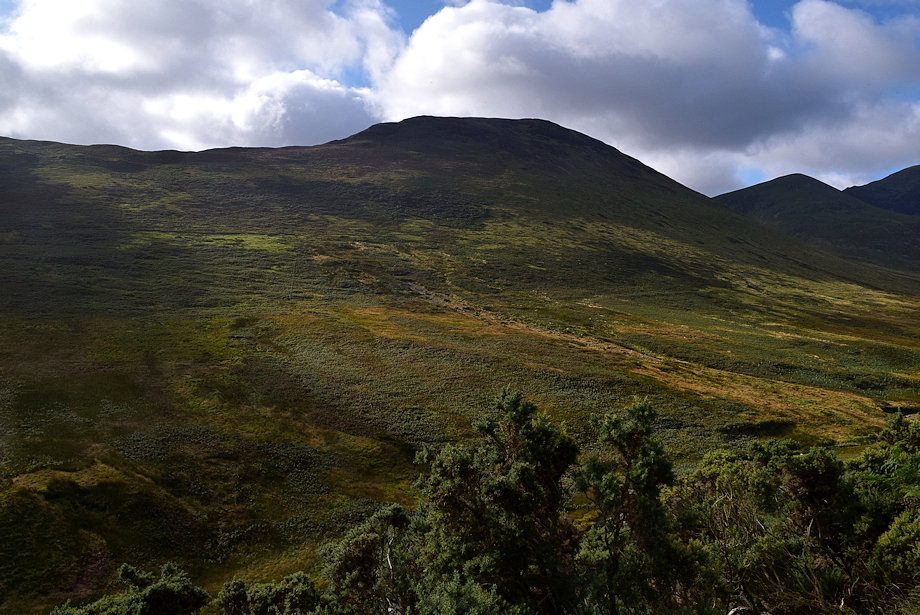
| Eel Crag comes into view |
 |
| Looking over to Outerside and Sail |
 |
| The old mine road begins a gradual descent towards the head of Coledale and the disused Force Crag Mine |
 |
| Looking back towards Blencathra |
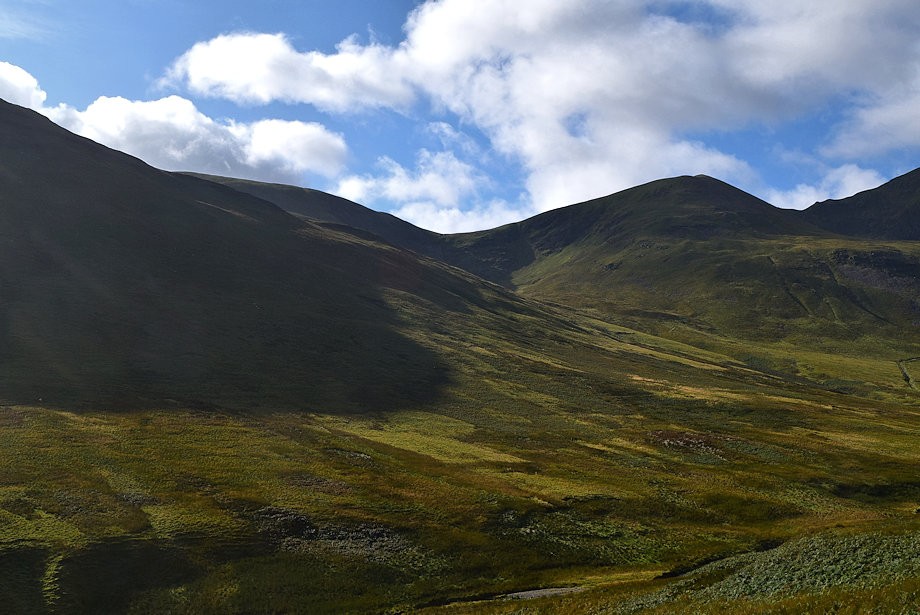 |
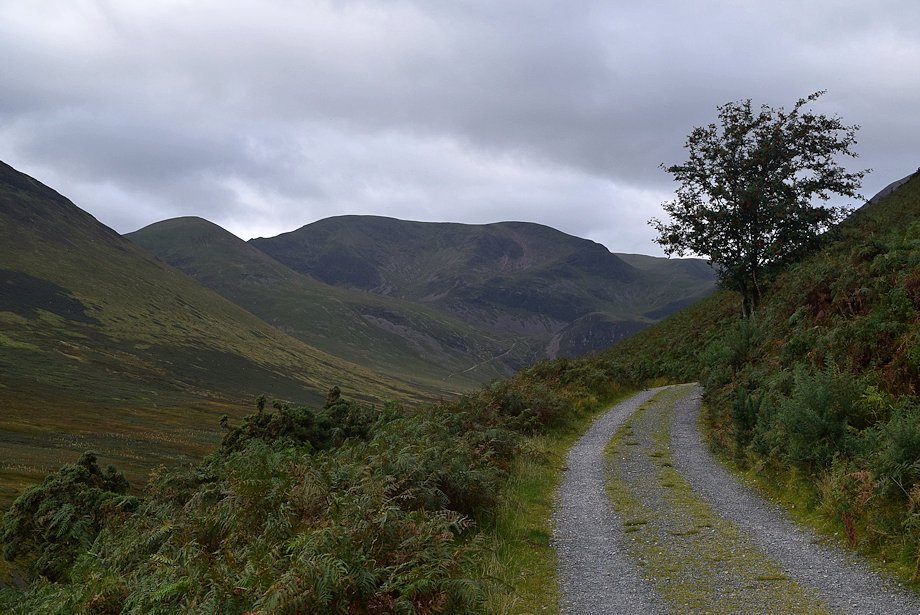
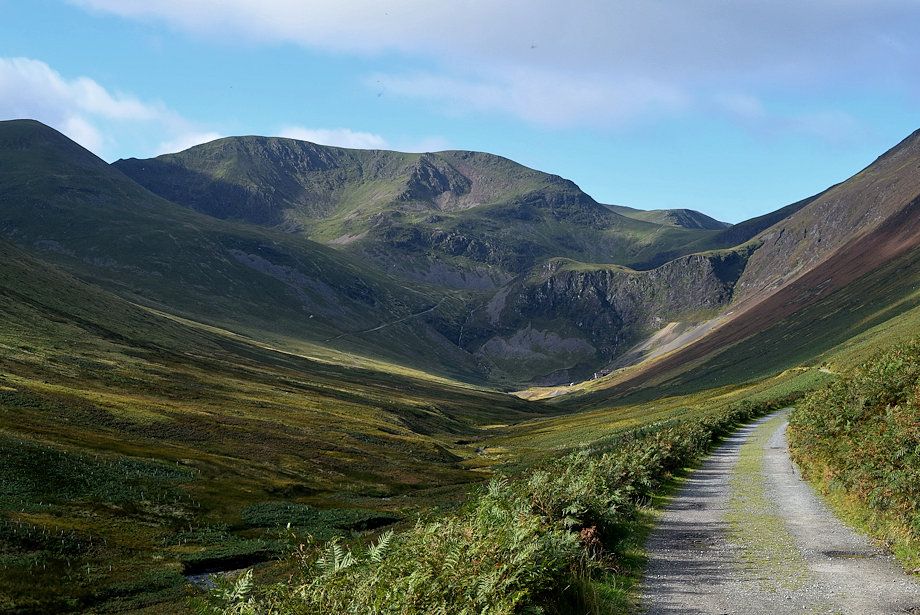
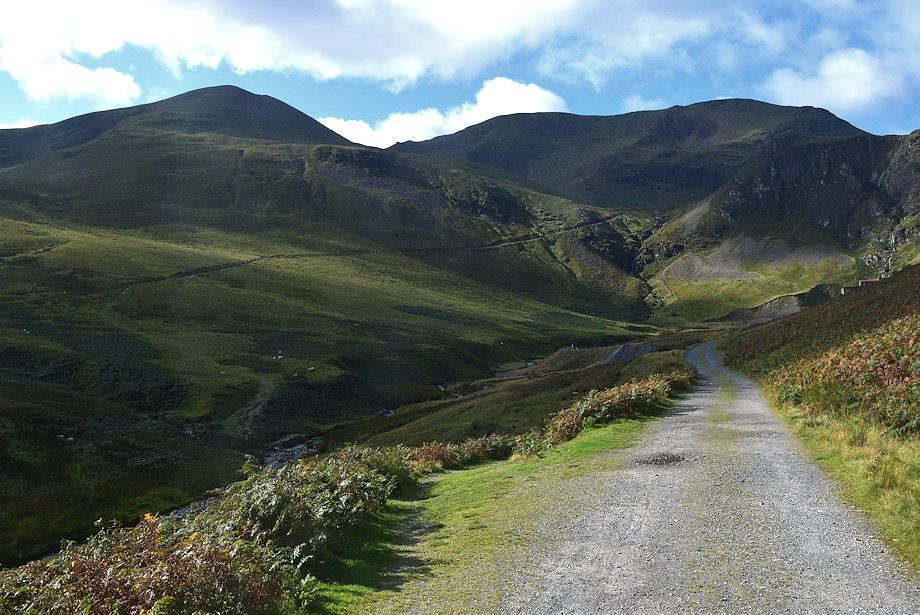
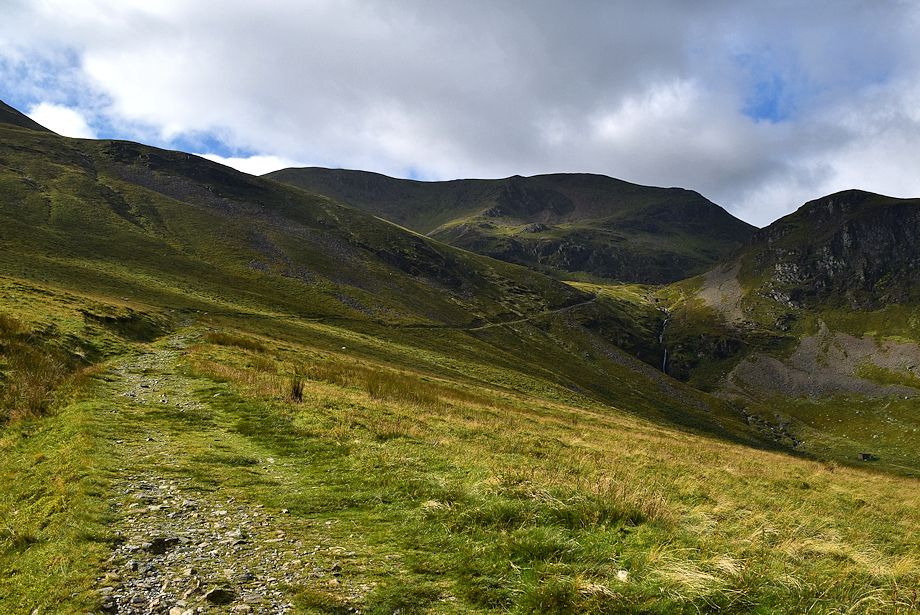
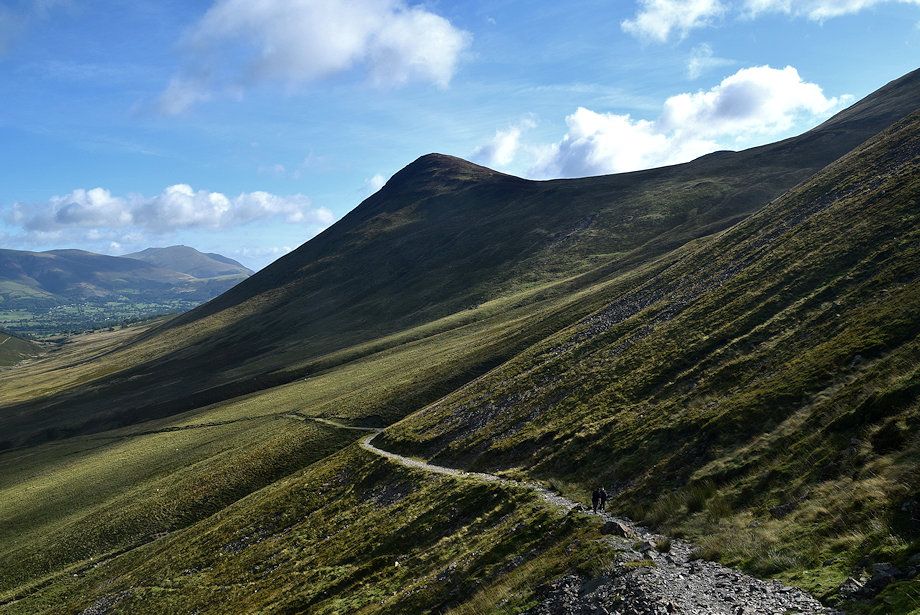
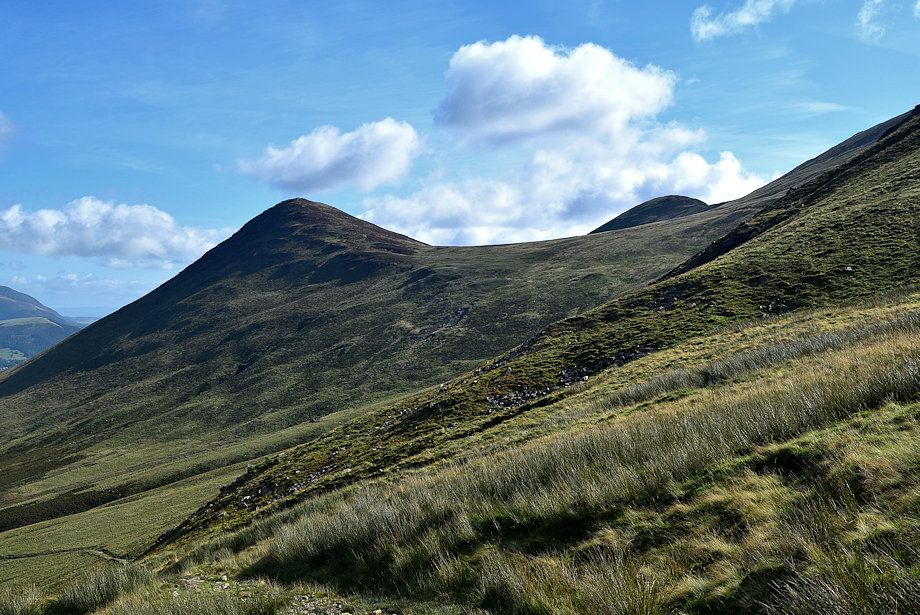
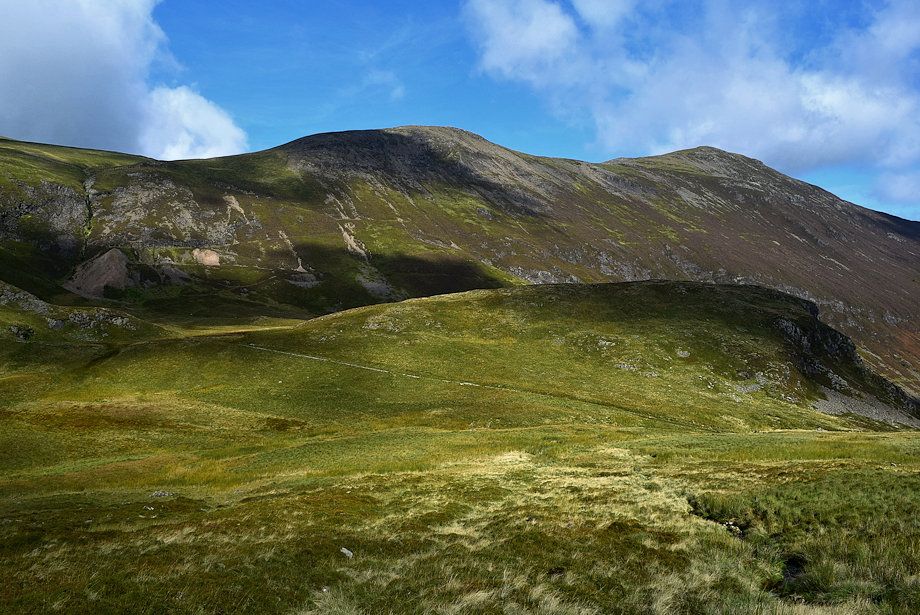
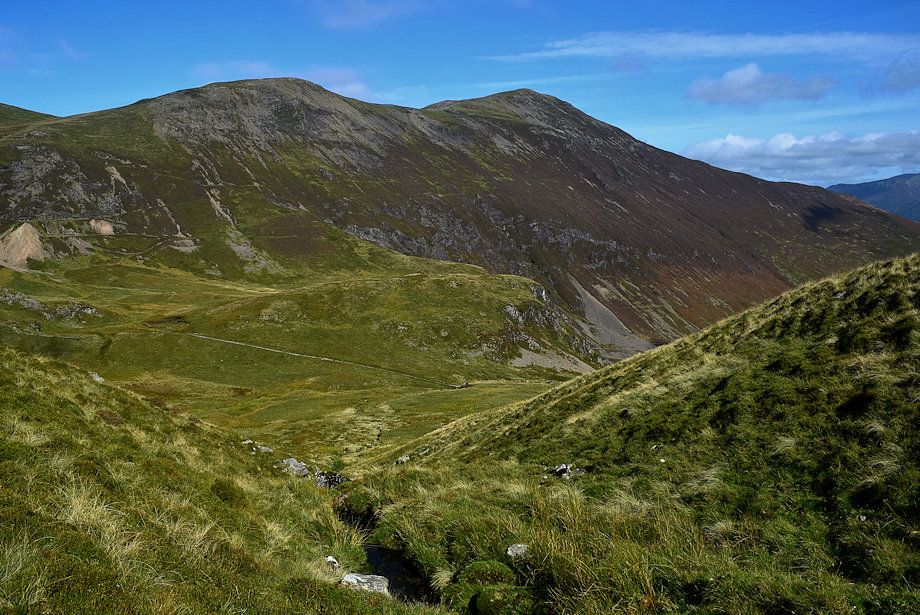
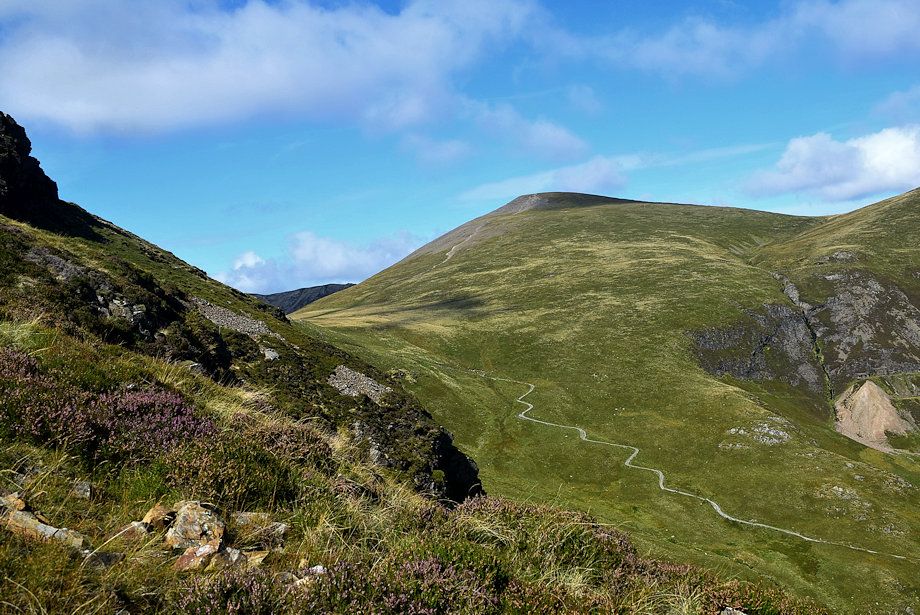
| Looking up to Sail Pass flanked by Scar Crags and Sail |
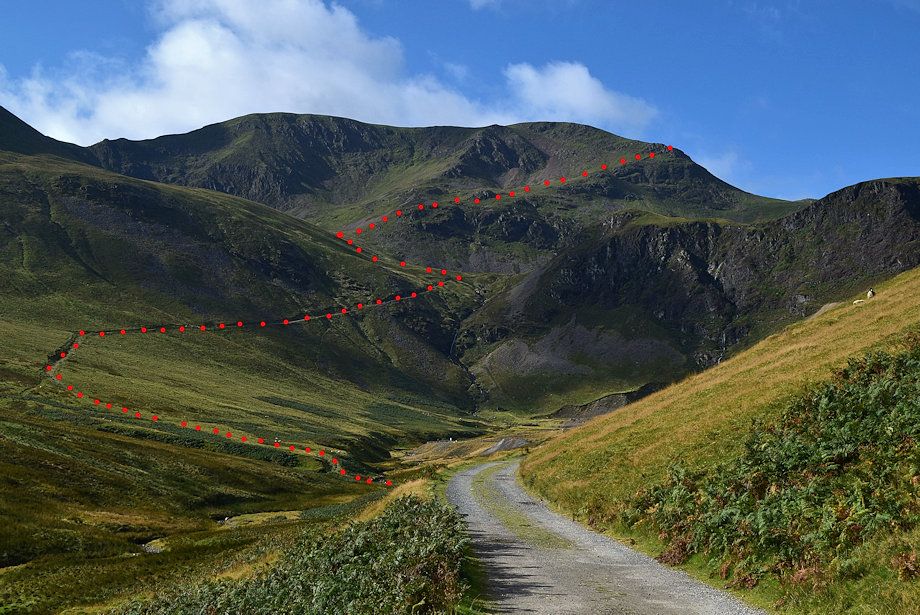 |
| The red dots indicate the line of ascent which initially follows the path to Coledale Hause before breaking left, climbing up to the north eastern combe below Scott Crag to reach The Shelf |
 |
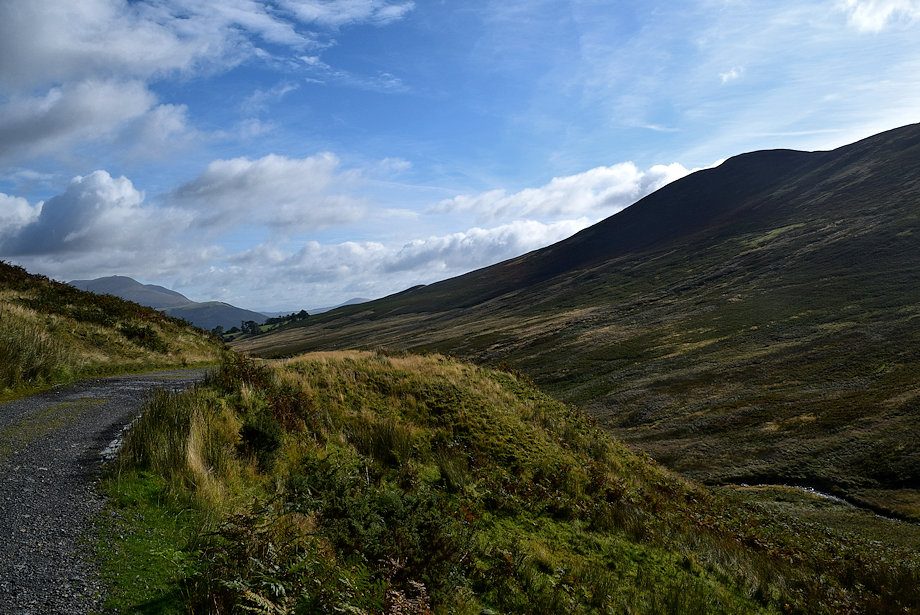
| Looking back towards Lonscale Fell, Blencathra and Latrigg |
 |
| Turn off the old mine road onto a path leading down to a ford across Coledale Beck |
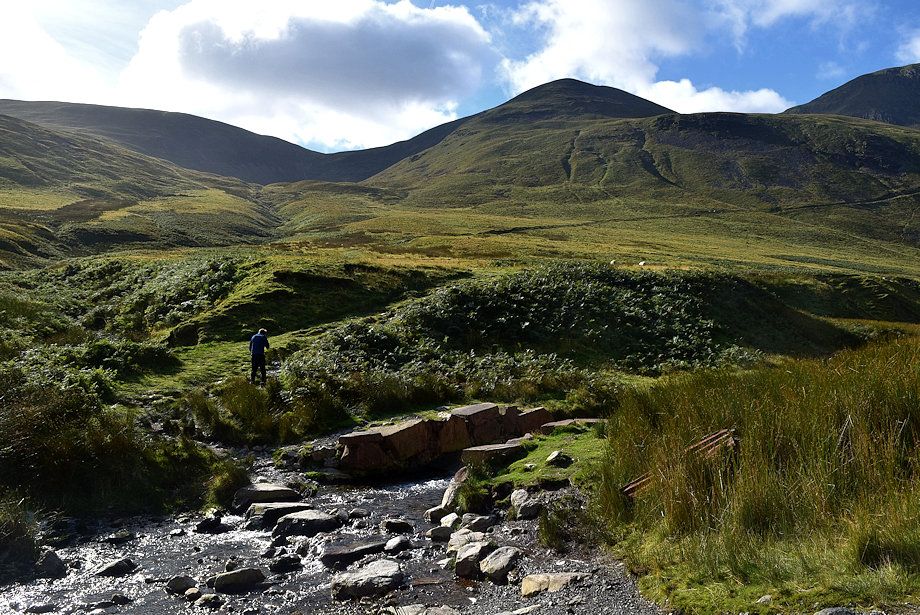 |
| The ford across Coledale Beck |
 |
| Force Crag from the ford |
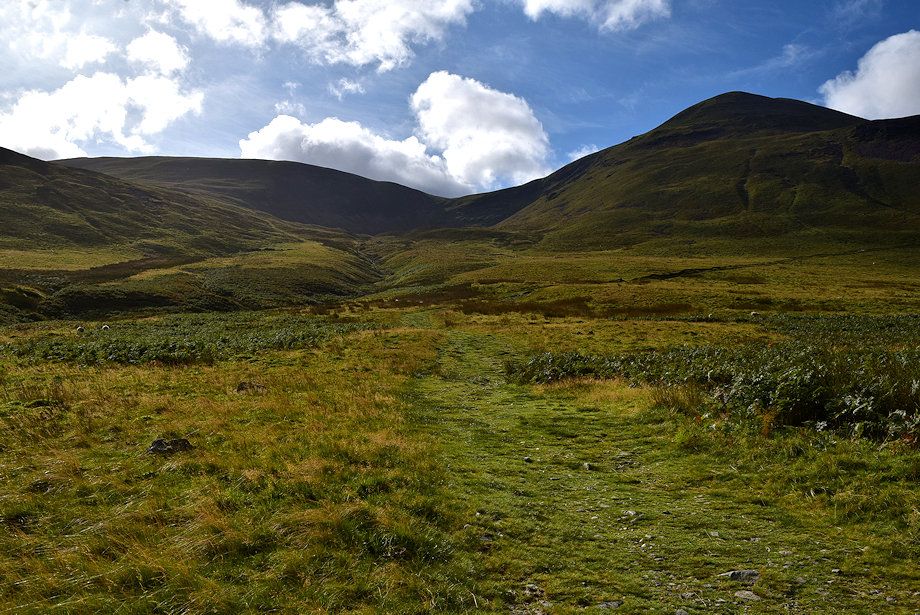 |
| Over the ford a wide green path leads south for a quarter of mile before it turns west, bound for Coledale Hause. Sail Pass is on the skyline flanked by Scar Crags and Sail |
 |
| Force Crag from the path to Coledale Hause |
 |
| Looking over to Skiddaw Little Man, Lonscale Fell and Blencathra from the Coledale Hause path |
 |
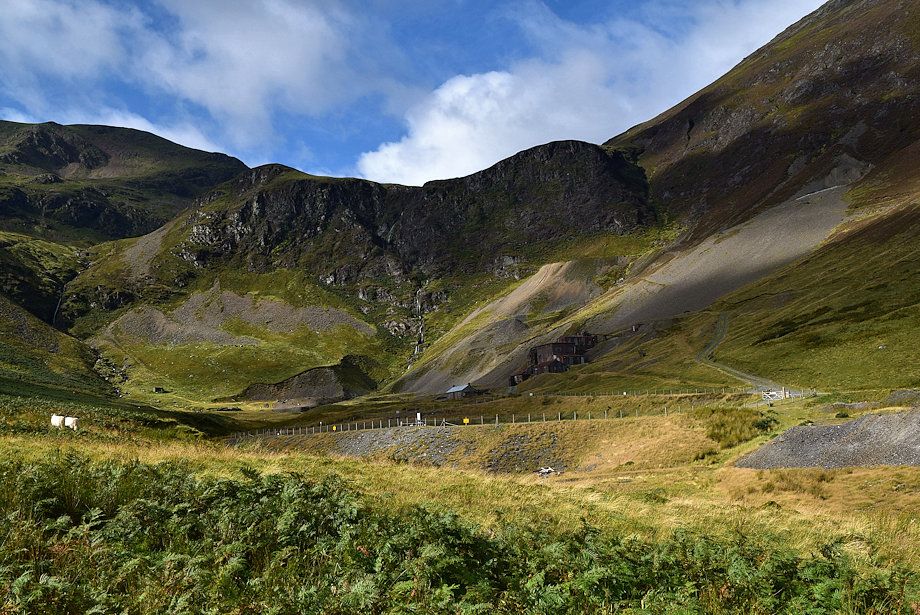
| Looking over to the lower workings and ore mill of Force Crag Mine. It was the last mineral mine to operate in the Lake District before its closure in 1991; originally opened as a lead mine, it mainly produced zinc and barytes. The ore mill has been designated as a Scheduled Ancient Monument and the mine as a Site of Special Scientific Interest |
 |
| Eel Crag from the path to Coledale Hause |
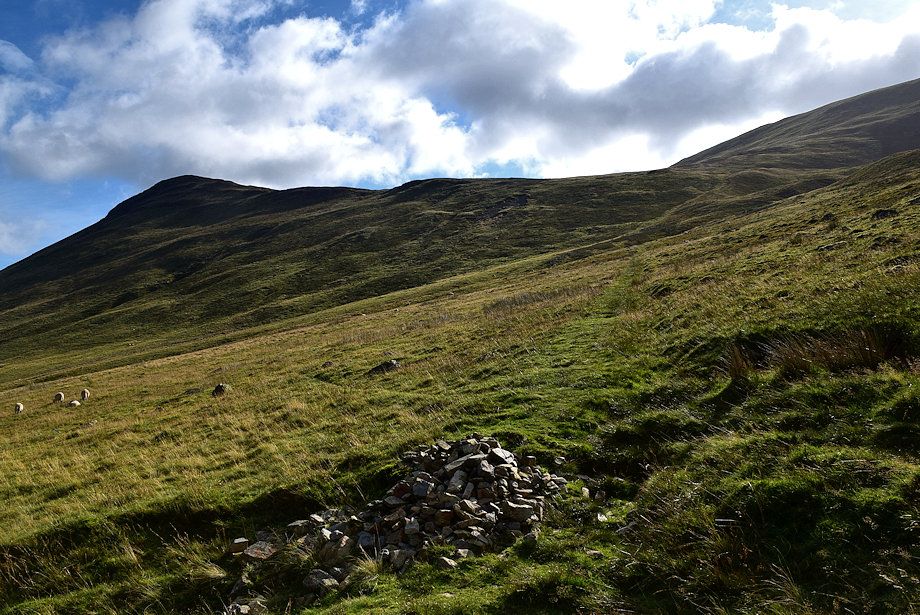 |
| Passing a marker cairn that indicates the start of path which climbs up to Sail Pass |
 |
| The path was widened and used as a 'road' to bring ore down to the mill when the upper mine below High Force was opened |
 |
| Force Crag with Low Force to the right, a series of cascades formed by Pudding Beck. The small building on the lower right was the explosives store |
 |
| The 'road' climbs above the Coledale Beck ravine. During the two world wars the High Force mine produced thousands of tons of the strategic mineral barytes which was used in the production of munitions. An arial ropeway was later constructed to bring the ore down to the mill |
 |
| Looking back along the 'road' |
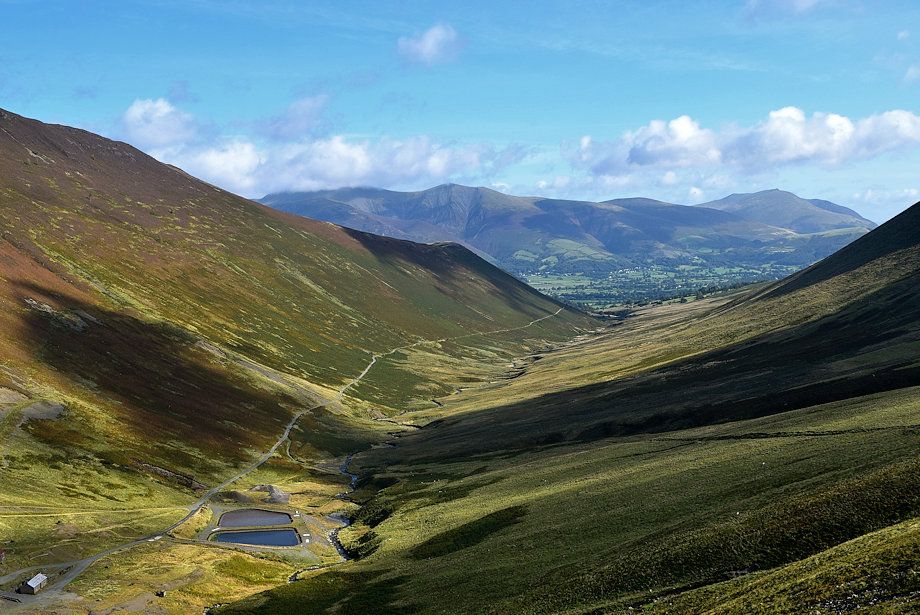 |
| Looking down on the mine's tailing filtration ponds |
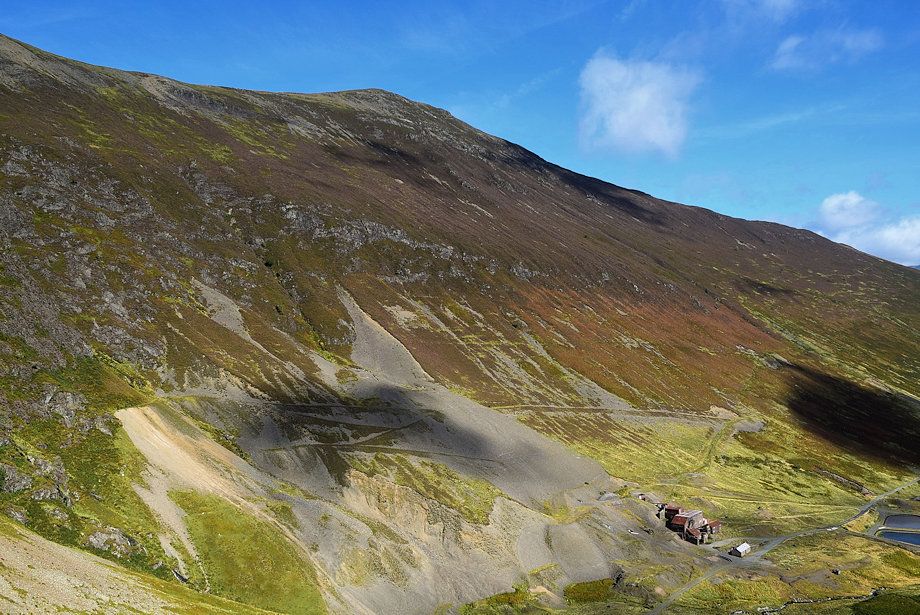 |
| The extensive workings of the Low Force Mine at the foot of Grisedale Pike |
 |
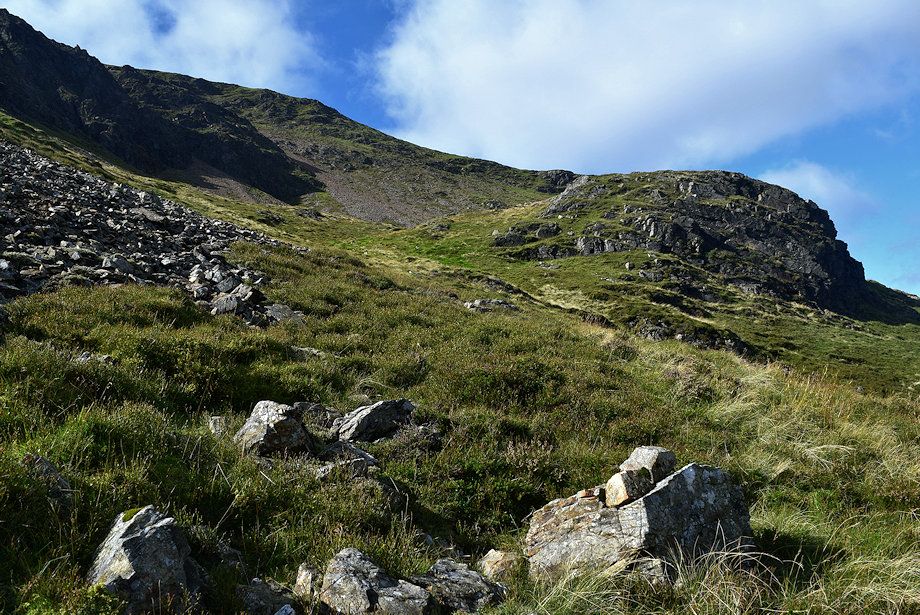
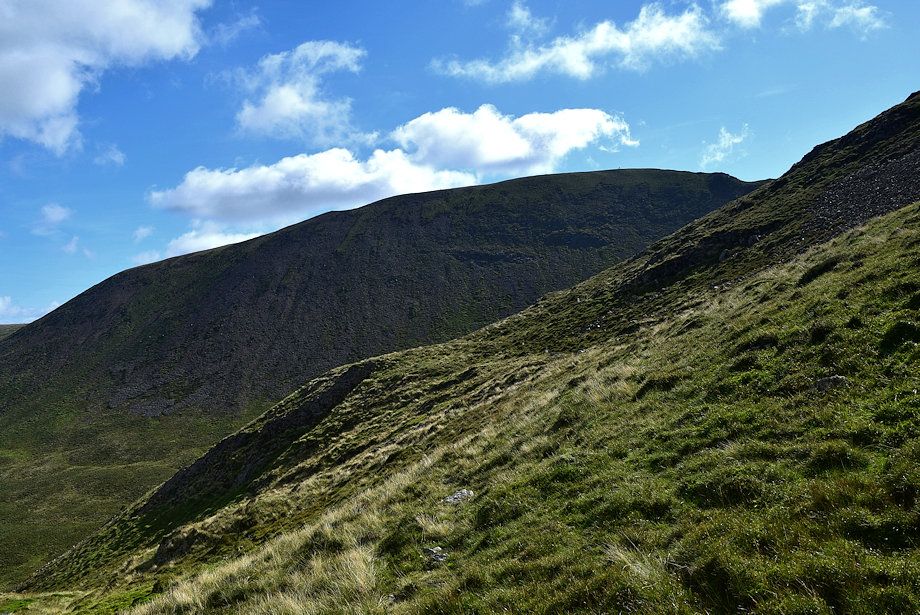
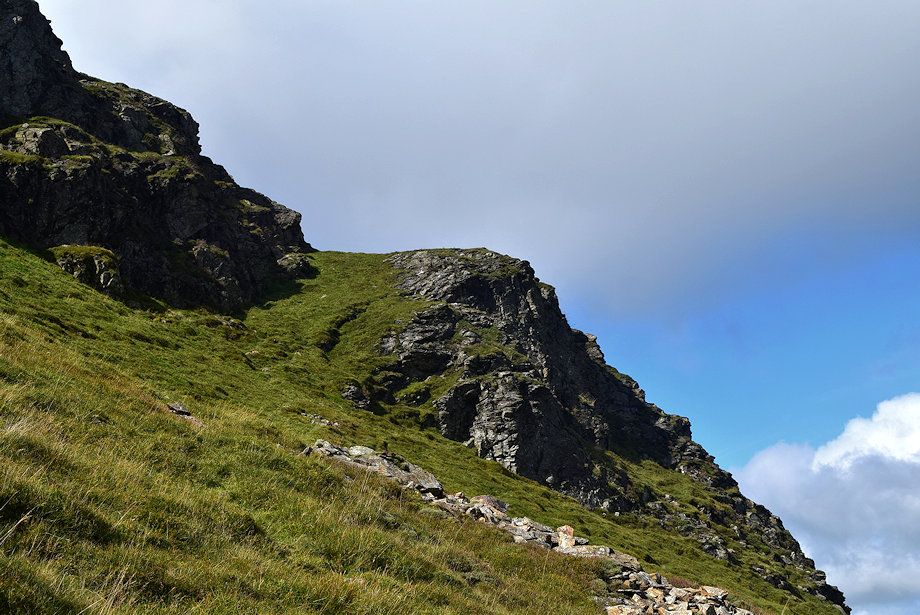
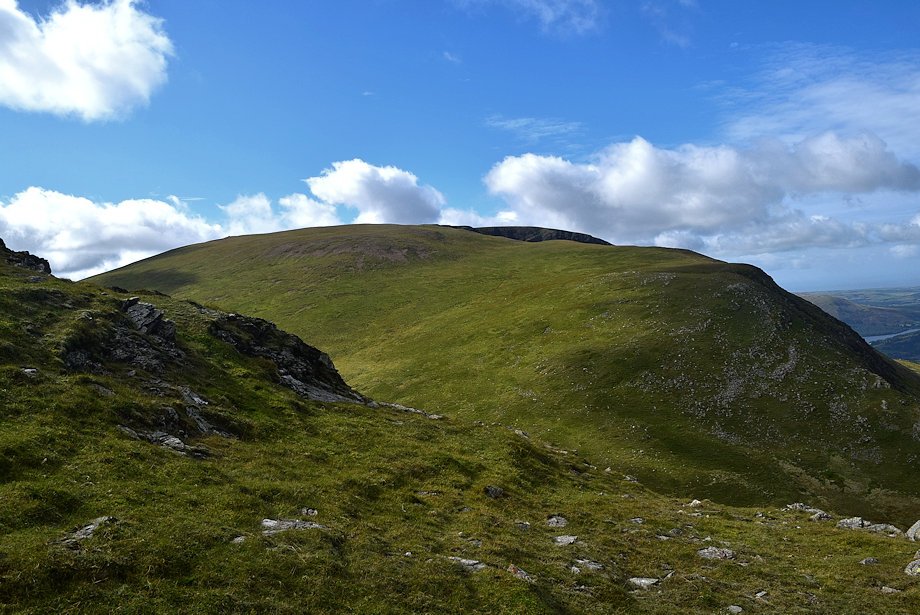
| Looking up to The Shelf on Eel Crag |
 |
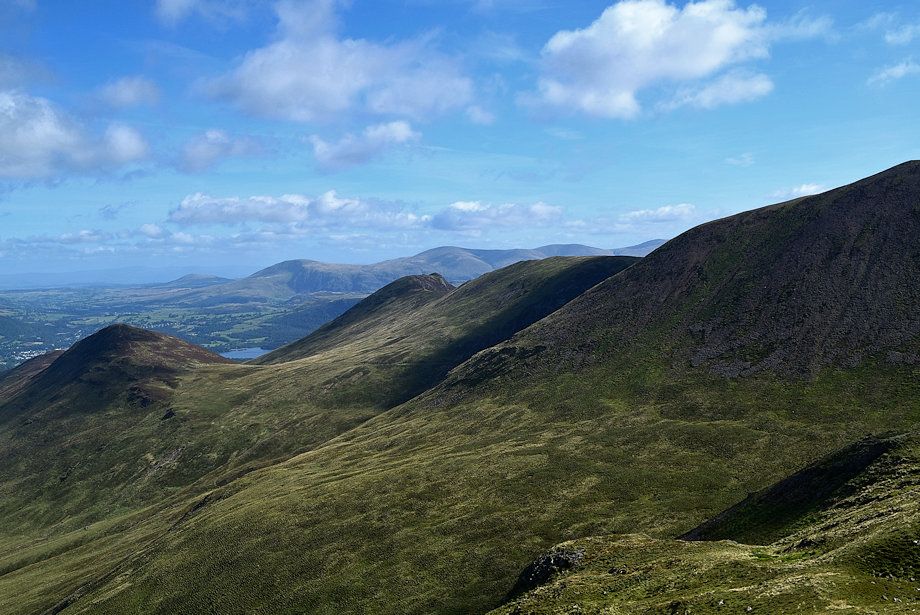
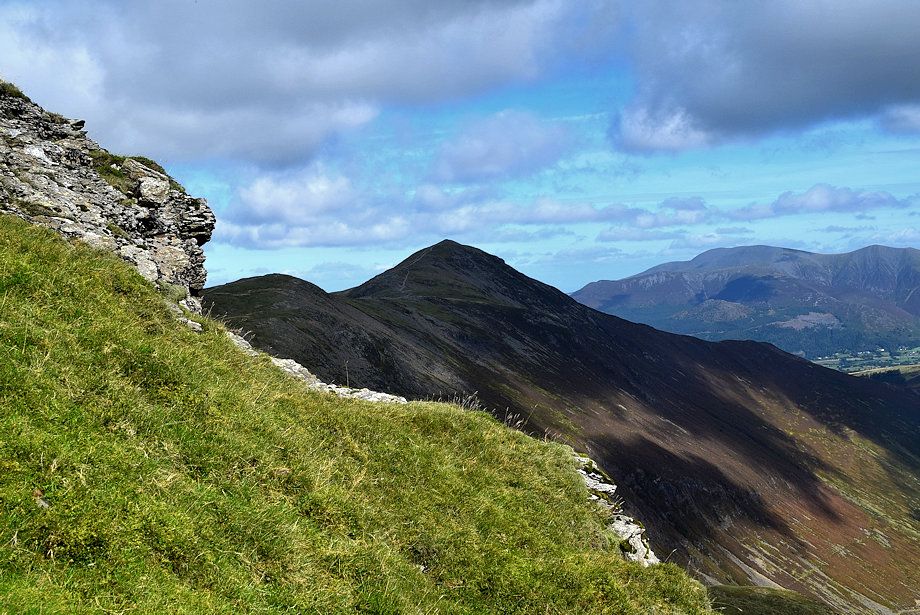
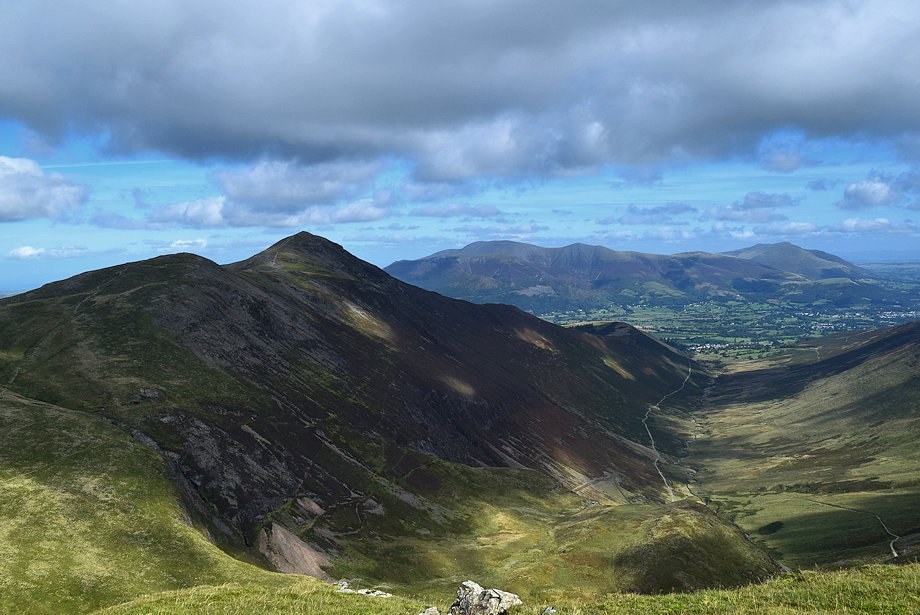
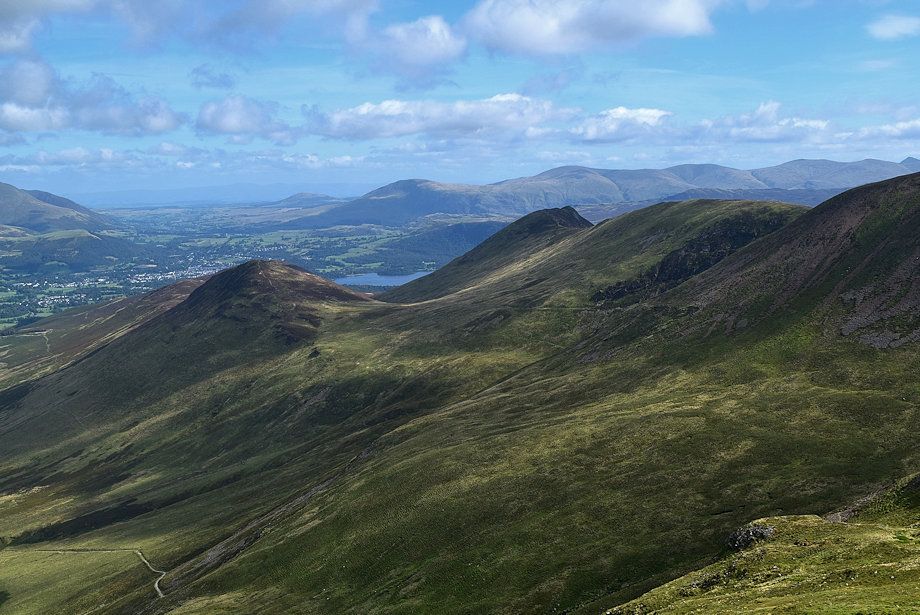
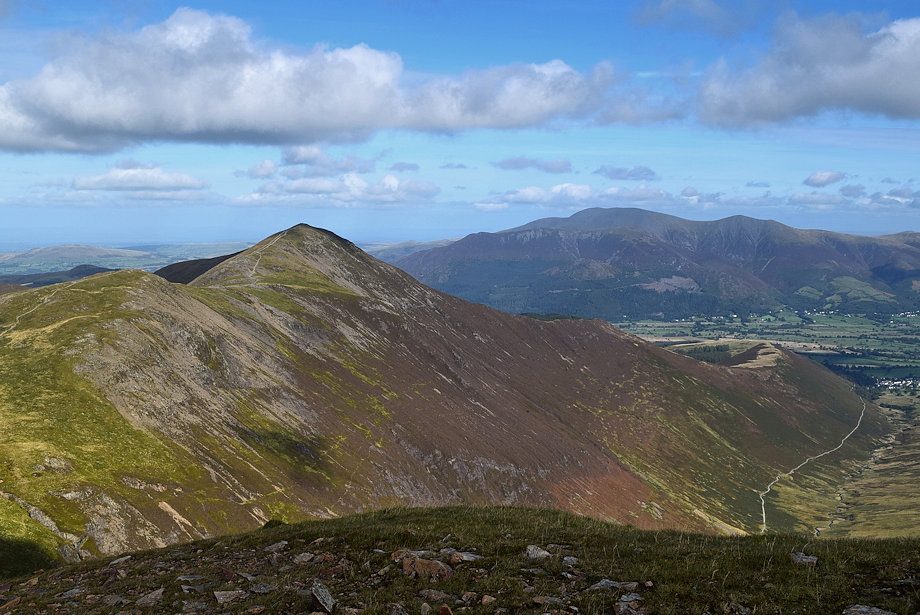
| Looking back from the top of the ravine, the summit of Causey Pike appears between the slopes of Outerside and Scar Crags |
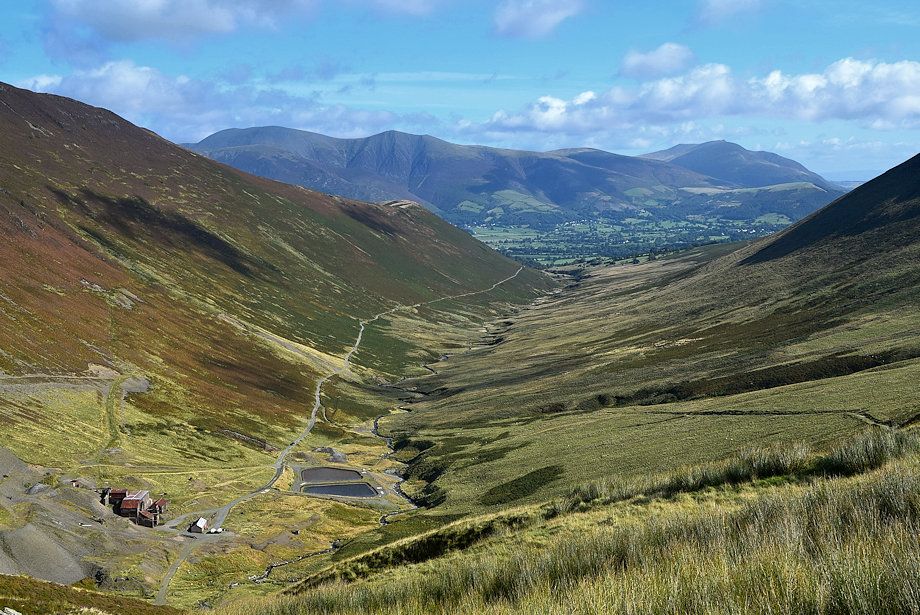 |
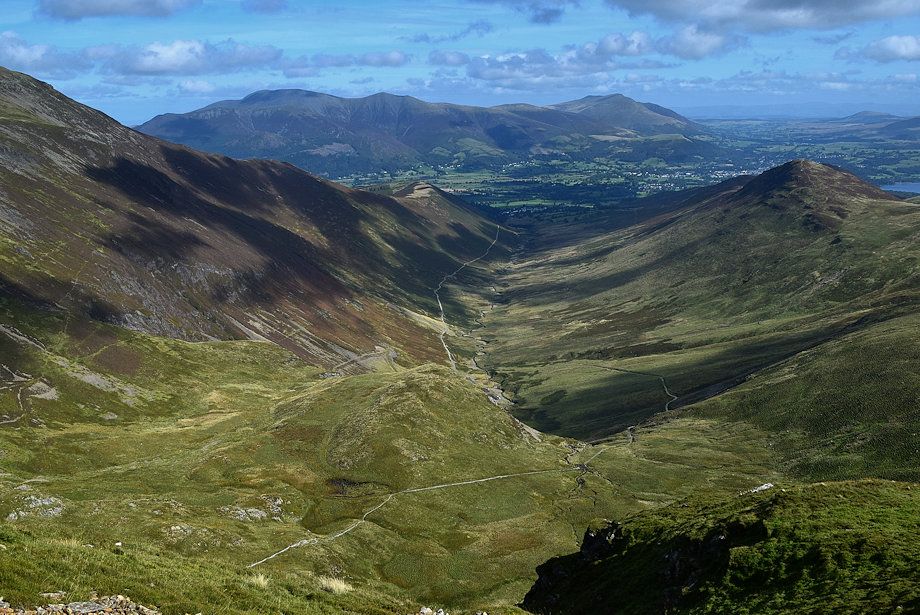
| Coledale from the top of the ravine |
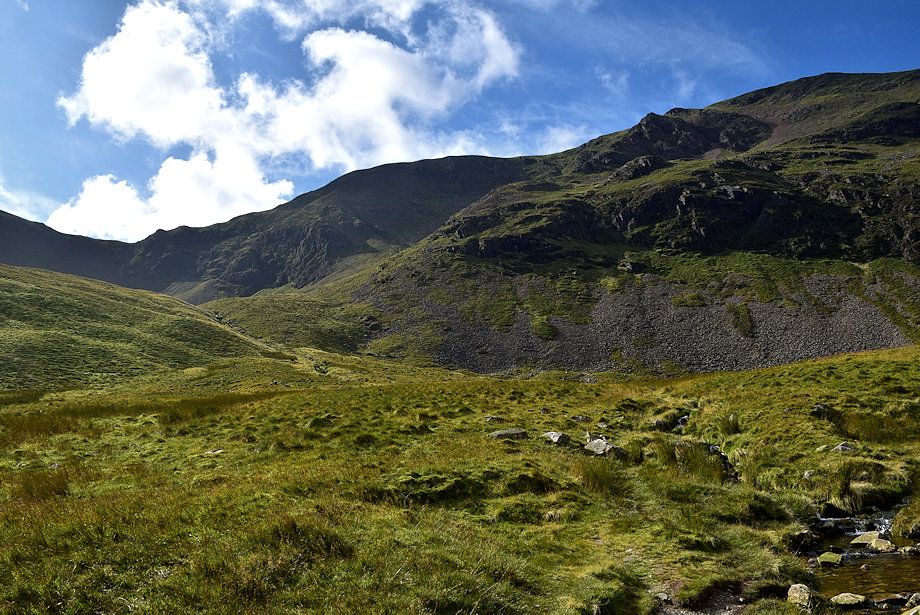 |
| Leave the Coledale Hause path where it crosses the stream at the head of the ravine to climb up to the north eastern combe |
 |
| There is little evidence of any path, just follow the course of the stream |
 |
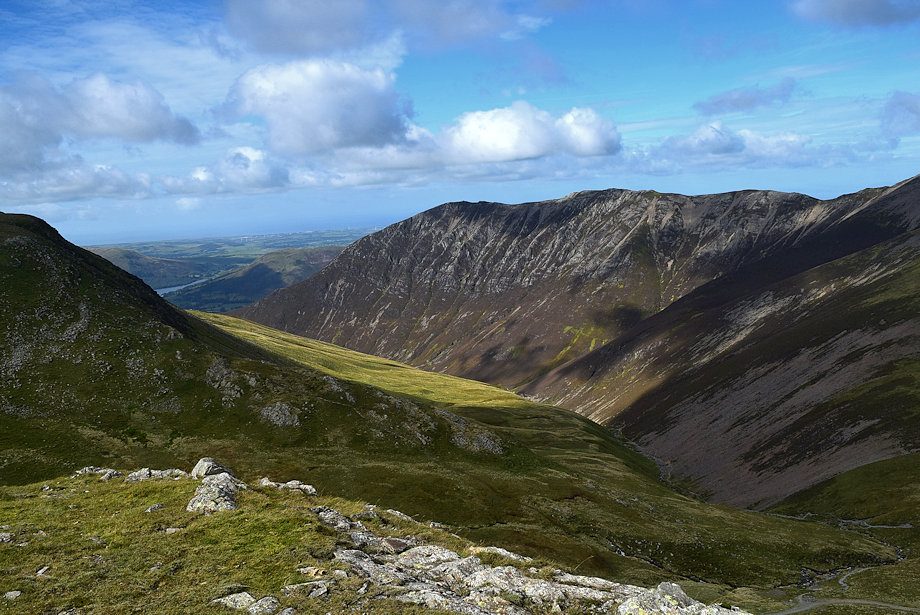
| Hobcarton Head and Grisedale Pike over the top of Force Crag from the climb to the north eastern combe |
 |
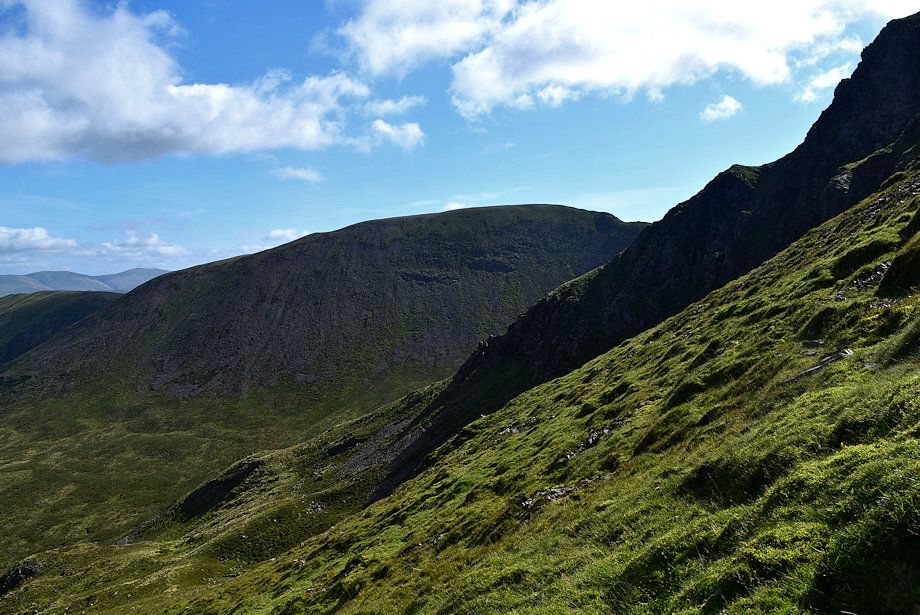
| Looking over to Coledale Hause, the high pass between the slopes of Eel Crag and Sand Hill. The workings of High Force Mine can be seen on the right |
 |
| Looking back to Hobcarton Head and Grisedale Pike |
 |
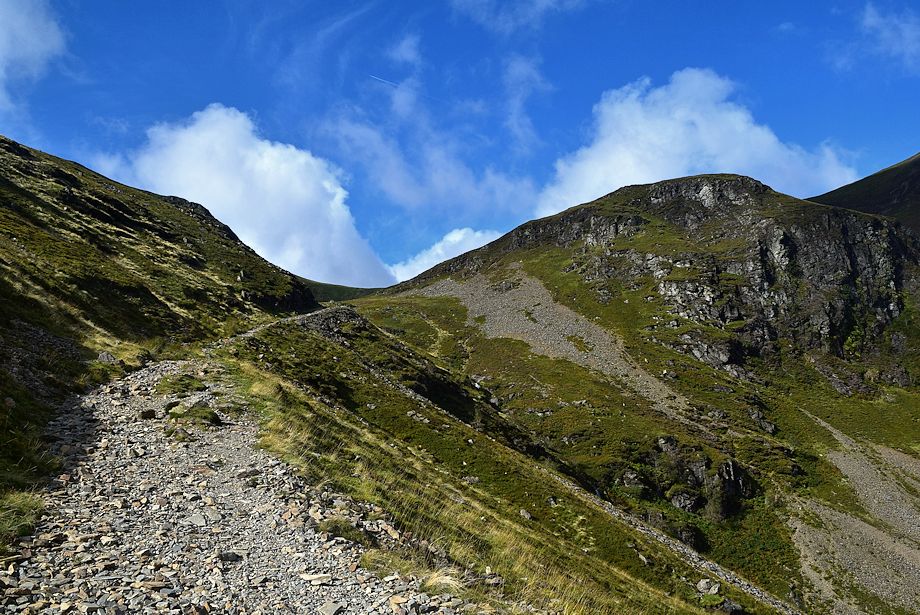
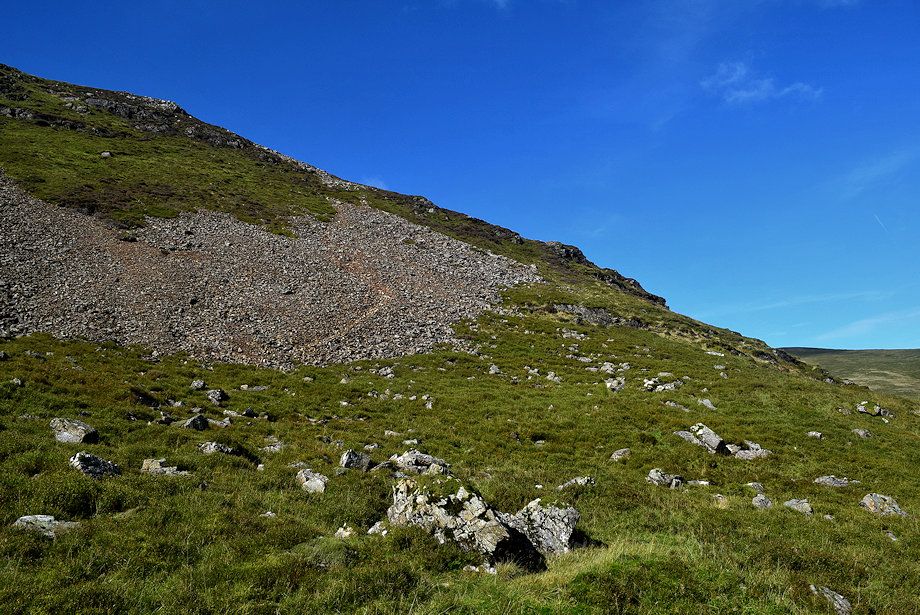
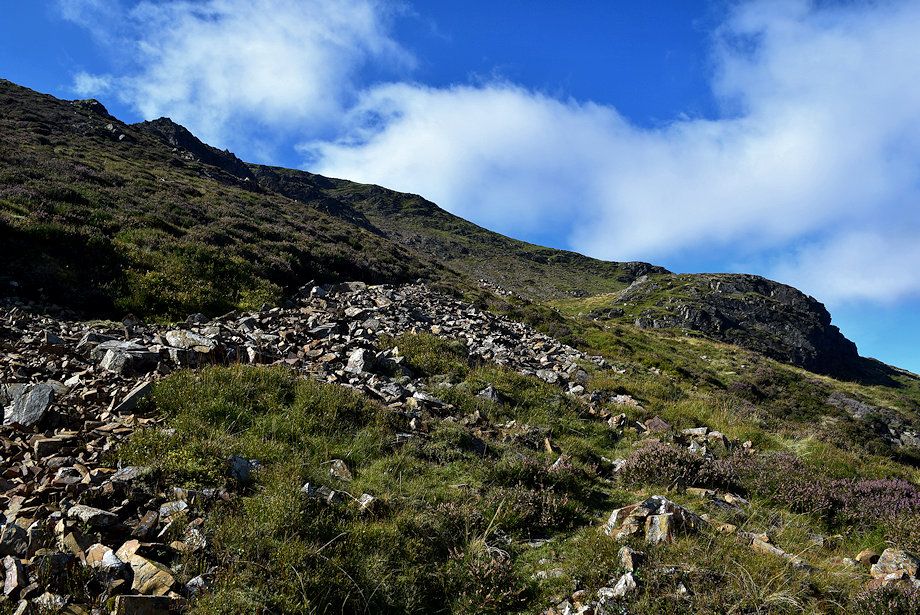
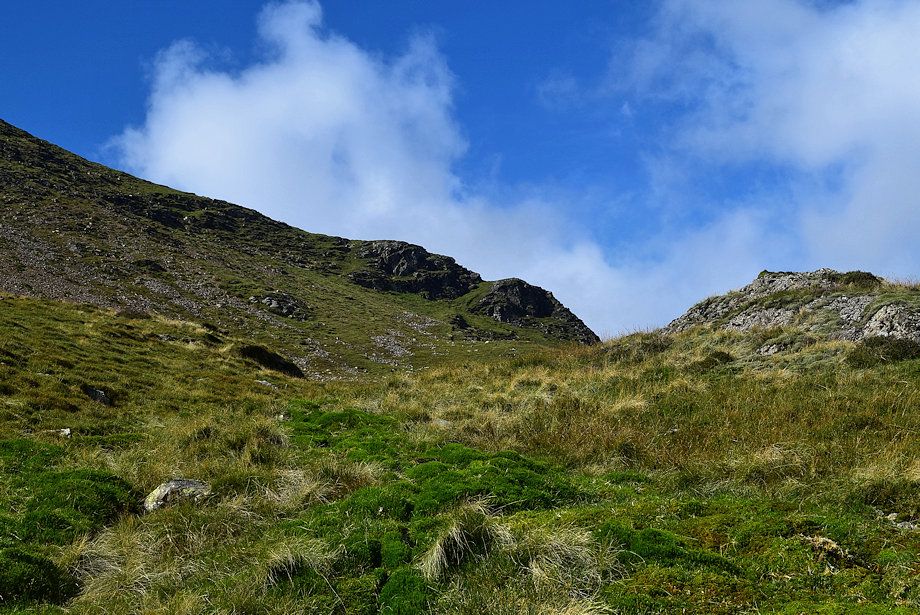
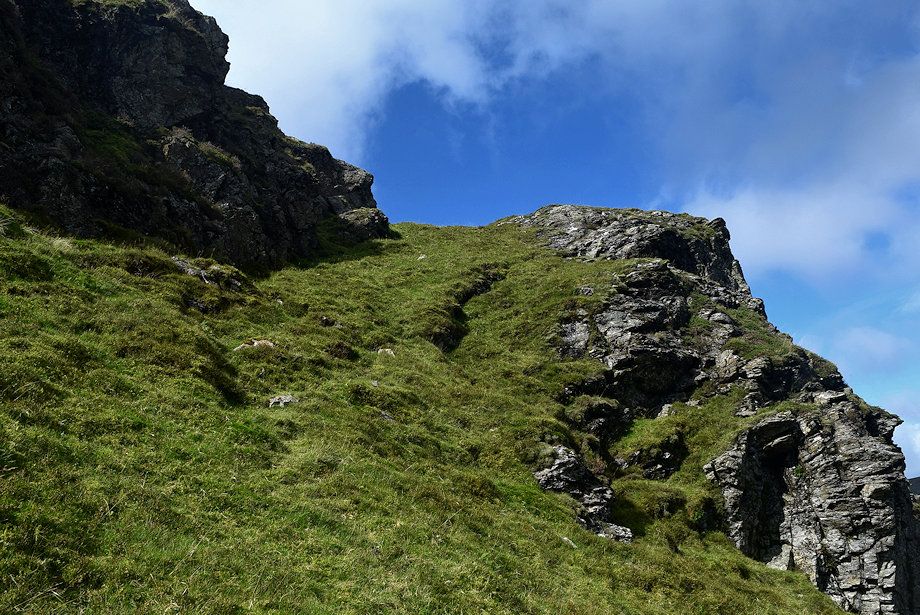
| Leave the confines of the stream and head over towards the foot of a tongue of scree seen here on the left |
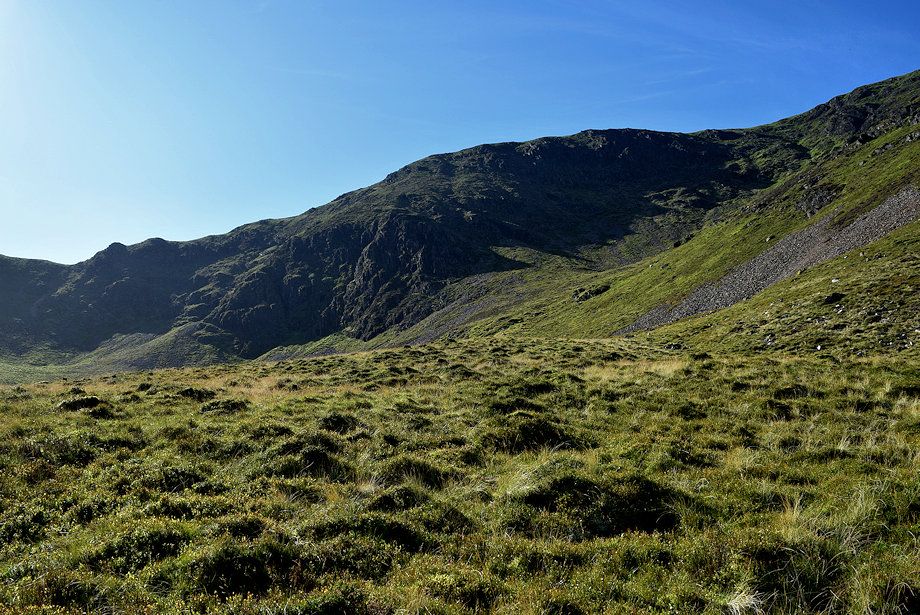 |
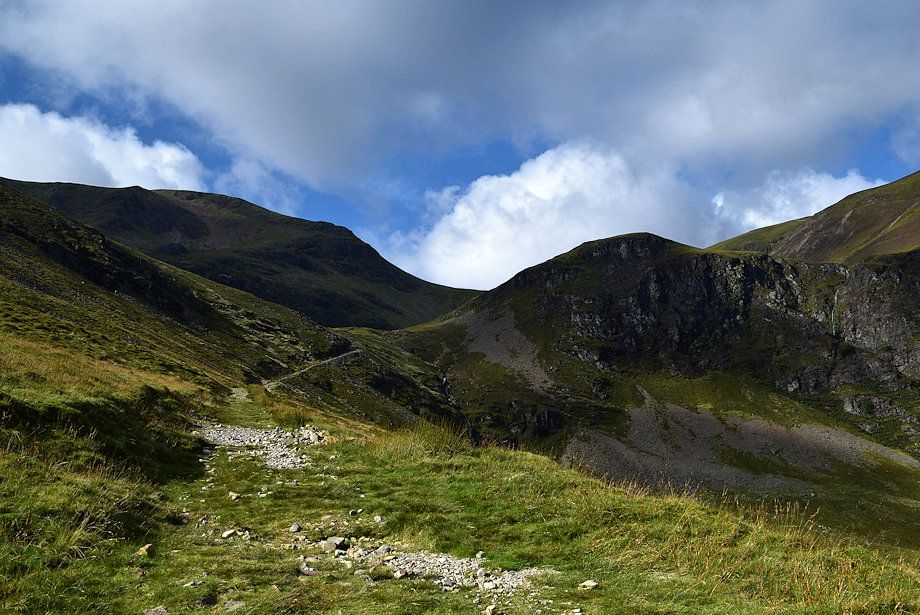
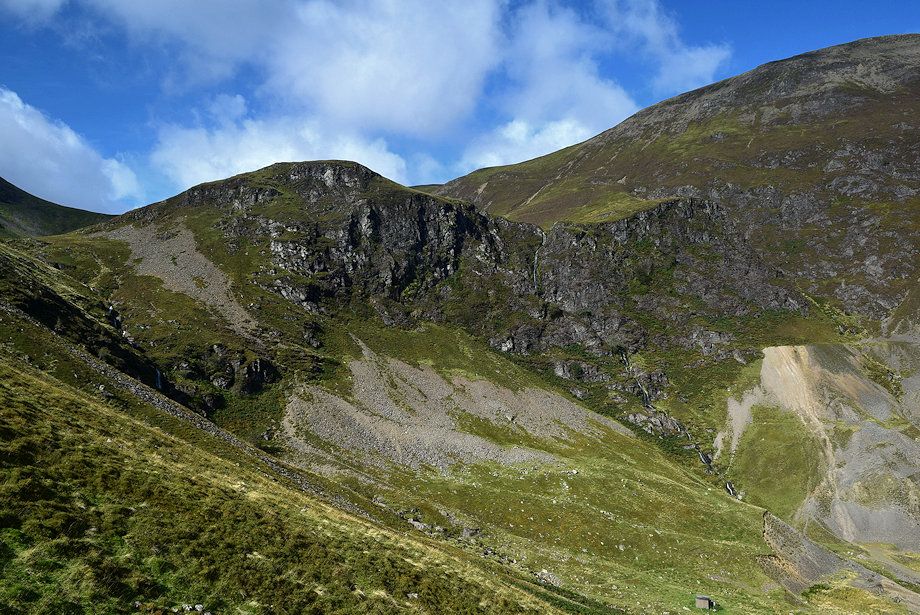
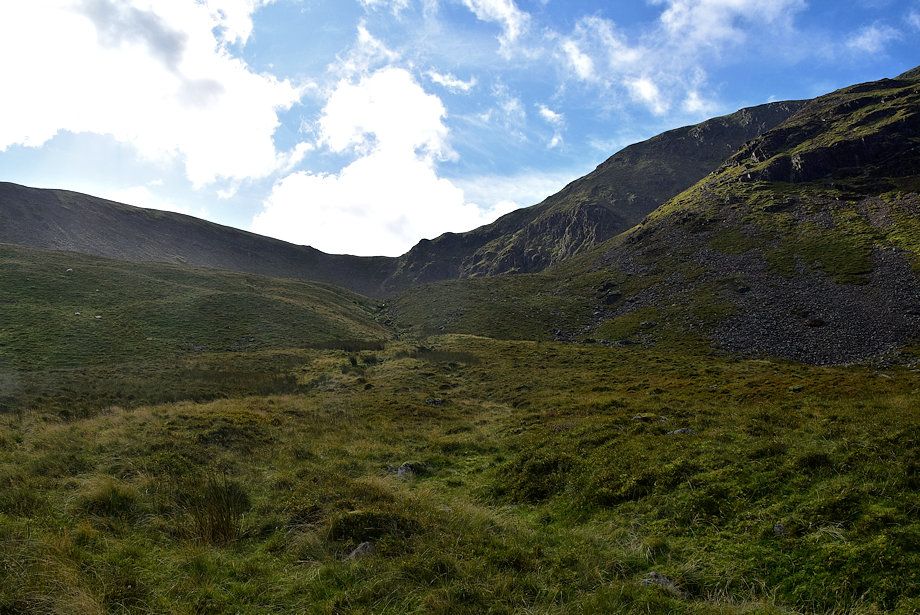
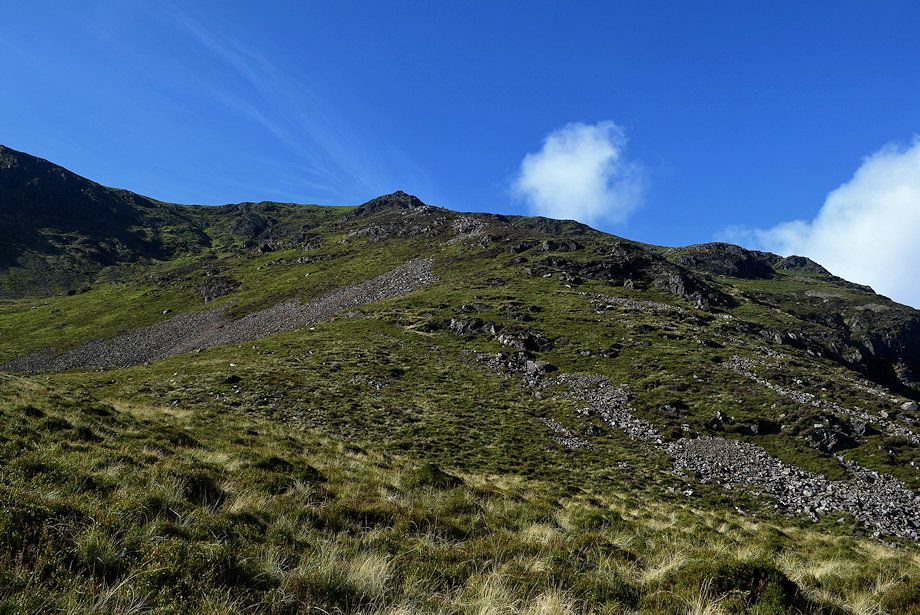
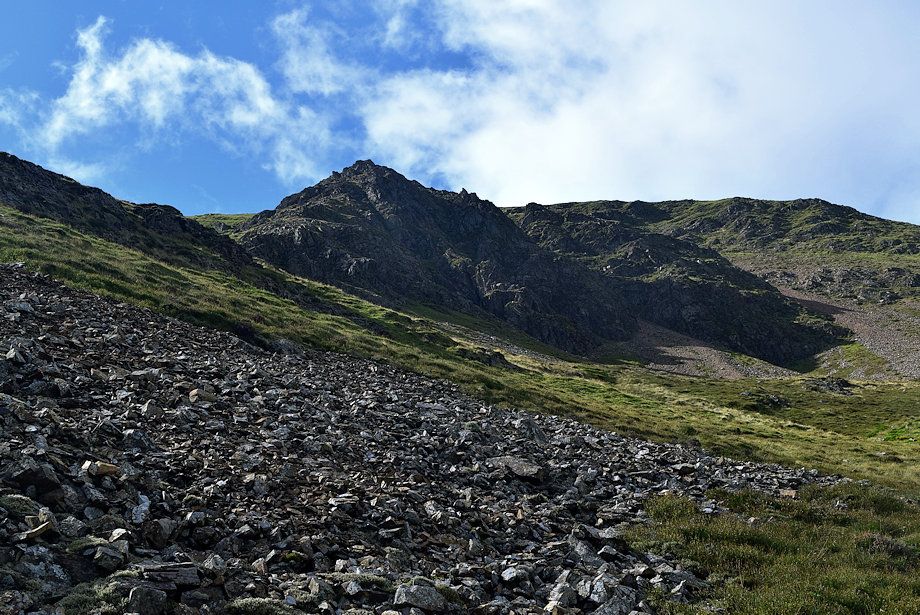
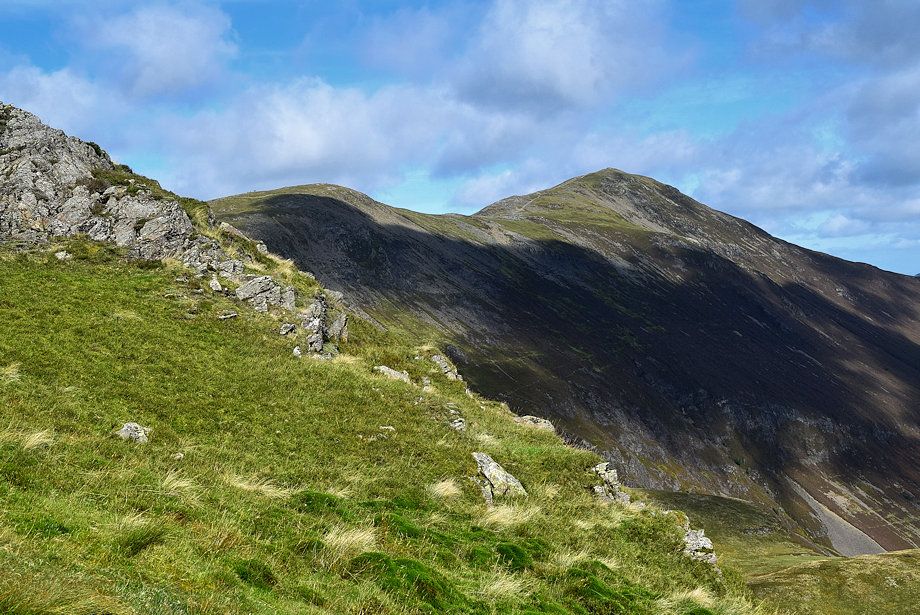
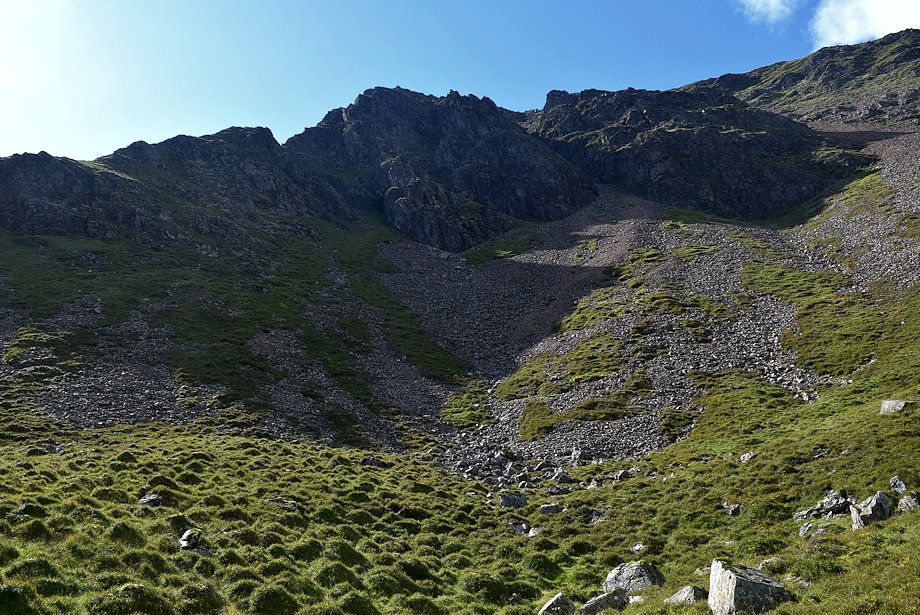
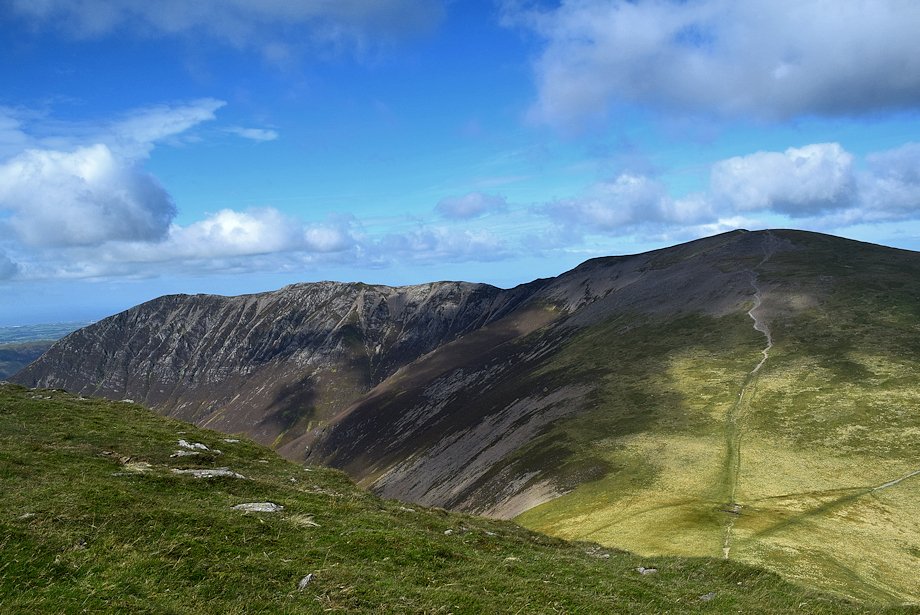
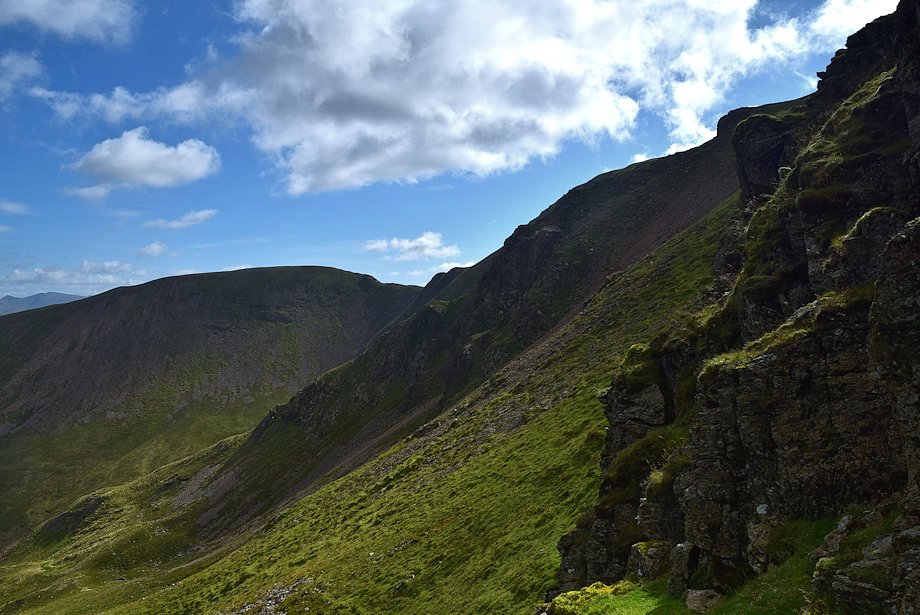
| The Scar ridge and Scott Crag at the head of the north eastern combe |
 |
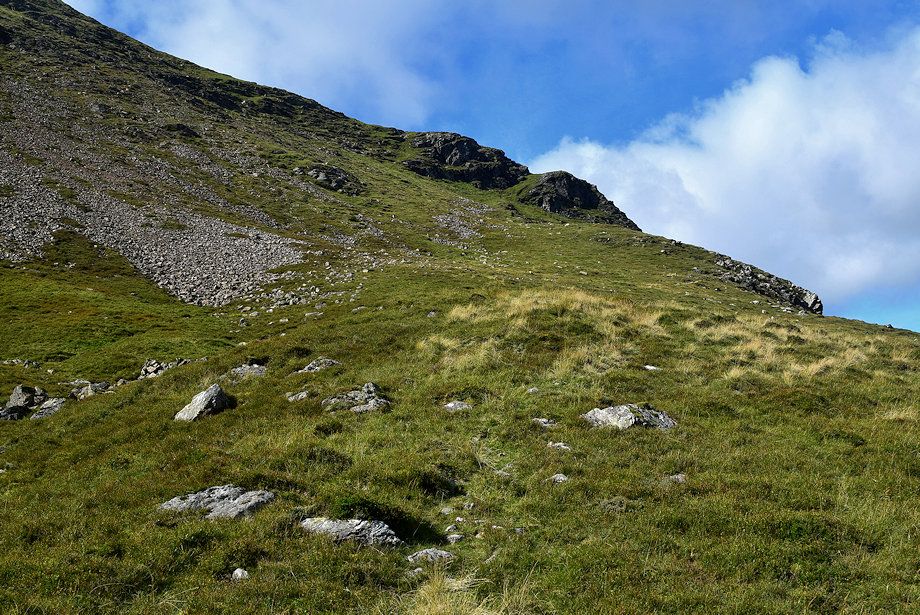
| A thin path snakes its way up the tongue of scree to access The Shelf but it's easier to climb the grass and heather slope on the right |
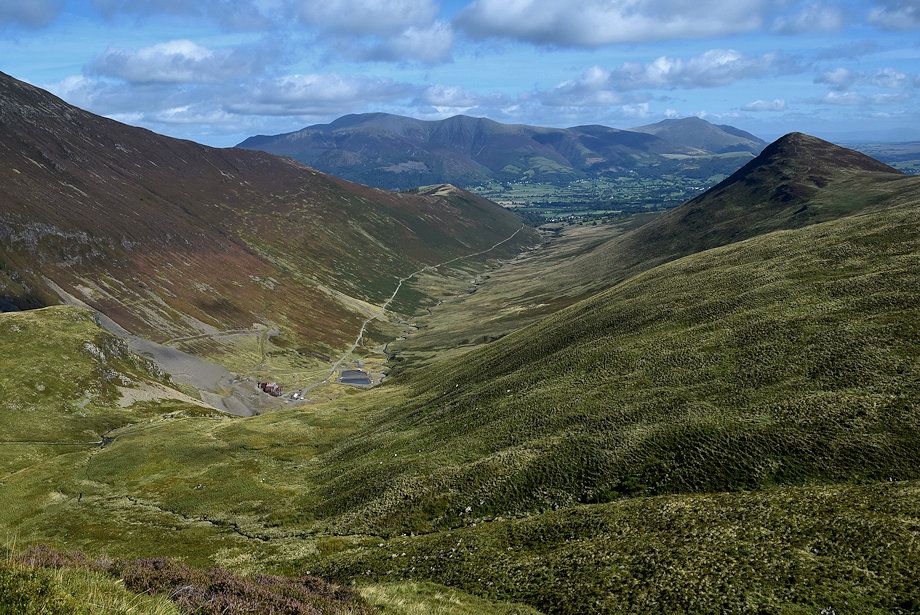 |
| Coledale from the the climb up to the The Shelf |
 |
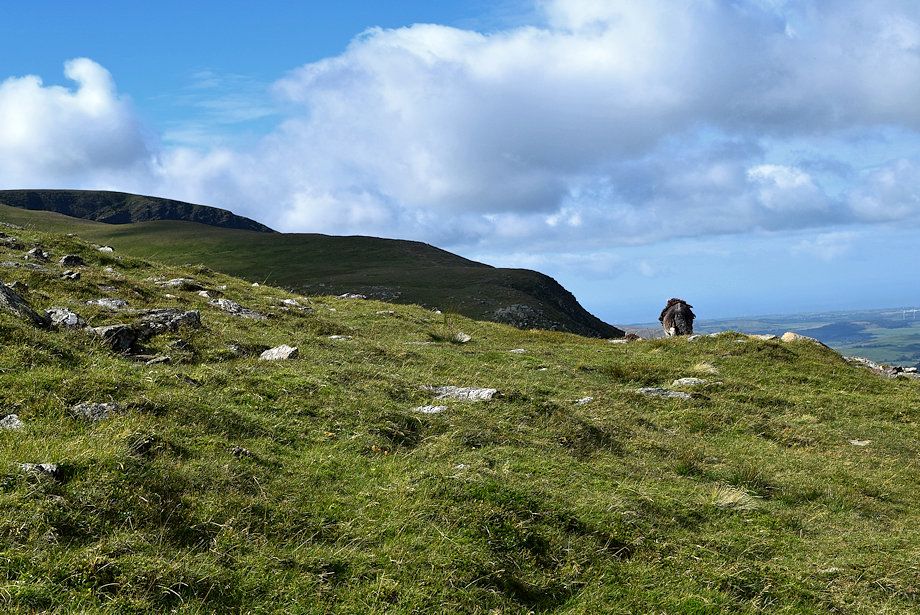
| Emerging onto The Shelf |
 |
| Sand Hill from the start of The Shelf |
 |
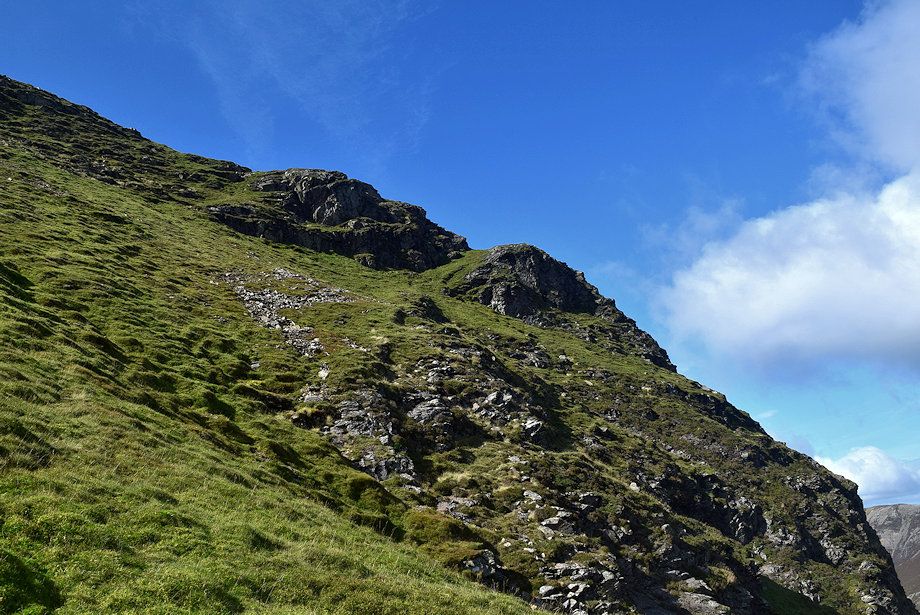
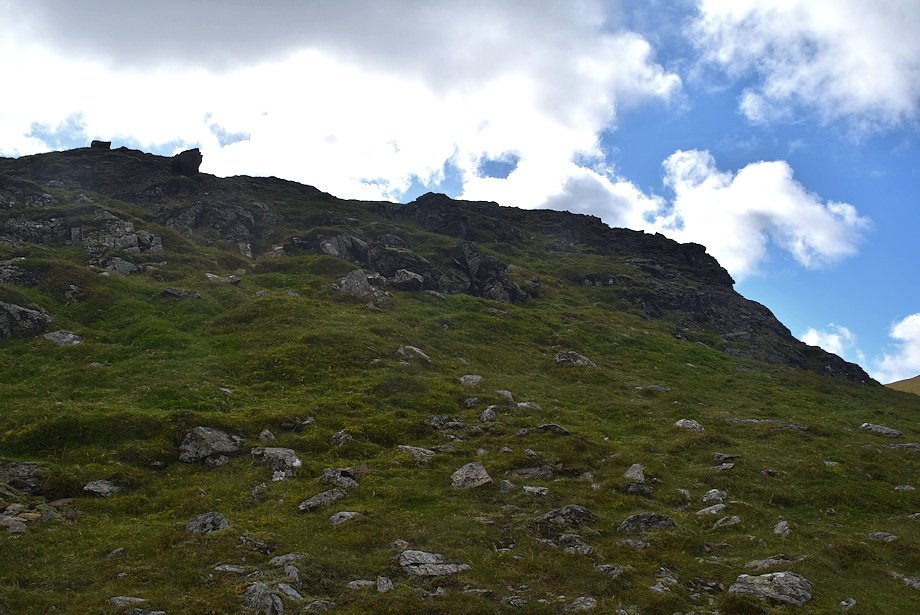
| There are a few simple cairns to guide the walker along The Shelf, a vague path passes to the left of the crag ahead |
 |
| Passing below Tower Ridge which provides a bit more of an adventurous way to reach the summit |
 |
| Hobcarton Head and Grisedale Pike from The Shelf |
 |
| The exit ramp from The Shelf soon comes into view |
 |
| Looking up to Tower Ridge |
 |
| Climbing along The Shelf towards the exit ramp |
 |
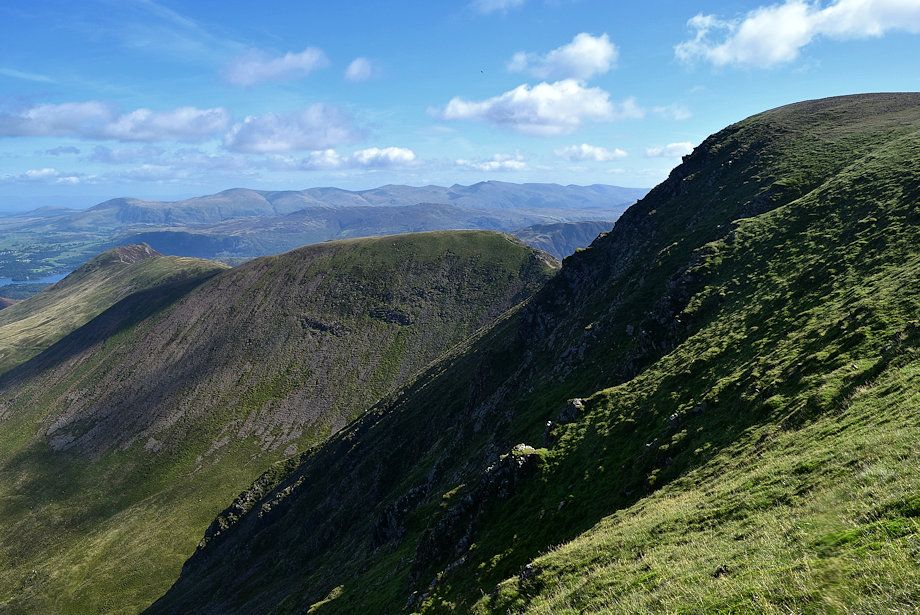
| Looking back towards Sail |
 |
| Looking back, a small section of Derwent Water is visible between Outerside and Causey Pike |
 |
| The exit ramp cuts through Eel Crag which encircles the northern end of the fell. Eel Crag appears as a dominant feature when seen from Coledale Hause so it's easy to see why generations of fellwalkers adopted the name for the entire fell, although the Ordance Survey prefers 'Crag Hill' |
 |
| Coledale, Skiddaw and Blencathra from high on The Shelf |
 |
| Approaching the exit ramp |
 |
| Sail across Tower Ridge |
 |
| At the foot of the exit ramp which leads up to a level grass shoulder above the steep crags which fall to Coledale Hause |
 |
| Grisedale Pike and Skiddaw from the exit ramp |
 |
| Emerging onto the grass shoulder at the top of the exit ramp |
 |
| Looking back along The Shelf from the top of the exit ramp |
 |
| Grasmoor from the top of the exit ramp |
 |
| Whiteside and Sand Hill from the top of the exit ramp |
 |
| Hobcarton Head, Grisedale Pike, Skiddaw and Blencathra from the top of the exit ramp |
 |
| Outerside, Causey Pike and Scar Crags from the top of the exit ramp |
 |
| Sail from the top of the exit ramp |
 |
| From the grass shoulder a short climb leads up to the top of the crag |
 |
| Looking down on Coledale Hause from the top of the crag |
 |
| Whiteside from the top of the crag with a glimpse of Loweswater on the left |
 |
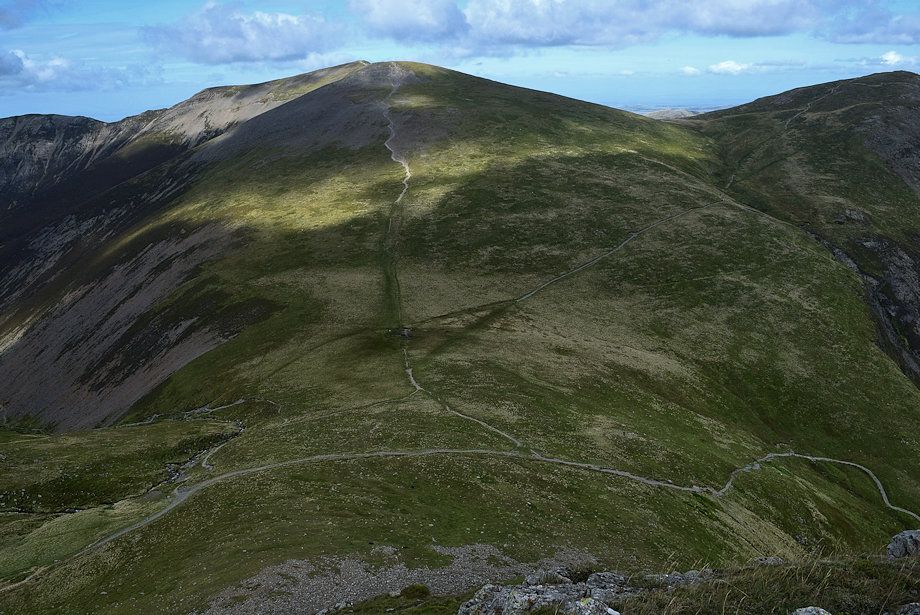
| From the top of the crag easy grass slopes lead up towards the summit ridge. Veer right to join an eroded path which comes up from Coledale Hause |
 |
| Looking across to Sail |
 |
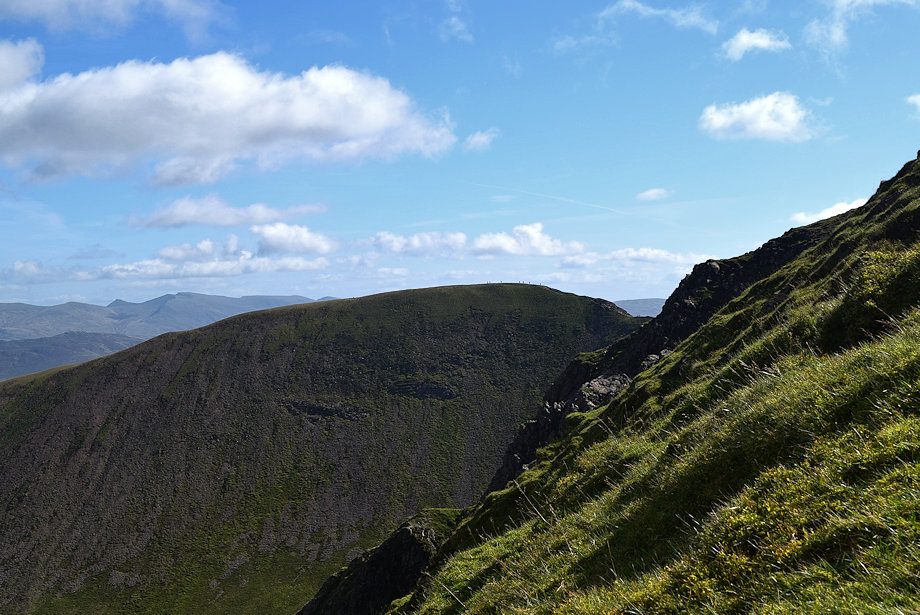
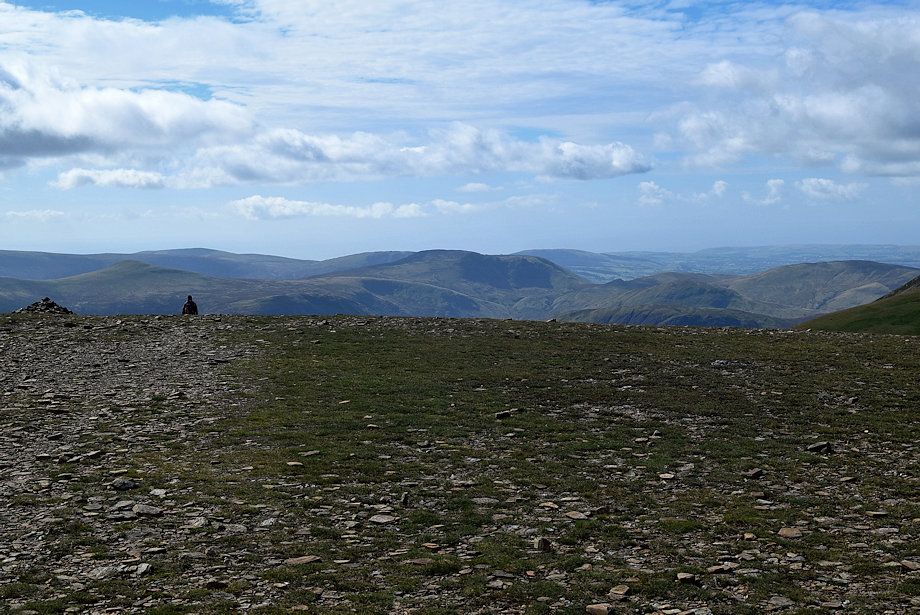
| Looking back on joining the eroded path which climbs up to a subsidiary top at an altitude of 2,649' on the summit ridge |
 |
| Looking over towards Grasmoor |
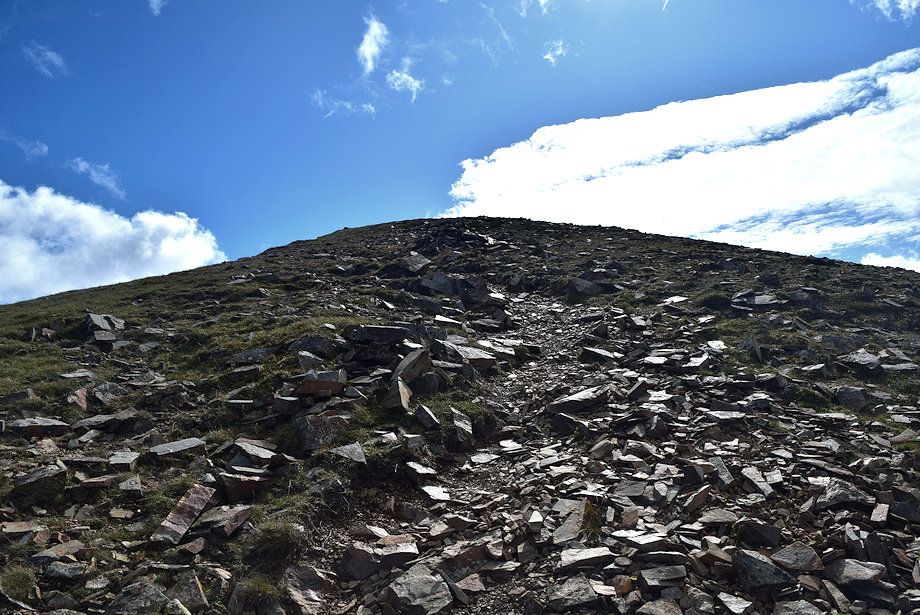 |
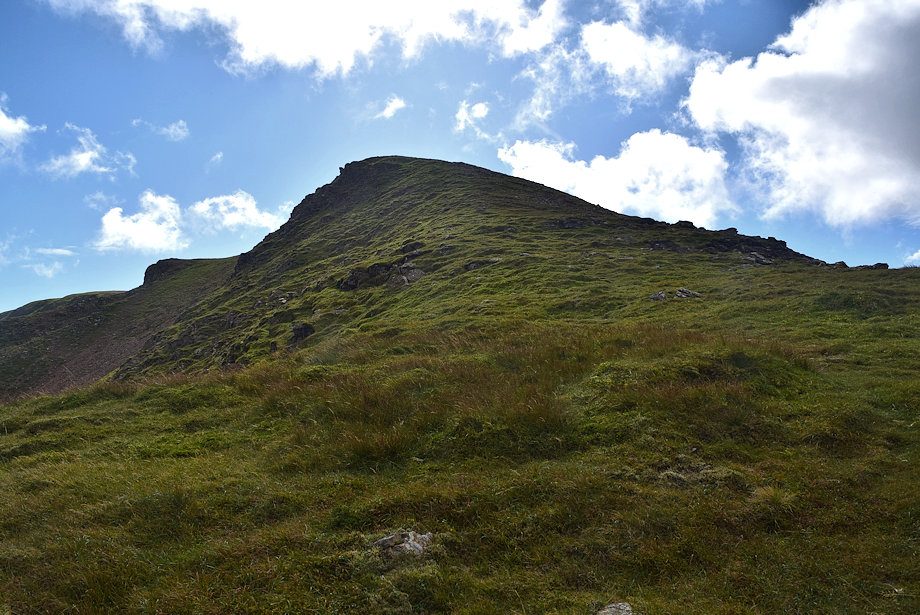
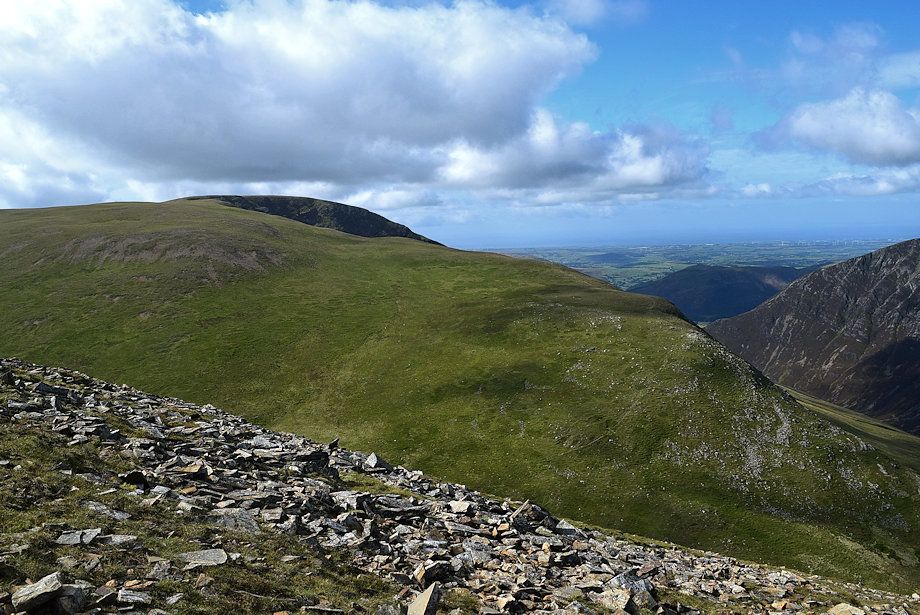
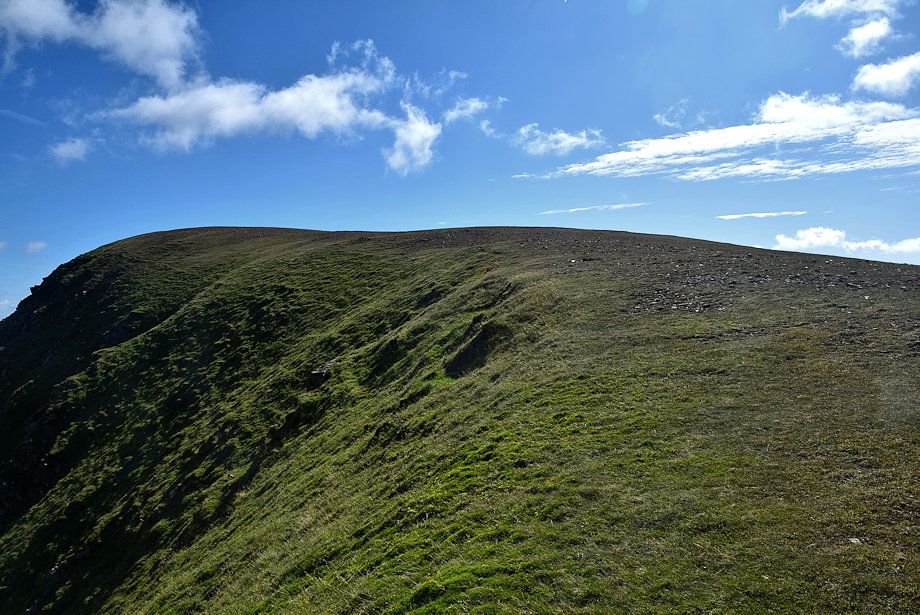
| The convex slope leading up to the subsidiary top |
 |
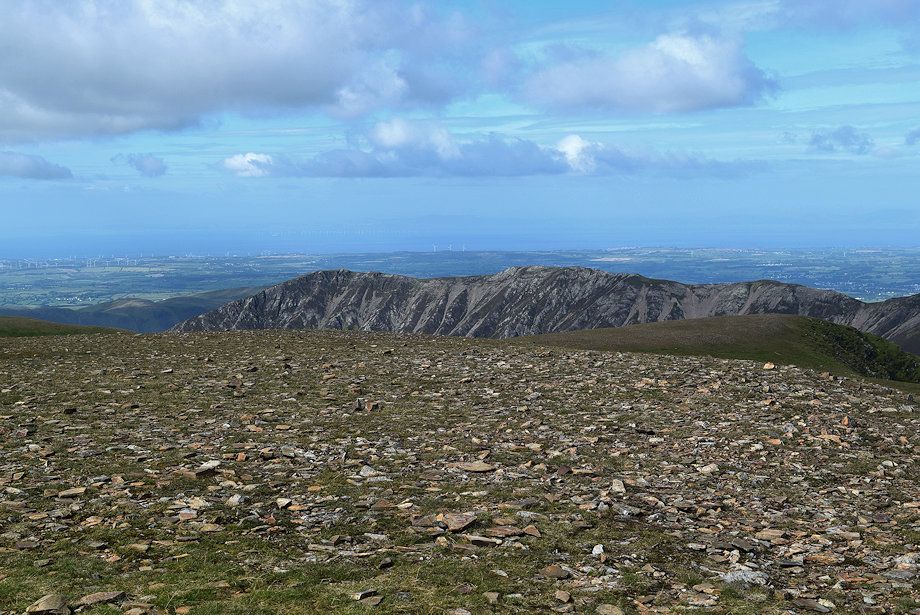
| Looking over to the Western Fells of High Stile, Red Pike, and Starling Dodd with Haycock and Caw Fell on the horizon beyond them |
 |
| Approaching the subsidiary top |
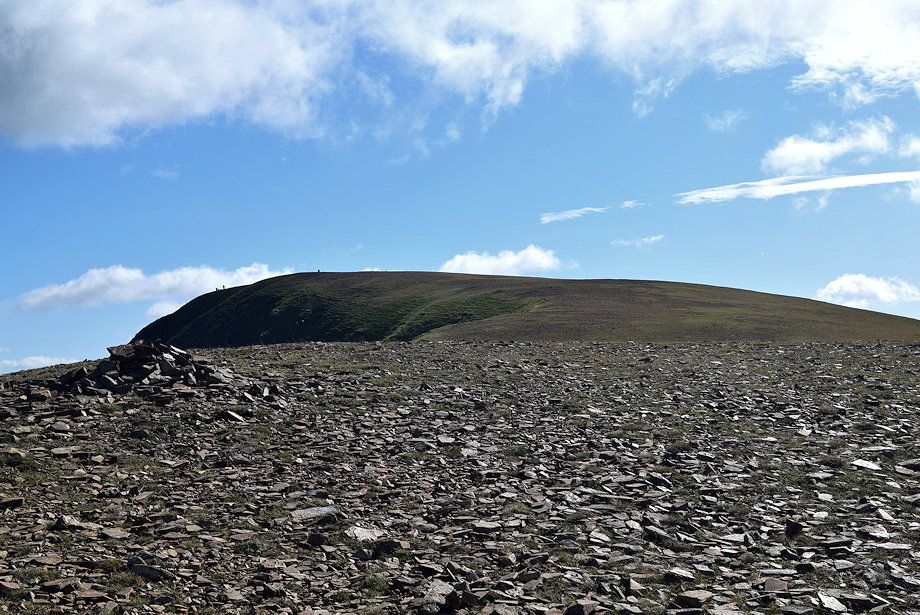 |
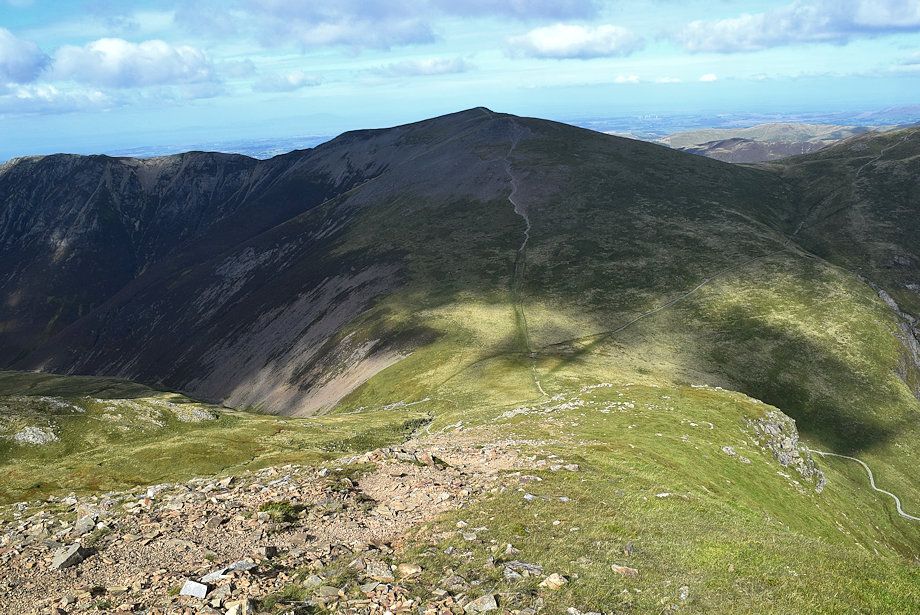
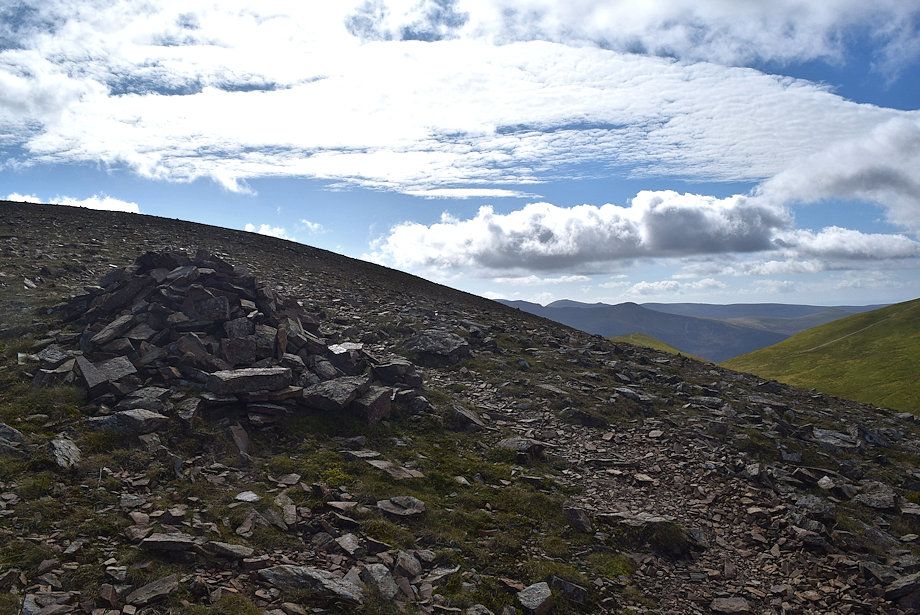
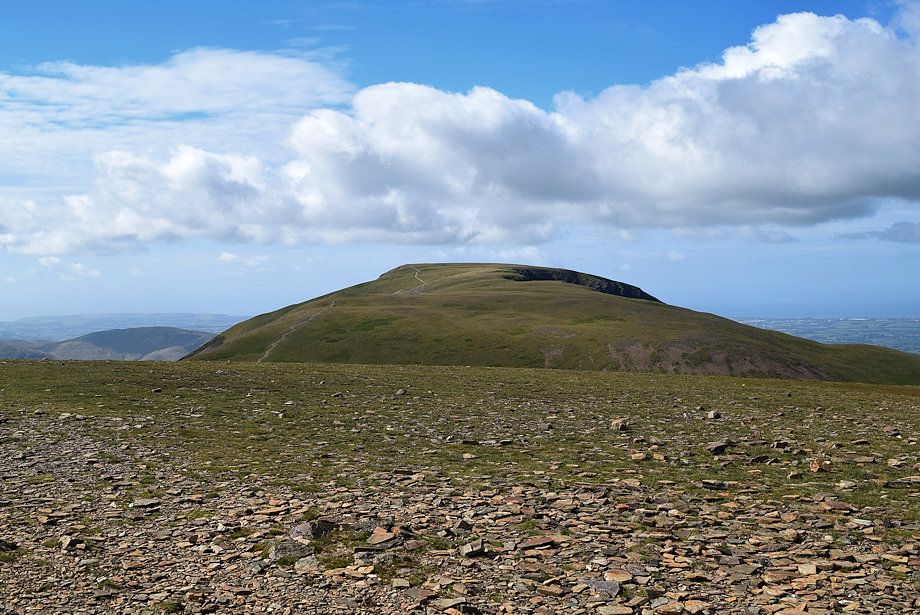
| The summit of Eel Crag comes into view on reaching the subsidiary top |
 |
| Grisedale Pike and Skiddaw from the subsidiary top |
 |
| Whiteside, Hopegill Head and Sand Hill from the subsidiary top |
 |
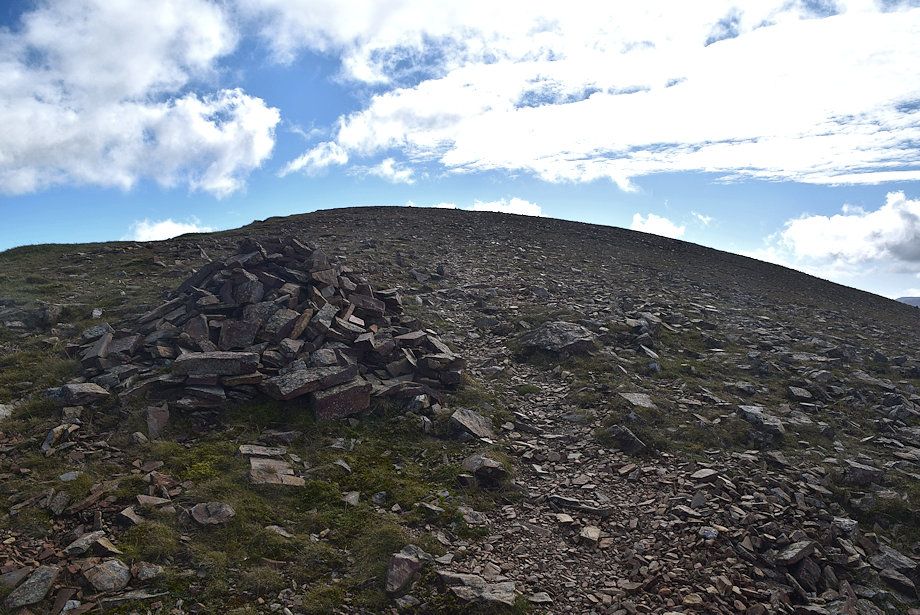
| From the subsidiary top it's a simple 120' climb to reach the summit of Eel Crag |
 |
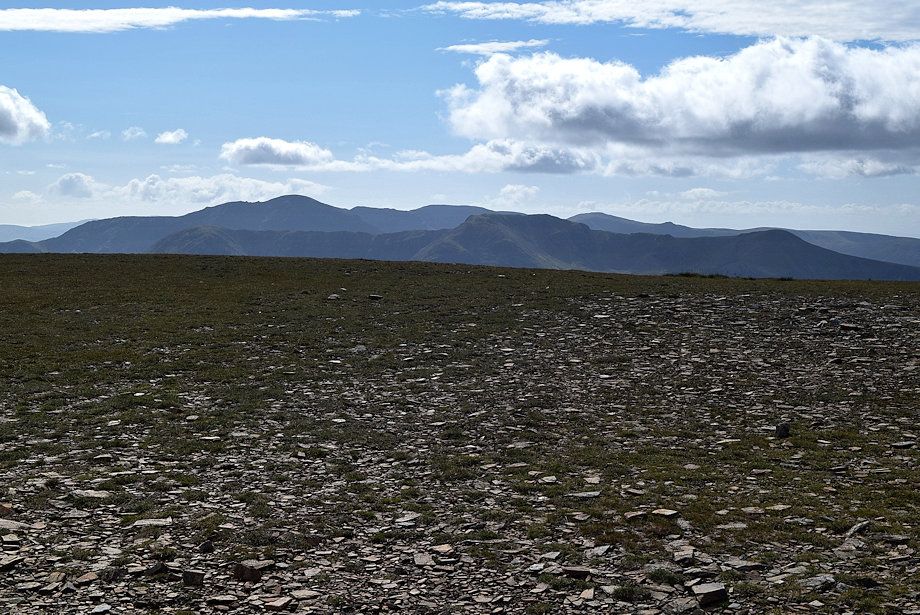
| The Helvellyn range across Scott Crag |
 |
| Grasmoor from the shallow col between the subsidiary top and the summit |
 |
| Looking back to the subsidiary top from the climb to the summit |
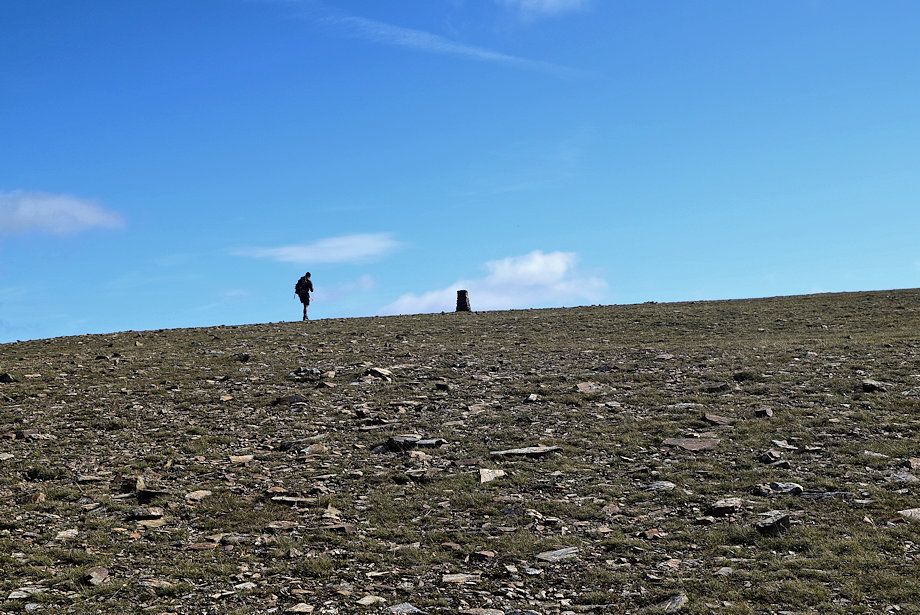 |
| Approaching the summit of Eel Crag |
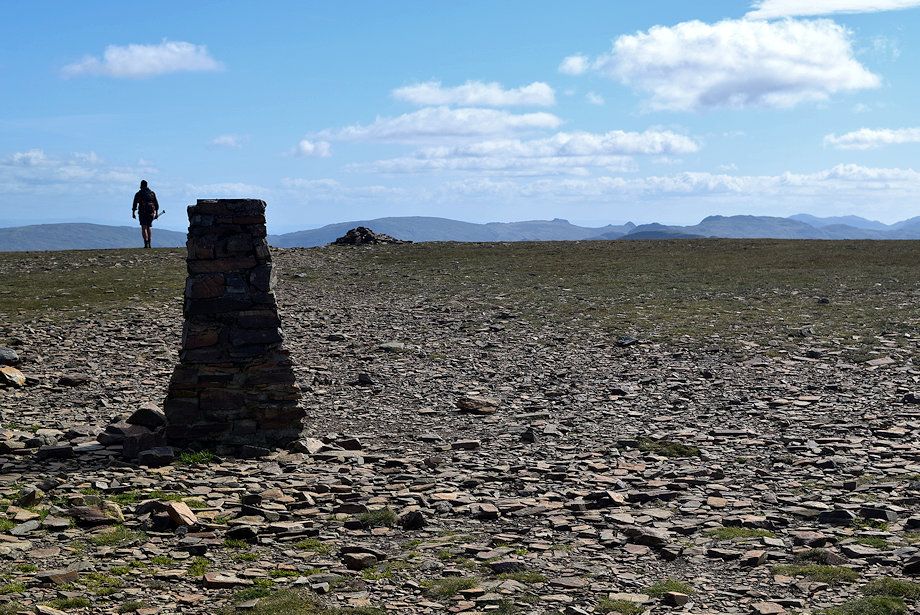 |
| The Ordnance Survey column on Eel Crag |
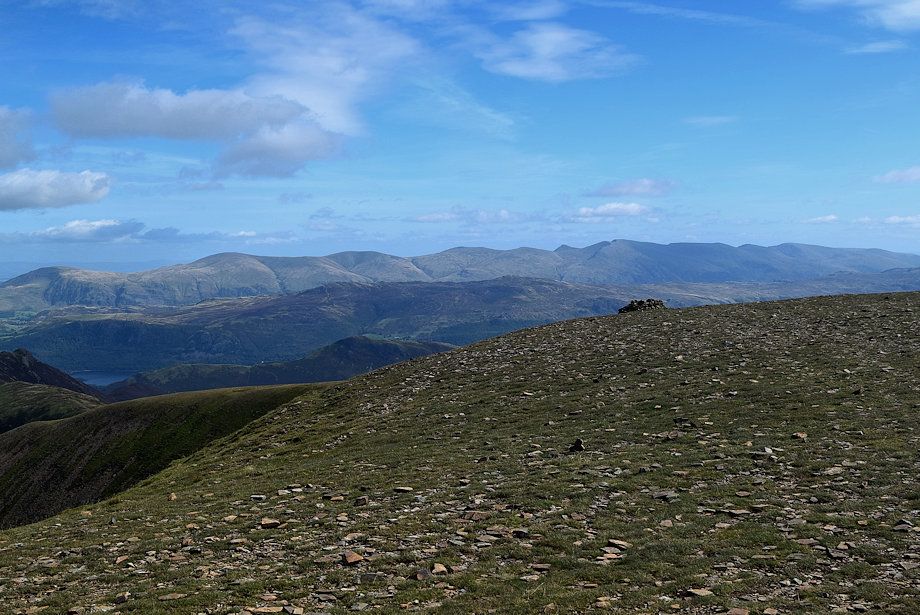 |
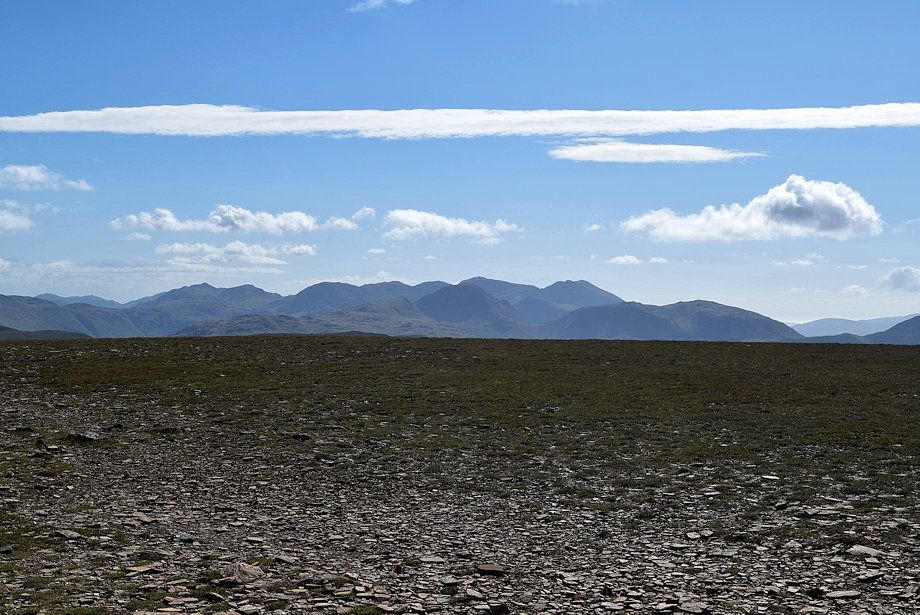
| The Helvellyn and Fairfield ranges from the summit of Eel Crag |
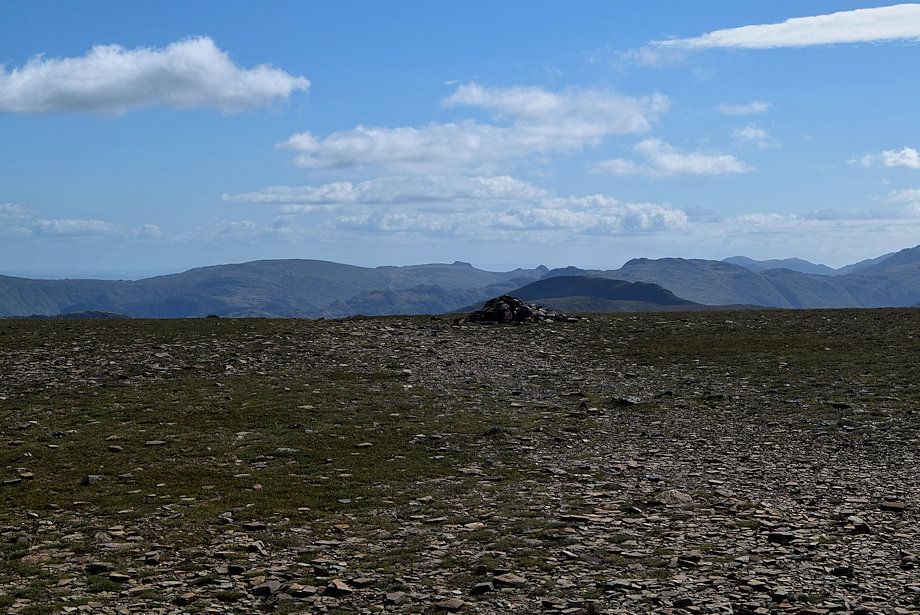 |
| High Raise, Harrison Stickle, Pike o' Stickle, Glaramara, Wetherlam and Swirl How on the skyline, with the summits of Hindscarth and Dale Head in the middle distance to the right of the cairn |
 |
| The Scafell group of fells over Great Gable with Bowfell and Esk Pike on the left and Kirk Fell on the right |
 |
| Pillar, Black Crag, Scoat Fell, Haycock and Caw Fell on the skyline over the High Stile ridge in the middle distance |
 |
| Starling Dodd, Great Borne, Hen Comb and Gavel Fell in the middle distance |
 |
| Grasmoor from the summit of Eel Crag |
 |
| Whiteside from the summit of Eel Crag |
 |
| Hopegill Head and Sand Hill from the summit of Eel Crag |
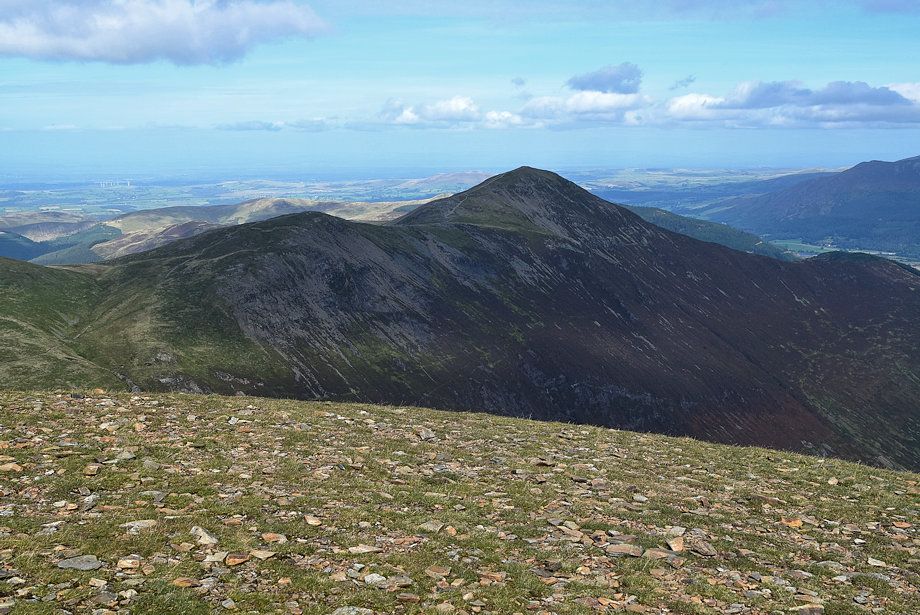 |
| Hobcarton Head and Grisedale Pike from the summit of Eel Crag |
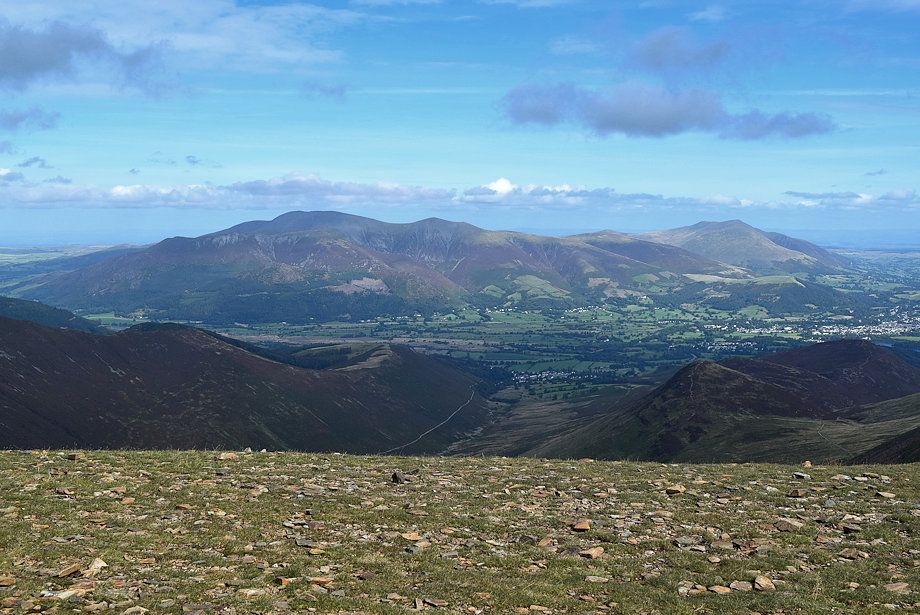 |
| Skiddaw and Blencathra from the summit of Eel Crag |
|
|